Sometimes I see a card online that I LOVE and totally inspire me. Today was inspired by a card I saw by Michelle Long and I had to play around with the idea! Because you know me and my deep love of clean and simple cards!
It is a fun take on the spotlight technique with the details of the tree framed in the middle of the card.
Tips for making this card:
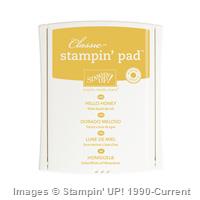
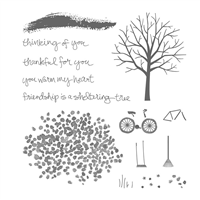
The Sheltering Tree stamp set lets you take this one design and make it perfect for any season! Use Blushing Bride tree leaves to make a pretty cherry blossom tree, or grab your Crushed Curry or Delightful Dijon to make it a pretty autumn image!
Stamp you tree leaves on the upper right corner of your card base…I found I needed to stamp it 2x to get wide enough coverage of the leaves. You can check it is enough coverage by periodically placing your center mat cardstock down to see how many leaves are showing.Dimensions for this card: – Card base = 4 1/4” x 11” – Brown mat = 2 5/8” x 2 5/8” – White center cardstock = 2 1/2” x 2 1/2”
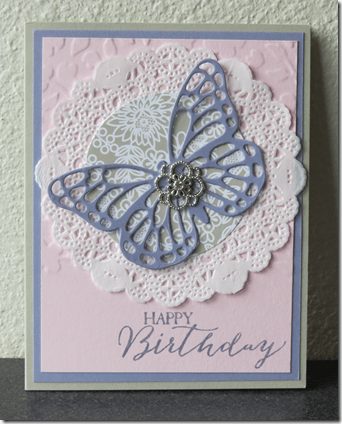
When you keep the rest of the card muted with light Subtles colors, give it is a POP with a bright colored flower, like the one from the Itty Bitty Accents Punch Pack. Add a rhinestone in the center and it is just cute, cute, cute!
What would you do with a $100 Shopping Spree?
The Sizzlin Summer Spectacular Promotion has kicked off and you have lots of chances throughout the summer to win great prizes!
June Bonus Drawings & Tickets!
As I do a final push to try to earn a Mediterranean Cruise from Stampin’ Up, I’m doing 2 bonus drawings in June! Earn your tickets this week and you’ll not only be entered for the grand prize drawing but these bonus drawings and any others throughout the summer!
June 23rd – I’ll draw for one person to win 50% off any item in the catalog
June 30th – I’ll draw for one person to with a free stamp set!
PLUS-
For every $100 in Stampin’ Up product purchased June 15-June 30 in person or online with the hostess code ZKGTCW6U) = get 5 bonus tickets
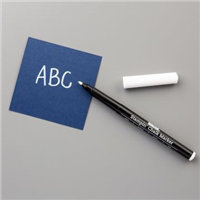
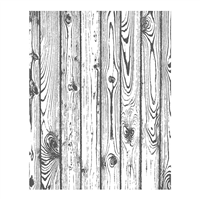
Have you seen the chalk inks and been curious about them but haven’t tried them yet? I was feeling that ways and so I decided to start playing when I created this card for my Stamp Club recently. We played with some of the fun stuff from the Occasions Catalog including Chalkboard paper and the Chalk inks – 2 of which are on sale as part of the weekly deals this week!
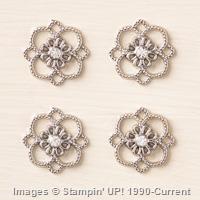
It is a great card to play with all those specialty items that you may not have tried out before including the foil vellum, chalk ink, chalkboard paper, chalk pen, scalloped tag topper, and those pretty Something Borrowed embellishments!
Get them before they are gone by the end of the month!
Tips for making this card:
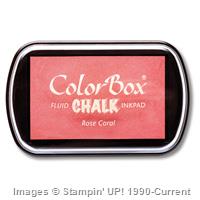
One of my favorite things to share about this card is that the ink on the pink punched out flower and the “for you” sentiment are THE SAME! Can you believe it? Both are the Rose Coral chalk ink.
When you stamp on Chalkboard paper – you want to stamp on the velvety side! This is the coated side and it will help inks sit on the surface.
That said, you want to use Chalk or Craft/thick pigment inks when stamping on Chalkboard paper. The dye inks (all the classic Stampin’ Up inks) will just fade into the background because they do not have enough pigment to sit on top of the paper and form a contrast.
Use the Chalk Marker to create some accent lines or to draw on your Chalkboard paper… they turn out bright white and great!
Adhere a Something Borrowed embellishment to the middle of your flower with a glue dot for a cute accent!
When adhering your Silver Foiled Vellum to your paper, I recommend a 2-way glue pen! Liquid glue tends to mail the foil wrinkle up and glue dots will show bumps through the foil.
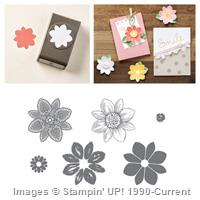
Sadly, though the Flower Medallion punch is carrying over, the matching Petal Potpourri stamp is not! I love this stamp set and all its options. For the next week, it is available as a bundle at a 15% discount! I know I’m not getting rid of mine so I recommend you grab yours now.
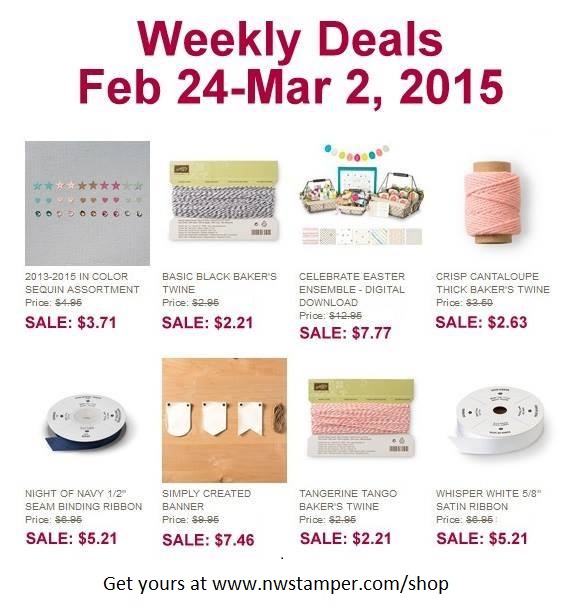
New Weekly Deals are Here! Last chance to score some of these Occasions Catalog items at 25% off!
Here are a few of my favorite projects using some of the items on sale this week:
I’m so excited to be heading out for a fun trip sans kids for the next few days, and while my flight leaves in 6 hours and I have yet to pack, I’ll keep it quick as I want to make sure to share with you the weekly deals and a couple ideas to use them with. Gotta love ideas, right?
And though the 2014-2016 In Colors are sticking around (you know, Hello Honey, Blackberry Bliss, Lost Lagoon, Mossy Meadow, and Tangello Twist) the matching ribbon is going away. But you can grab the Hello Honey color this week on sale! Then make a cute monochromatic card!
And as a reminder, there are still lots more ways to save including:
FYI – The retiring stamps and accessories catagories on the website are the best way to see what is still available but many items have already sold out. Check out this PDF list of everything that is retiring so you can tell what has already come and gone (look for the “x” in the right column)
The big annual catalog is coming to an end as of June 2nd, which means it is time for Stampin’ Up to release the list of all the stamps and accessories that will be discontinued after this catalog is gone. Thankfully, we have the list TODAY so you can see what to snag now before it is gone.
Save up to 50% off some items!
NOTE:
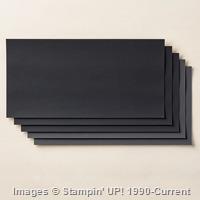
Everything BUT stamps on the following list are while supplies last
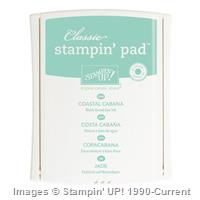
I expect the 2013-2015 In Color reinkers and cardstock (especially Coastal Cabana) to sell out very quickly. Reinkers are usually gone in a few hours.
Place your order online at www.nwstamper.com/shop and use the hostess code PEQH2R3T at check out and receive a gift of 3 finished cards using the Butterfly thinlit as a thank you!
If you have over $100 in items, consider joining my group as demonstrator and creating your own starter kit out of items from the retiring list AND get first access at the new catalog with a preorder in May! Learn more about the start kit here.
Use Hostess Code PEQH2R3Tat checkout for a gift from me!
I also just read that the Clearance Rack will be updated TOMORROW (4/22) so you can balance the items selling out today with the retirement list with waiting until tomorrow for the new items that get added…I’m so curious to see what gets added!
When the new weekly deals were released, I had to laugh because so many of the items on sale are ones that I’ve used in classes and stamp club this month! Check it out:
So for example, this last week at Stamp Club, we used both the Mother’s Love stamp set and the Something Borrowed embellishments:
And then a couple weeks ago, we were doing an Embossing Folder Fun technique class and we used the Handheld Stapler and Deco Label Framelits (not the ones on the weekly deal this week) but you could do the same technique with the Label Framelits:
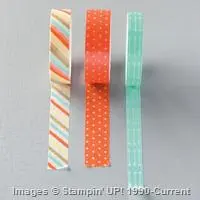
And of course, there are those fabulous Washi Sheets that I’ve been sharing with you as part of my Card Celebrations! Fun with Washi Sheets class:
And if you were interested in registering for this class by mail, I do have the instructions ready and available NOW and will be starting to mail out kits in the next couple days. So you still have time to sign up or purchase the instructions here.
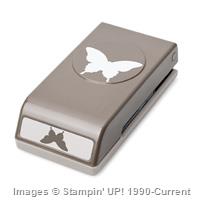
Get Ready for the Butterfly Thinlits!
Just a reminder that hopefully tomorrow the butterfly thinlits will be back in stock! And see, they go so well with the Something Borrowed Embellishments!
Card by Carol Hickman
I’ll be watching and posting to let you know when, but you can get them first! So, you can either:
Watch for my “The Dies Are Here!” post with links to purchase in the online store – and get my 3 card samples bonus as a thank you for ordering from me! OR
Email me at jennifer@nwstamper.com with your information and I’ll place the order for you as soon at they go live & mail your card samples out to you as a thank you! I will just need your shipping information and either a credit card or paypal email address for an invoice.
Tell me I’m not the only person who stamps images or cuts paper thinking it will be PERFECT for my project I’m working on, only to put it down on my paper and realize that it doesn’t fit AT ALL! Then when I realize they don’t work for my project, I have a hard time just throwing them in the recycle bin because I know they are perfectly good elements for another card or project. So, I collect them in a small box to use for later.
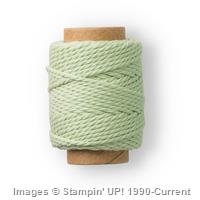
Well, I periodically decide it is time to just start creating using my scraps because otherwise they take over my craft table, that box, and everywhere else in my craft room! So, today I thought I’d share a card I created using only scraps from my pile. I think the only thing I cut fresh was the Baked Brown Sugar twine!
I think the stars were originally from an idea I had for a patriotic card. I used the Be the Star stamp set and the Star Framelits (which are on the weekly deals this week – btw!) So I just layered them using some dimensionals and then added some of the thick baker’s twine in Baked Brown Sugar and my main element was ready to go!
Then I just used a scrap piece of patterned paper from the Trim the Tree designer paper stack (still on the Clearance Rack for a great deal!) and a stamped sentiment from the Sale-a-Bration set Simply Wonderful.
So you never know when you will be able to mix elements for many times of the year to get a great anytime card!
Ok, so I have A LOT to catch up on… so, big breath in, and get ready to dive in to some project ideas for you!
First up, this fun birthday card idea using the Sale-a-Bration stamp set – Big Day!
Tips for making this card:
This was my first time using the new Chalk inks… and with it my first time playing with the new Chalkboard paper! This paper has the COOLEST texture and is so fun to play with. You want to stamp on the SMOOTH side with the chalk inks so that the ink will sit on the surface and give you that pretty chalkboard look. (this is the Coral Rose color)
Add your own extra touches with the Chalk Pen! The white dots under the cake and the white lines along the side of the chalkboard paper are made with the Chalk Pen. As you can see, it is really vibrant on the Chalkboard paper, but more “chalky” when drawing on regular cardstock.
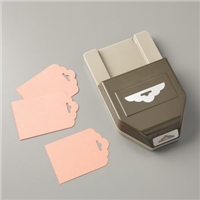
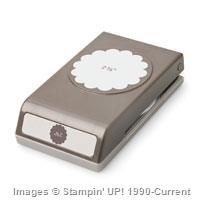
Make a fun embellishment piece by using the new Ornate Tag Topper punch… only don’t just stick to one side, do both! I had a 2” strip of Whisper White cardstock that I punched both ends. Then run some ribbon through the holes (and tie together on the inside of the card) to hold it in place.
Jazz up your Ornate tag by grabbing a Stampin’ Write marker and drawing a border about 1/16” in from the edge of the tag. Really helps you see the design, huh?
And don’t hesitate to stamp your image and then stamp & color a second version to pop-up on top! It keeps it interesting to look at when viewed at different angles, but you only have to color one.
Lots of fun… and if you need another idea, here is a reminder of one of the official cards shared in the Sale-a-Bration catalog. I love the colors and the little pop of dimension with the “Celebrate”
Now, if you are like me and LOVE the black, white, and yellow combination, I really hope you are a Paper Pumpkin subscriber because check out March’s kit and a fun alternate idea.
You have THROUGH TODAY (3/31/2015) to pick up a 3-month Prepaid subscription to the super fun kits by mail each month and not only SAVE $$ but also get a free Sale-a-Bration item to boot! I know, awesome right? I already picked up mine!
We never know what we are going to get until it ships out to us around the 15th of the month, but over the last year they have been working hard to improve the projects and how much you get in your box and so they have turned out to be really fun projects and you end up with lots of supplies. You know you will always get:
an exclusive stamp set
precut papers and supplies to make usually 6-9 copies of the project, though this varies by month and the project
all the accessories you need for the project and sometimes variations
envelopes (if they are cards)
instructions with video walkthroughs online
ink spots
Basically all you need is scissors and adhesive! (See, now you get why I said they make great gifts!)
Here is what we got for March:
And check out what my downline, Angela McCormack made with it!!!
If you aren’t in love, then you are a tough crowd!
Here is the video that went with it showing how to make the project:
You can cancel at any time or skip a month whenever you want…. so why not give it a try? You know you’ll be excited to see that awesome orange box in your mailbox next month.
Ok, so don’t wait! You only have until midnight MOUNTAINTime to get your order in and pick up your favorites. And then the will be gone and possibly not to be seen again (unless you earned your way to my Sale-a-Bration Celebration, in which case you make be lucky and have one last chance )
And if you’ve been thinking of making the plunge into the awesome world of being a Stampin’ Up Demonstrator (or just have a wishlist that is over $100), I would LOVE to have you join my growing group of Fun n’ Crafty stampers from across the US! We are an active and supportive group that create, share, and cheer each other on and we would love to welcome you in.
Plus you get 2 free Sale-a-bration items or a Project kit as a bonus for signing up in addition to the $125 in product for $99 and free shipping. But who is counting?
New Weekly Deals!
And if that isn’t enough, new weekly deals were released this morning too… so double or triple dip your savings and take advantage while you can.
Ok, that was long enough, thanks for sticking with me and have a great day!
Project Supplies Used: Easy shopping anytime! Click the images below to see the item in the online store.
Today is the day to catch you up on all the news you can use!
Join me for a Live Chat on Saturday!
With 1 week left to take advantage of the Sale-a-bration freebies that come with the Starter Kit, I know there have been a few folks on the fence and I’ve been answering questions about the starter kit and the details of what happens after you sign up.
So I wanted to run a Live Video Chat on Saturday to answer those questions along with any questions YOU have! If you can’t make it during the call, sign up anyway and I’ll make sure you get the recording.
So many fabulous options this week with the weekly deals. I love the vellum, the petite petals punch, the Label Love stamp set and matching punch…. ok, really everything!
Last Week of Sale-a-Bration & your chance to earn an invite (or make & take packet) from my Sale-a-Bration Celebration!
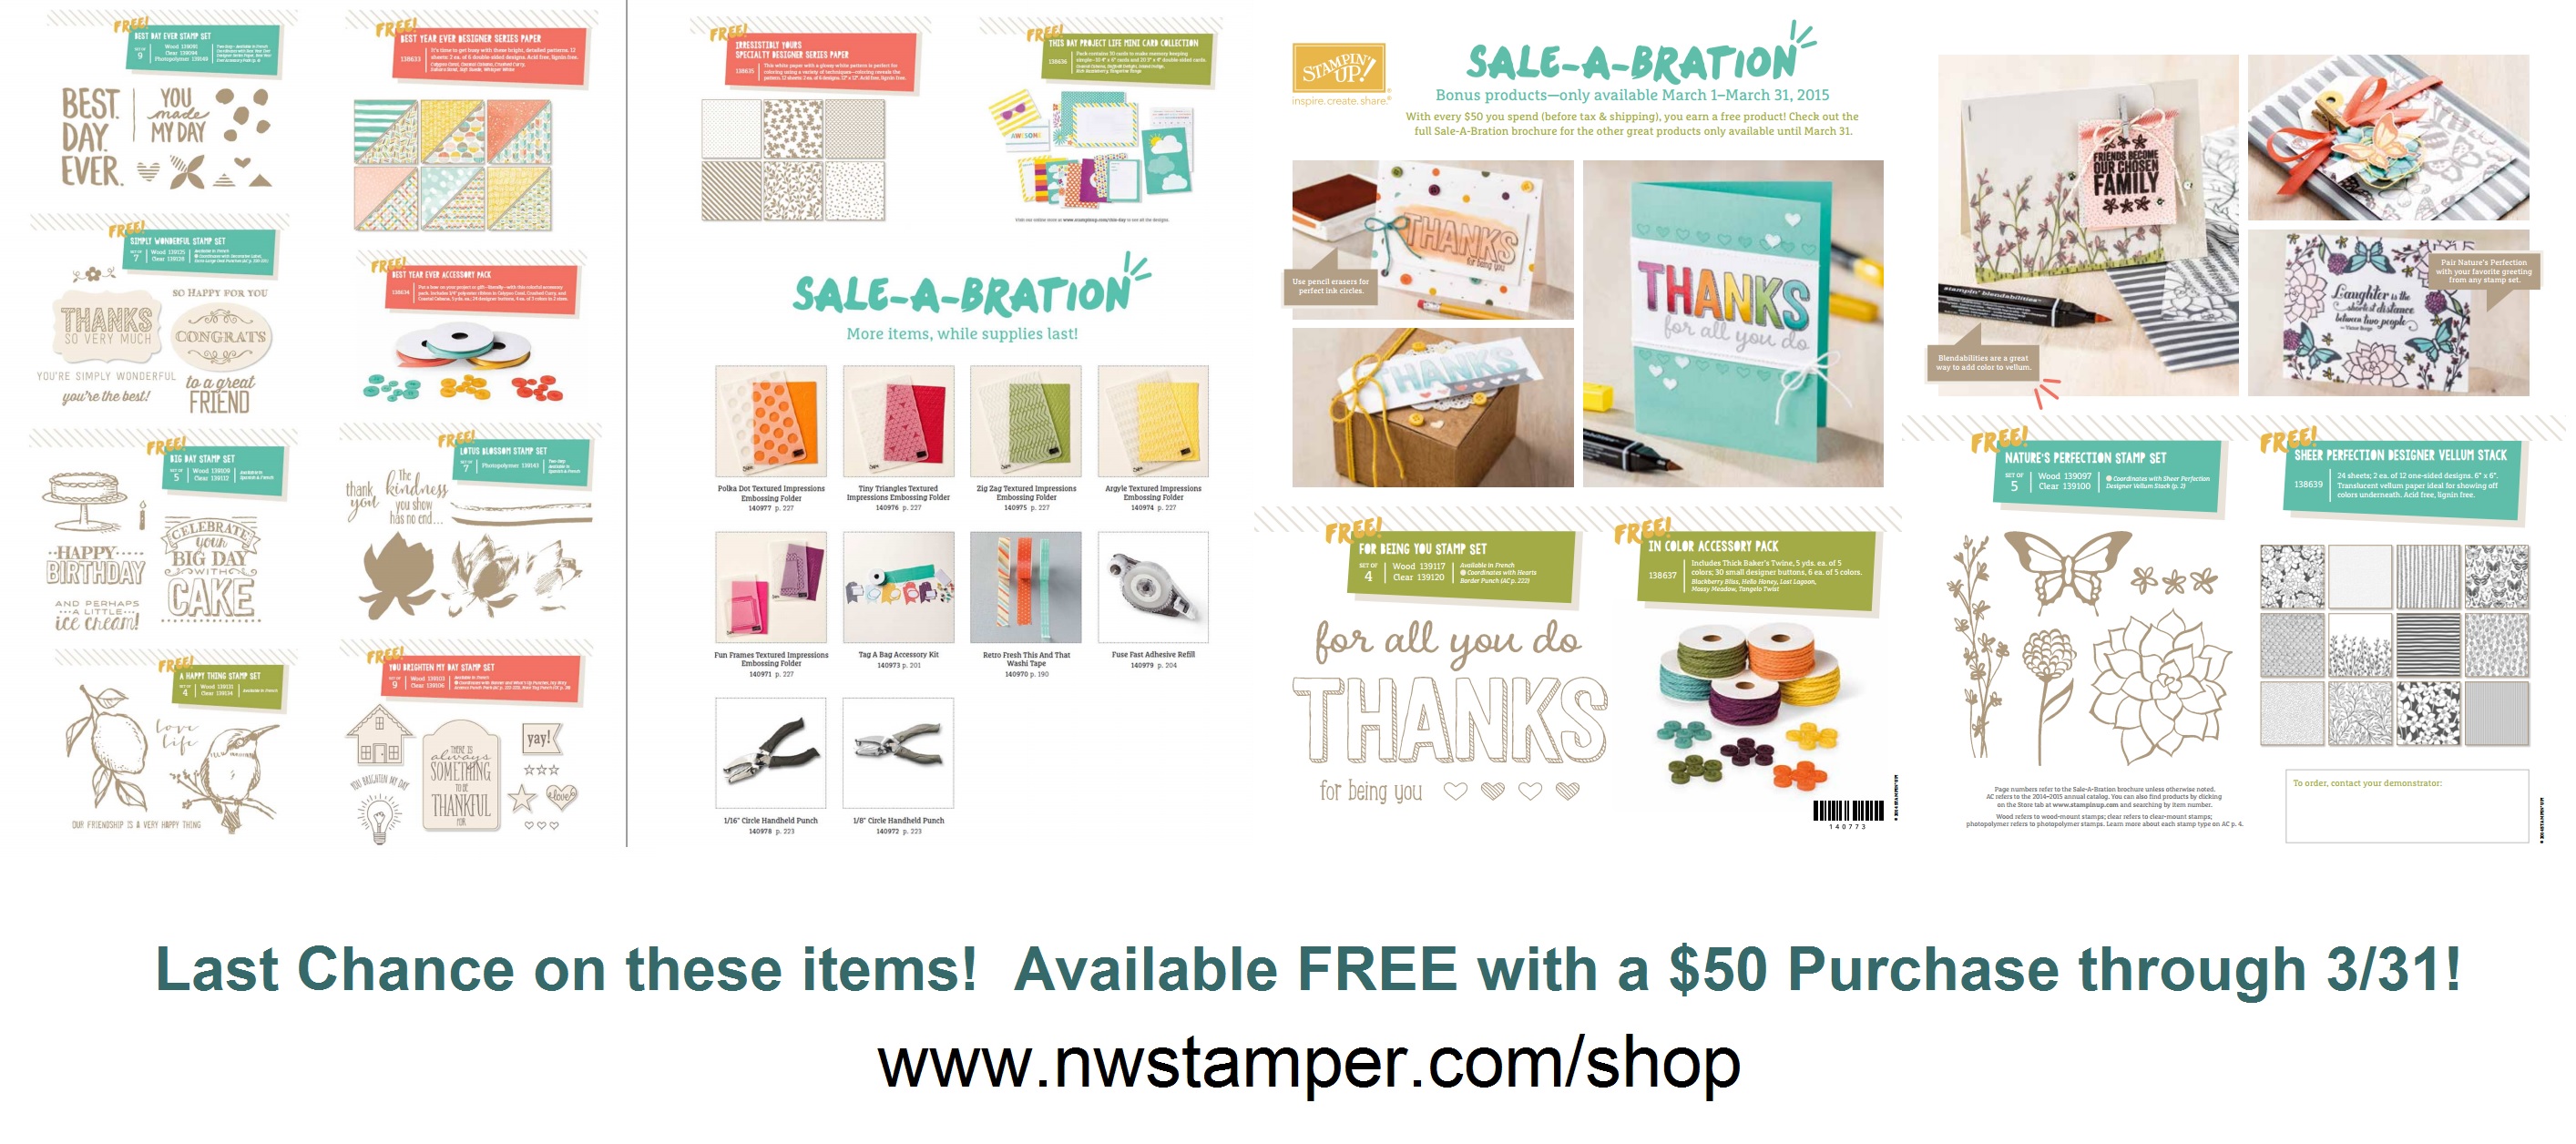
Just a reminder that this is the last week for you to earn free goodies as part of Sale-a-Bration!
Free item with a $50 purchase
$25 in bonus hostess dollars with a $250 purchase or party
2 Free items or 1 free project kit with the purchase of the Starter Kit!
And then I’ll be sending out invites starting next week for mySale-a-Bration Celebration
This is my party to celebrate and appreciate you!
There will be thank you gifts, free make & takes, treats, prizes and exclusive specials for you! And if you can’t make the event in person, I’ll send you the projects, all attendee gifts, and you can take advantage of the specials too! Plus, you can bring a friend with you for only $5 so you don’t have to come alone.
Get your invite by:
Purchase the Starter Kit & join my group of Fun n’ Crafty Stampers
Spend $150 with me over the course of January – March
Host a private class or party by the end of March (and yes, there is still time to do this with online parties and simply collecting orders from your friends!)
I realized late last night that I had forgotten to share the weekly deals this week…. oops, my bad! Plus, I just released a new Class to Go all about Birthday Cards, and so I wanted to make sure to share that as well!
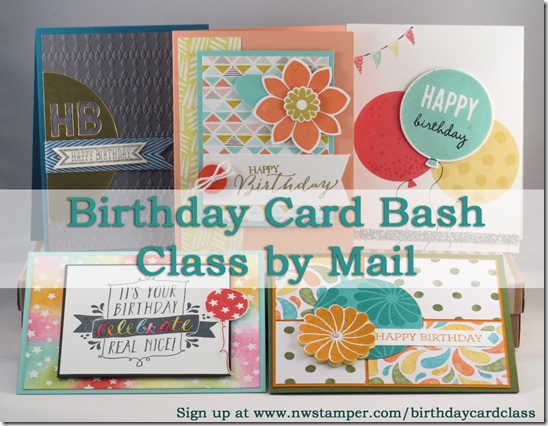
Birthday Card Class to Go
This was a class I ran locally and everyone had so much fun with the cards (and I had a few extra kits) so I wanted to share this with everyone else that couldn’t make it! You get all the supplies to make all 5 cards, everything is pre-cut, punched, die cut, etc for you – all for only $15. Get 2 sets of cards for only $20… that is $1 ea for the extra cards! And I’m also offering for class by mail attendees the opportunity to purchase any of the stamps used in these cards at 15% off!
Everything starts mailing on Monday so RSVP today!
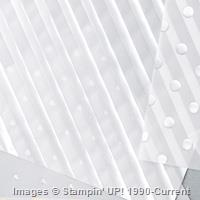
And if you love altering bags, boxes, or just want some fun gifts to have on hand, this weeks weekly deals are for you! Did you know, you can use those bags as bags and alter the fronts (this is chevron, but imagine the polka dot bag that is on the weekly deal)
Tonight is my next Blendabilities technique night and I always relish the chance to play more and differently with my Blendablities! So, today I thought I’d share a card I used as an example of different ideas for your coloring:
Tips on this card:
This stamp set is the amazing Bloom with Hope hostess set! It is a ton of stamps and great sentiments and you can get it FREE when you place your own $150 order or when you host a craft night with your friends. Email me at Jennifer@nwstamper.com for more details!
You don’t have to only color on Whisper White paper! I still wanted to stamp with my Memento Black ink as my base, but then I stamped onto Crumb Cake cardstock.
Coloring on different cardstock colors gives you slightly different looks, often a little bit darker than you would see on white, but you can still get your blending and gradients!
Speaking of gradients – try making your own on a piece of Whisper White cardstock! Color your light area and then start building out your darker colors as far as you want. You can make your own pretty and custom spectrums.
Stamp your sentiment AFTER you finish your coloring to make sure it has the best chance of standing out.
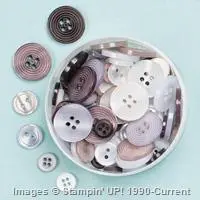
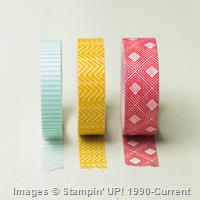
Grab your coordinating colors in accessories to finish out your card like the quick and easy Washi Tape or some Designer buttons.
New Weekly Deals!
Project Supplies Used: Easy shopping anytime! Click the images below to see the item in the online store. Use Hostess Code EGR29JBV to receive a free gift from mewhen you place your order!
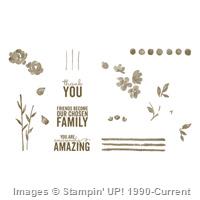
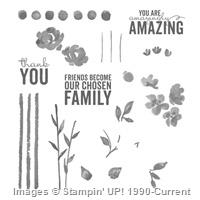
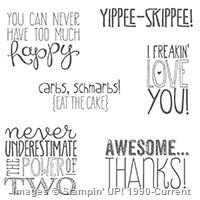
If you were following along with my Leadership adventures, you may have noticed the sneak peek of this fun stamp set – Lovely Amazing You!
I’m happy to share that it is finally here and available for you to take home! And I have to admit, I’m feeling the NEED to get this one myself. I was so sad when I didn’t win a set while I was at Leadership. Good thing I’m putting an order in this week I guess.
I really like how there are a lot of fun! sentiments and the images can be used in a variety of ways. I mean, check out the samples above, same stamp set, totally different styles!
or let me know TODAY if you want in on a group order and I can get you a copy of this set and save on your shipping costs! Email me at jennifer@nwstamper.com
And while you are checking out the stamp set, check out these new Weekly Deals! You can add them to your stamp set order and get a FREE SALE-A-BRATION item too!
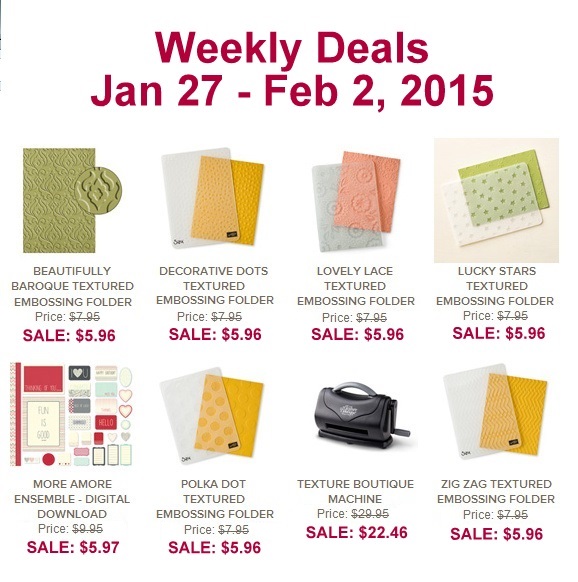
Wow! I checked out the Weekly Deals this morning and holy moly if you like embossing or have considered getting into Embossing folders, this is your week!
You can get
6 Embossing Folders
the Texture Boutique machine to emboss your paper with them
a free stamp set, paper pack, or blendabilities of your choice from the Sale-a-Bration catalog
If you wanted an even better deal – consider getting the starter kit and you can get
5 embossing folders
The Big Shot for embossing OR die cutting
All for only $99 plus free shipping and then you’ll be a part of my Fun n’ Crafty demonstrator group and get a minimum of 20% off your future orders too! Learn more here.
Quick share today of a card I did in my Flip Card technique class where we used the different Flip Card thinlits. For this sample, we used the Label Thinlit and the dies that came with it for this fun love card:
Tips for making this card:
Start with a 5.5″x11″ piece of cardstock for your card base.
Place the thinlit die over the cardstock so that the left side of the die exactly matches the left side of the cardstock. Then tuck the right edge of the cardstock OVER the right side of the die. It will look like your paper is threaded through the die. (under the left and the middle of the die, over the right end of the die).
After you run the paper through the Big Shot, you should have the flip part in the middle cut out and a score line on the right 1/3rd. Fold in on that score line.
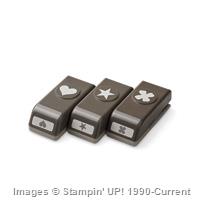
Use the Pictogram Punches stamp set to decorate the outside, and then the Perfect Pennants stamp set decorate the inside of the flip part.
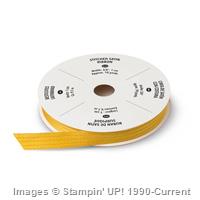
Punch out a Crushed Curry scallop dotted ribbon and adhere along the INSIDE of the flipping edge so that half hangs over the edge (so you can see it when the card is closed). Layer a white label die cut (that comes with the thinlit set) over the yellow ribbon cardstock to cover the middle.
Well, tomorrow I leave for leadership… so watch for videos, pictures and more from me from the fun in Orlando!

 Dimensions for this card:


![NWstamper signature_thumb[9]](https://i0.wp.com/www.nwstamper.com/wp-content/uploads/ad87b4046c1e_C9F6/NWstamper-signature_thumb9.png "NWstamper signature_thumb[9]")


![NWstamper signature_thumb[9]](https://i0.wp.com/www.nwstamper.com/wp-content/uploads/ad87b4046c1e_C9F6/NWstamper-signature_thumb9_thumb.png?resize=322%2C118 "NWstamper signature_thumb[9]")