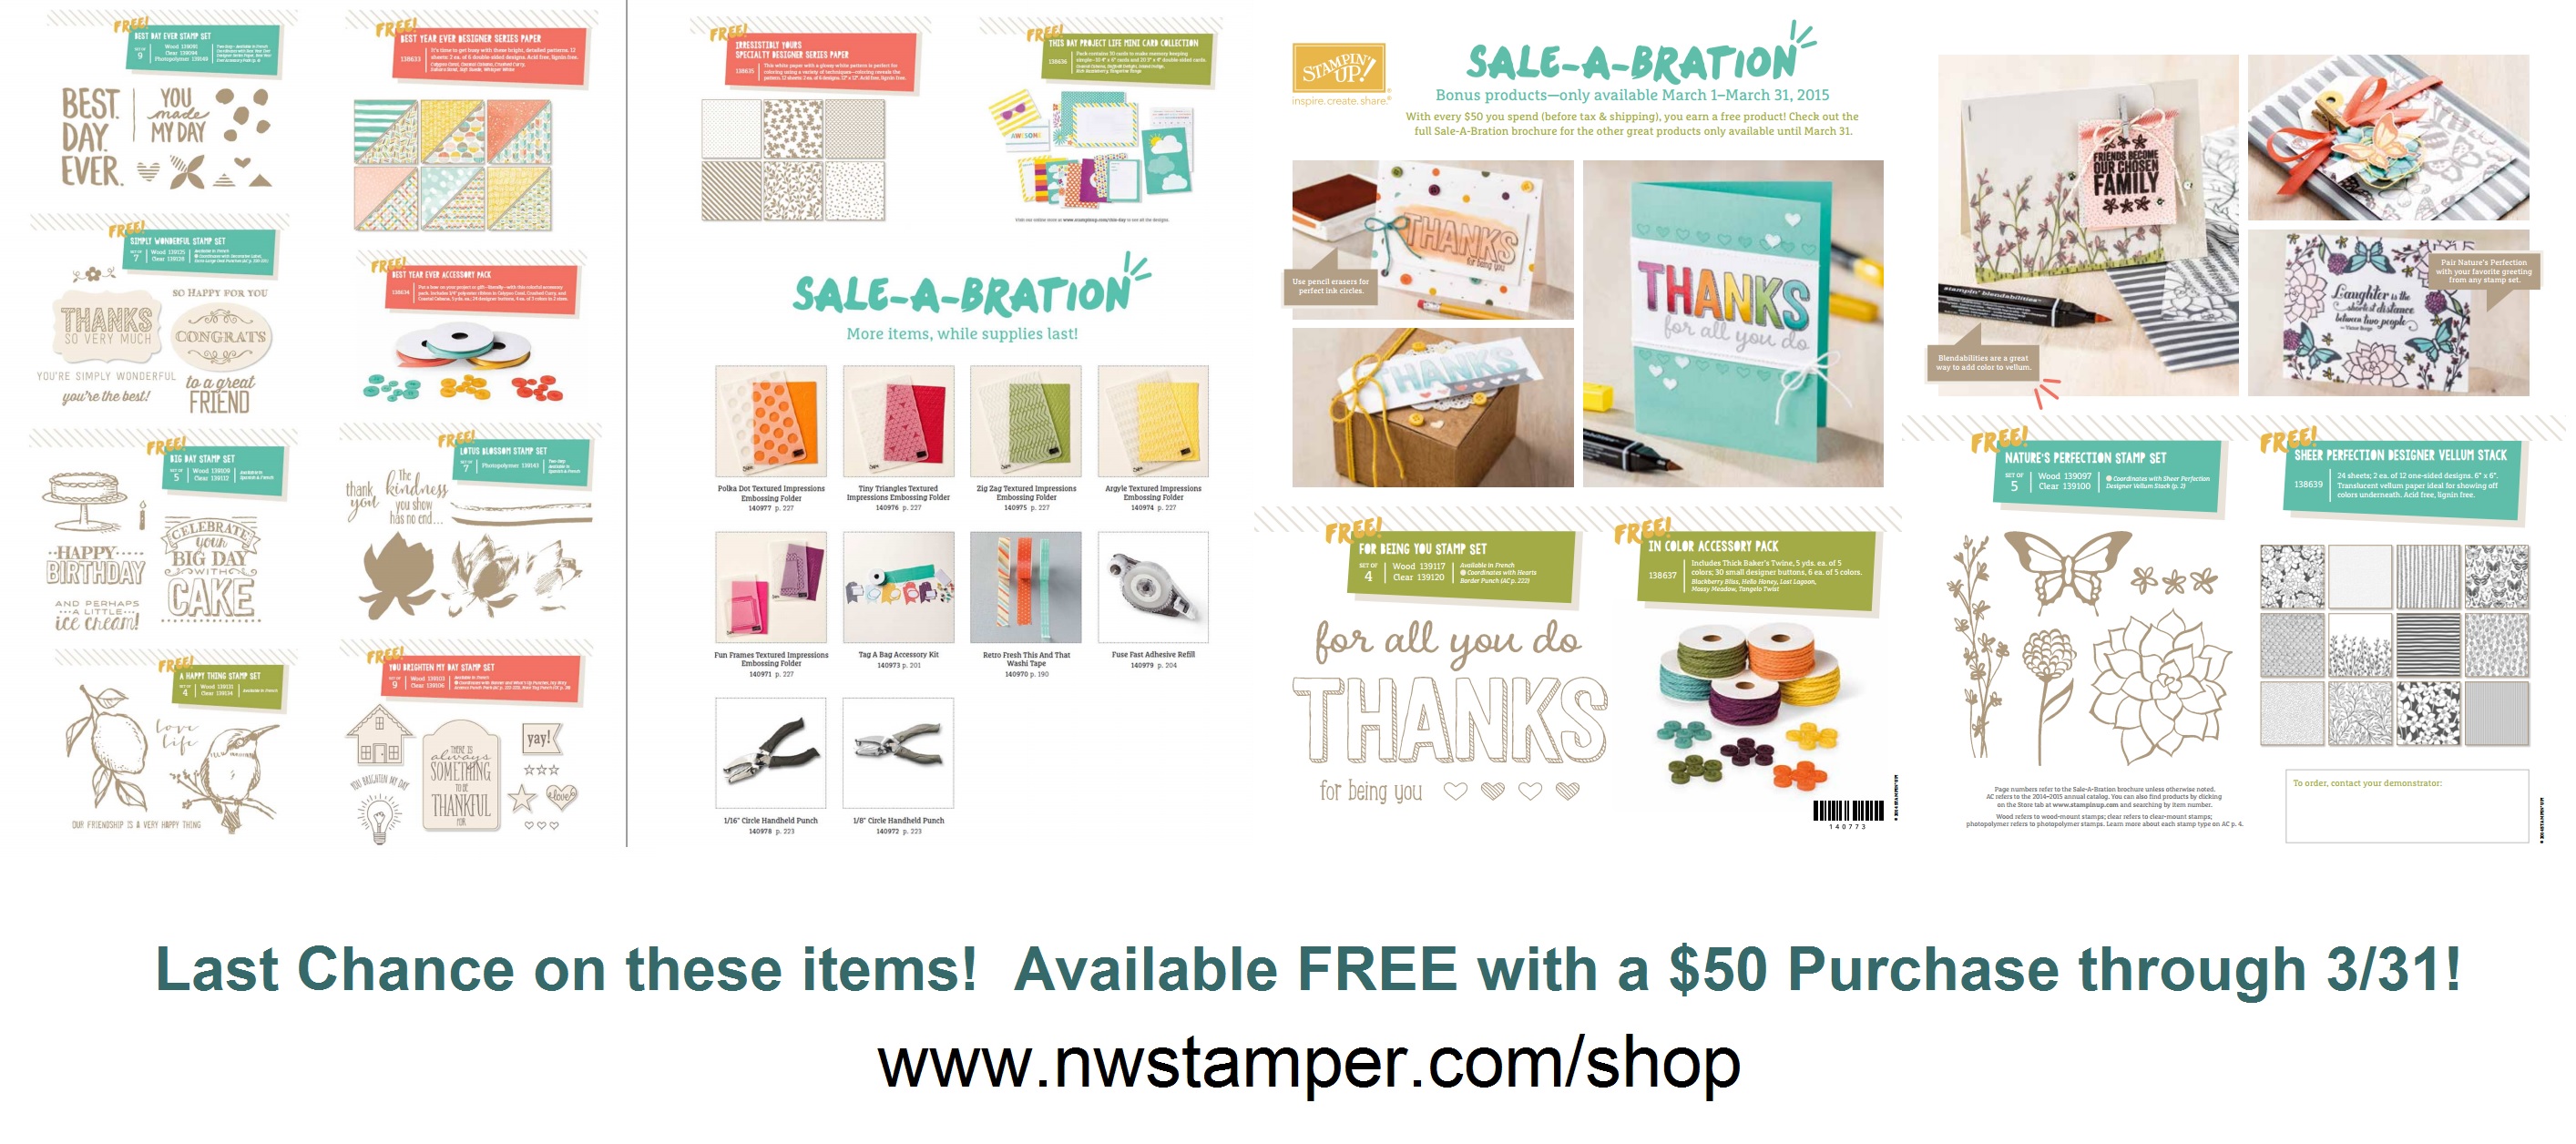
My head has been down focused on recent stamping events including my Sale-a-Bration Celebration customer appreciation event, getting my April Class-by-Mail out the door, and working on thank you cards and projects for my next few classes (Beautiful Bokeh on Monday 4/27 for you locals, and hopefully the Easy & Elegant Artisan Cards for May’s Class by mail!) And though it has been crazy, it’s been a lot of fun! I love getting a chance to make some special goodies to say thank you for everyone who has been supporting me and letting me bring a little creativity into their lives!
(some of the lovely ladies at my appreciation event on Monday!)
Oh, and to top it off, my camera stopped working (well, the flash stopped working) so I had to mail it back in to Canon for repairs and just got it back yesterday! So, today I have a project that I forgot to share from a while back…simple but a great way to spruce up a simple gift bag!
Tips for making this project:
Pick up inexpensive plain gift bags from the dollar store or other discount store and use your scraps and stamps to embellish it!
Layer punches and dies to add a lot of dimension and WOW in a little space.
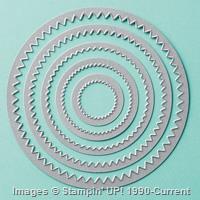
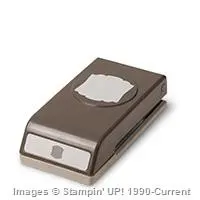
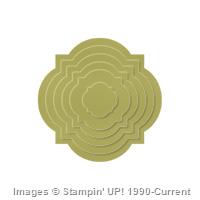
This tag uses 2 retiring punches/dies – The Artisan Label Punch and the Starburst Framelit
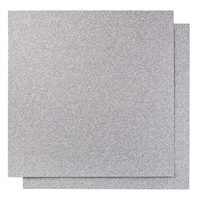
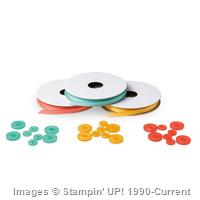
Mix in elements out of Glimmer Paper to add easy touches of sparkle and glitz.
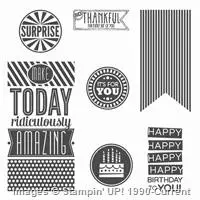
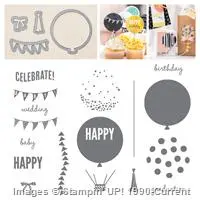
Use Make the rest of the tag by layering images from the Amazing Birthday stamp set… but the best part is that this could be for anyone at anytime!
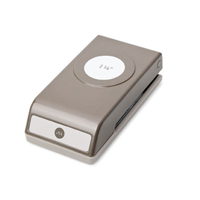
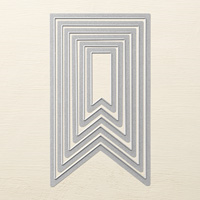
Did you know? The Amazing Birthday stamp set coordinates with the 1-1/4” Circle Punch and the Banner Framelits!
These sort of tags are perfect ways to use up your scraps and add that special handmade touch to your gifts. Plus they are fun to make… so WIN – WIN!
Like I mentioned, this uses 2 retiring accessories… the items are while supplies last and a lot have sold out already. So I wouldn’t wait too long to snag your favorites… the stamps will be manufactured through May 26th, but the accessories are while supplies last through June 2nd.
The Clearance Rack was updated yesterday too!
Ok, now I’m off to get thank yous in the mail and take pictures of the projects we made in the last week so I can be back tomorrow to share more fun ideas! Until then…
Project Supplies Used: Easy shopping anytime! Click the images below to see the item in the online store.
Have you been loving the Butterfly Thinlits? I LOVE how pretty the delicate shapes are from the dies like on this card I made with the Red Glimmer Paper:
And I will say (even though I totally forgot to get a picture before I gave away all my swaps) that I really enjoy how EASY it is to put together a card with the Butterfly Basics stamp set. Seriously, it looks like an ok stamp set in the catalog, but when you start playing with it, cards start coming together really quickly! Here is one that I was sent recently (and it got a little crinkled in the mail!
Card by Susan Timchack
Well, I know a bunch of folks missed out when it was available at the beginning of the year and Stampin’ Up knows how frustrated everyone has been with the dies and the discounted bundle being out of stock for so long due to the dock workers strike that was going on recently, especially if you were hoping to get the bundle and earn Sale-a-Bration benefits with it! So, because Stampin’ Up is awesome – they are offering a special “thank you for your patience” deal as soon as the dies show up in their warehouse and go on sale. Check it out:
The dies are expected in the warehouse TODAY and should be available for purchase on WEDNESDAY (April 15th)!
Everyone has been eagerly awaiting the return of these dies, so while they should be getting a lot in, I would make sure to order yours early to make sure you don’t have a bit of a wait in line as everyone makes a run on them!
So, you can either:
Watch for my “The Dies Are Here!” post with links to purchase in the online store – and get my 3 card samples bonus as a thank you for ordering from me! OR
Email me at jennifer@nwstamper.com with your information and I’ll place the order for you as soon at they go live & mail your card samples out to you as a thank you! I will just need your shipping information and either a credit card or paypal email address for an invoice.
And if you are still on the fence, here are a couple more ideas for you:
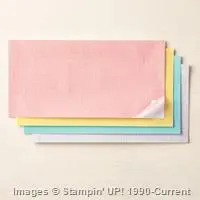
I will admit, I saw the washi sheets when they came out in the Occasions Catalog and I didn’t give them too much thought. Sure, washi was fun, but did I really need sheets of them? Well, I finally decided to get a pack and start playing and turns out that having bigger pieces of washi is actually a lot of fun and great for all kinds of projects! In fact, I created my April Class by Mail around Washi Sheets and the Celebrate Today stamp set bundle because I was having such a great time.
See, totally fun, right? And some of the cards use big pieces of washi sheets for backgrounds, die cuts, or punch outs that you need the bigger sheets to get these looks. I have all the details of this class by mail below (or join me in person next week on the 15th in either the morning or evening class session).
But first I thought I would share one of the cards from the class that was actually the very first one I created:
You could recreate this card with regular washi tape, but the thing that is cool about the washi sheets is that you get to pick the width of the strips you want. So, say you loved yellow and wanted a wide yellow strip in addition to the skinnier yellow strip shown above – you can totally do that!
I cut my strips of washi sheets to slightly different widths and then placed them on the background paper. Then stamped with the coordinating Celebrate Today stamp set for my central sentiment.
Turned out totally cute! Don’t you agree?
Want to make this and the 7 other cards?
You can join me in person if you are in the Seattle area
Card Celebrations! Fun with Washi Tape April 15th – 10am-12n at my house in Bellevue, WA or 7pm-9pm at Panera in Redmond RSVP here – morning | evening or email me at jennifer@nwstamper.com
Or sign up for my class by mail! Included in the class kits are:
20 notecards & envelopes (so you have spares as you are working & can come up with your own creations!)
a pack of washi tape sheets
all extra papers and embellishments precut, including washi sheet pieces
all die cut elements cut
pdf instructions for all 8 cards
Celebrate Today bundle (optional add-on) – SAVE 15% when you order with the class!
Have the supplies but just want the instructions? I’ll be emailing those out starting Monday so get your name on the list today!
Class instructions PDF – $4.95
Project Supplies Used: Easy shopping anytime! Click the images below to see the item in the online store.
Ok, so I have A LOT to catch up on… so, big breath in, and get ready to dive in to some project ideas for you!
First up, this fun birthday card idea using the Sale-a-Bration stamp set – Big Day!
Tips for making this card:
This was my first time using the new Chalk inks… and with it my first time playing with the new Chalkboard paper! This paper has the COOLEST texture and is so fun to play with. You want to stamp on the SMOOTH side with the chalk inks so that the ink will sit on the surface and give you that pretty chalkboard look. (this is the Coral Rose color)
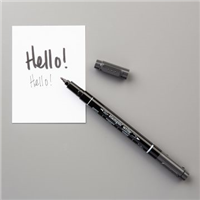
Add your own extra touches with the Chalk Pen! The white dots under the cake and the white lines along the side of the chalkboard paper are made with the Chalk Pen. As you can see, it is really vibrant on the Chalkboard paper, but more “chalky” when drawing on regular cardstock.
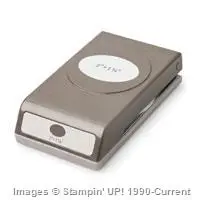
Make a fun embellishment piece by using the new Ornate Tag Topper punch… only don’t just stick to one side, do both! I had a 2” strip of Whisper White cardstock that I punched both ends. Then run some ribbon through the holes (and tie together on the inside of the card) to hold it in place.
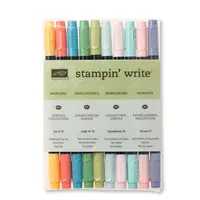
Jazz up your Ornate tag by grabbing a Stampin’ Write marker and drawing a border about 1/16” in from the edge of the tag. Really helps you see the design, huh?
And don’t hesitate to stamp your image and then stamp & color a second version to pop-up on top! It keeps it interesting to look at when viewed at different angles, but you only have to color one.
Lots of fun… and if you need another idea, here is a reminder of one of the official cards shared in the Sale-a-Bration catalog. I love the colors and the little pop of dimension with the “Celebrate”
Now, if you are like me and LOVE the black, white, and yellow combination, I really hope you are a Paper Pumpkin subscriber because check out March’s kit and a fun alternate idea.
You have THROUGH TODAY (3/31/2015) to pick up a 3-month Prepaid subscription to the super fun kits by mail each month and not only SAVE $$ but also get a free Sale-a-Bration item to boot! I know, awesome right? I already picked up mine!
We never know what we are going to get until it ships out to us around the 15th of the month, but over the last year they have been working hard to improve the projects and how much you get in your box and so they have turned out to be really fun projects and you end up with lots of supplies. You know you will always get:
an exclusive stamp set
precut papers and supplies to make usually 6-9 copies of the project, though this varies by month and the project
all the accessories you need for the project and sometimes variations
envelopes (if they are cards)
instructions with video walkthroughs online
ink spots
Basically all you need is scissors and adhesive! (See, now you get why I said they make great gifts!)
Here is what we got for March:
And check out what my downline, Angela McCormack made with it!!!
If you aren’t in love, then you are a tough crowd!
Here is the video that went with it showing how to make the project:
You can cancel at any time or skip a month whenever you want…. so why not give it a try? You know you’ll be excited to see that awesome orange box in your mailbox next month.
Ok, so don’t wait! You only have until midnight MOUNTAINTime to get your order in and pick up your favorites. And then the will be gone and possibly not to be seen again (unless you earned your way to my Sale-a-Bration Celebration, in which case you make be lucky and have one last chance )
And if you’ve been thinking of making the plunge into the awesome world of being a Stampin’ Up Demonstrator (or just have a wishlist that is over $100), I would LOVE to have you join my growing group of Fun n’ Crafty stampers from across the US! We are an active and supportive group that create, share, and cheer each other on and we would love to welcome you in.
Plus you get 2 free Sale-a-bration items or a Project kit as a bonus for signing up in addition to the $125 in product for $99 and free shipping. But who is counting?
New Weekly Deals!
And if that isn’t enough, new weekly deals were released this morning too… so double or triple dip your savings and take advantage while you can.
Ok, that was long enough, thanks for sticking with me and have a great day!
Project Supplies Used: Easy shopping anytime! Click the images below to see the item in the online store.
Happy Monday! I figured we could all use a bit of sunshine and cheer to kick off our week, so I thought I would share one of the cards from my recent Birthday Card Bash Class. A little while back my friend Breelin posted on instagram a pile of cards she had received and I was inspired by one to create this card.
It is always a nice reminder to see that sometimes the simplest cards are some of the cutest, don’t you agree!?
Tips for making this card:
Have fun with the round patterns that come in the Celebrate Today stamp set! When you layer them over the solid balloon stamp image, you can get all kinds of fun designs. Keep it to the same color like in this example, or pick a contrasting color to really punch things up.
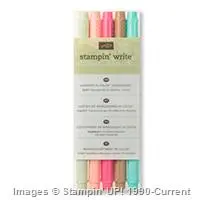
Use your Stampin’ Write markers (the dye-ink markers; not Blendabilities or alcohol ink markers) to color your banner image to match the colors in the rest of the card.
If you find you are having a hard time getting a solid image with markers and your photopolymer stamps, prime your stamps first by inking them up with an ink pad and stamping off onto scrap paper, clean the stamp, and then try it with the marker. Usually you will get a better result!
Draw on your strings including a line across the bottom of the balloon tab for a “floating away” feel to your card.
PSST!! – EARLY BIRD St. Patrick’s Day Special!
I couldn’t let St. Patrick’s Day go by without some fun, so I decided to offer a card challenge tomorrow (more on that tomorrow!) but I’ll also be offering a 17% off discount on all Stampin’ Up orders with me through tomorrow night! So, if you are seeing this now, you can get in on the savings early by either 1. Shop online and use hostess code 9CYWBHVC on the shopping cart page (if your order is over $150, don’t use the code and I’ll still make sure you get the discount) OR 2. Email me at jennifer@nwstamper.comor call me with your order with the code StPattys17
Project Supplies Used: Easy shopping anytime! Click the images below to see the item in the online store.
I realized late last night that I had forgotten to share the weekly deals this week…. oops, my bad! Plus, I just released a new Class to Go all about Birthday Cards, and so I wanted to make sure to share that as well!
Birthday Card Class to Go
This was a class I ran locally and everyone had so much fun with the cards (and I had a few extra kits) so I wanted to share this with everyone else that couldn’t make it! You get all the supplies to make all 5 cards, everything is pre-cut, punched, die cut, etc for you – all for only $15. Get 2 sets of cards for only $20… that is $1 ea for the extra cards! And I’m also offering for class by mail attendees the opportunity to purchase any of the stamps used in these cards at 15% off!
Everything starts mailing on Monday so RSVP today!
And if you love altering bags, boxes, or just want some fun gifts to have on hand, this weeks weekly deals are for you! Did you know, you can use those bags as bags and alter the fronts (this is chevron, but imagine the polka dot bag that is on the weekly deal)
I’m so excited to be participating in the Fun n’ Crafty Blog Hop this month! We are celebrating birthdays and sharing cards and project ideas to help you with those celebrations any time of the year! You know they are coming! 🙂
And it is fitting because today is my Mom’s birthday! Happy Birthday, Mom!!
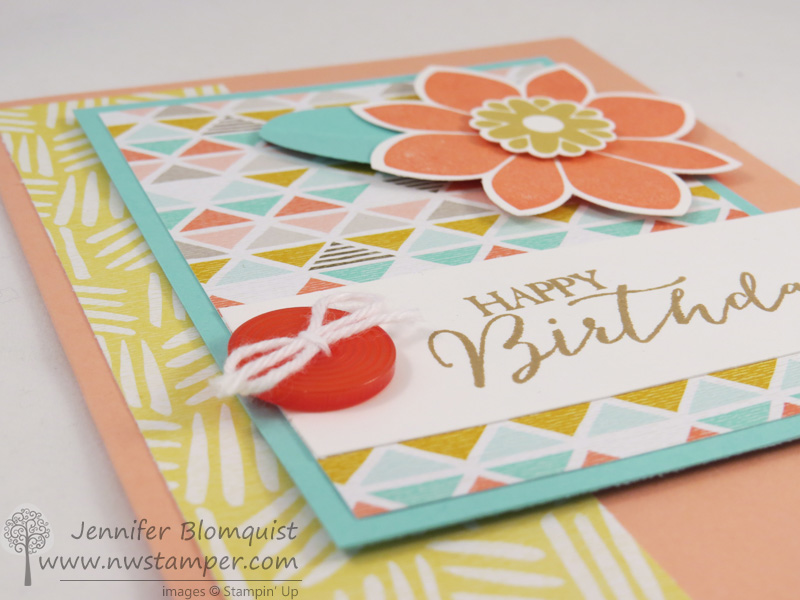
This is one of the 5 cards from my Birthday Card Bash Class to Go and I love it! I was inspired by a fellow talented demonstrator Kriss Huels and thought my local stampers would love this card and so I had to recreate it! Plus I was dying to use my Best Year Everdesigner paper and this was a fun combination, don’t you think?
Tips for making this card:
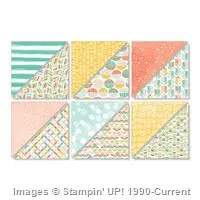
Don’t be afraid to use your designer paper! Grab a paper pack – or get this one FREE during Sale-a-Bration with your $50 order – and then pick two patterns and mix away! You may find a pattern you weren’t a fan of in the 12×12 size looks great in a smaller piece.
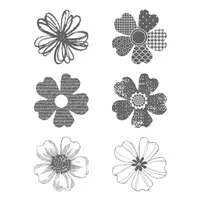
Don’t you love this new Flower Medallion punch and matching Petal Potpourri stamp set? I love that the flower set ranges from simple and modern to lacy and elegant. This clean shape goes great on any style of card. Plus get the punch and stamp set together in a bundle and save 15% off both while you are at it!
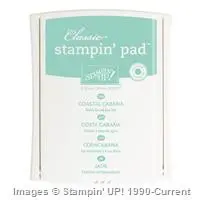
Make a simple leaf for your flower by punching an Extra Wide Oval from your Coastal Cabana cardstock and then scoring and folding down the middle. Easy, peasy, done!
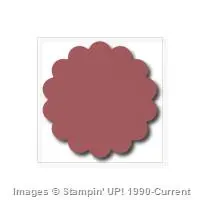
Don’t forget the 7/8″ scallop circle punch matches perfectly the smaller flower shape in the Petal Potpourri stamp set! It makes a great finishing touch to your flower.
Use one of your designer buttons (or one of the buttons from the FREE Best Year Ever Accessory Pack during Sale-a-Bration) and tie some white baker’s twine through for a little extra pizzazz on your card.
Quick Sale-a-Bration Bundle Idea for you:
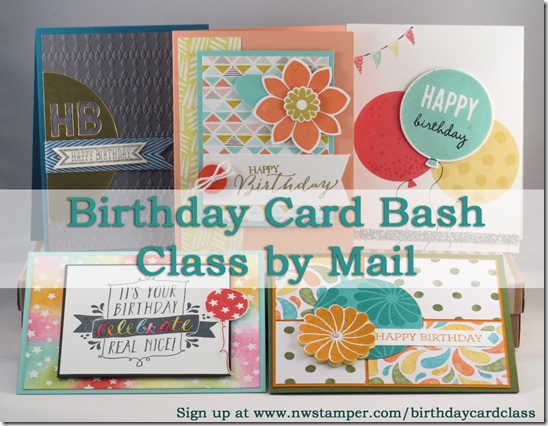
I didn’t get a chance to get more cards up, but you can get some sneak peek ideas of other fun birthday cards you can create at home by checking out my image for my Birthday Card Bash class below!
Check out the wonderful and talented ladies who joined me on this blog hop! They also have great ideas to share with you and so hop along and enjoy the inspiration!
Here is the teaser photo for my Birthday Card Bash Class… so you can get a few more ideas!
Or, get your own project kit and make these cards at home! SIGN UP HERE.
Project Supplies Used: Easy shopping anytime! Click the images below to see the item in the online store. Use Hostess Code 9CYWBHVC to receive a free gift from mewhen you place your order!
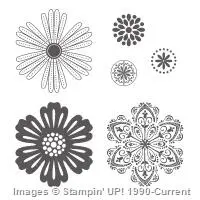
Over the last couple catalogs, I’ve collected many of the flower stamp sets and matching punches from Stampin’ Up! Because you know how much of a sucker I am for stamp sets that match punches – it makes it so easy! So, I was playing around and started combining my different flowers and it turns out they look pretty great together. Check it out –
Tips for this project:
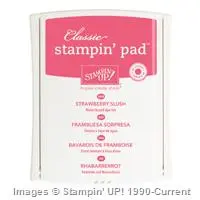
Stamp the flower image with the same color ink as your cardstock (in this case, Strawberry Slush) before stamping to create a custom look.
Mix in between your layers flower punches out of Whisper White cardstock and sponge with the same color ink you used on the other flowers to create a pop of color and make your flower layers distinct.
Use a Bone Folder to curl up the petals of your flower to help make it be more 3D and come to life!
The Window Frame framelits make the perfect opening to allow some of your patterned paper peek through behind your flower and frame your flower.
Cut your patterned paper to 1/4″ larger than your Whisper White cardstock to give an extra coordinating border.
I often get asked if I recommend purchasing stamp sets in wood mount, clear mount, or photopolymer – and often I say it depends on the type of stamp set for me. With these flowers and matching punches, I know that 90% of the time, I’m going to be stamping and punching out my flowers and so I optimized for Easy and Speed in stamping.
–So I buy them in wood mount
This is because I know that I won’t need precision placement most of the time and it makes it easy to grab and go when I want to stamp, and especially if I want to punch out a few different flower images from the same set. I don’t have to clean my stamp and change the block between stamping, they are all ready to go and I can just do all my stamping at one time and then do all my cleaning. Easy, peasy, done!
Project Supplies Used: Easy shopping anytime! Click the images below to see the item in the online store. Use Hostess Code EGR29JBV to receive a free gift from mewhen you place your order!
Did you catch my Occasions Catalog walkthough video? If you did, you saw me showing this card when I talked about both Sale-a-bration products as well as the Celebrate You stamp set and framelit bundle. It was my first time playing with this set and I just had too much fun!
Tips for making this card:
If you like the Celebrate Today stamp set, then you definitely should go for the bundle! You get framelits to cut out almost all of the shapes including those cute balloons (and pennants, which I didn’t in this card, but could have). Plus you save money in the process.
When picking colors for your card, pick your papers or your accessories to get inspiration from. In this case, I reached for my Best Year Ever (FREE) Sale-a-Bration accessory pack and used the ribbons and buttons. So, the rest of the card was centered around those colors – Crushed Curry, Calypso Coral, and Coastal Cabana
Don’t be afraid to go “off the page”! I let my elements (like the sentiment and the balloon) have their edges peek over the edges of my white layer. This gives the card more interest and keeps it from being too stiff.
Get those buttons and ribbons free!
You can only get them for free (that’s the best price, right?) and you can do it one of two ways:
Place a $50 order in my online store and you can pick their bundle as your free Sale-a-Bration item OR
Purchase my I WANT IT ALL Product Sampler from me. As a bonus for getting the full shebang (all for only $26 for all the papers and accessories in the catalog) you’ll get a sampler of these ribbons, buttons AND the coordinating designer paper! Sweet right?
Have fun and enjoy the new goodies!
Project Supplies Used: (if you are reading this in email, click here to see the list of supplies)
Today is my Birthday and I am so excited for an afternoon where I don’t have to do anything except kick back with some great music and pull out all my preorder goodies and craft, craft, craft! But before I got elbows deep in paper and ink, I wanted to share with you a card I put together for Stamp Club this month!
I had had someone ask about a birthday card and I had seen a card that used white embossed paper over a white cardbase that I loved and so I set out to replicate and tweak that idea using my Stampin’ Up supplies I had at home. I just love how elegant it turned out and I was so excited to share it with everyone at my events this month! I made mine be birthday but switch out the sentiment and it would be great for just about any occasion!
Tips for making this card:
Emboss a smaller piece of cardstock (in this case 2-3/4”x 3-3/4”) with your favorite embossing folder. I liked the Mosaic embossing folder because it was a simple repetitive design that felt elegant and gave the card some visual structure.) and then mat it on a 3”x4” piece of white cardstock.
Since everything is based in white, pick a contrasting ribbon to anchor your color. I love Black & White and so this Black Chevron ribbon was just the thing!
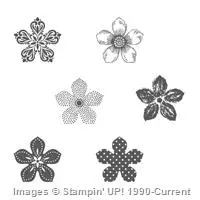
Punch 6 Petite Petal flowers and crumple each one up into the smallest ball you can in your hand. Don’t worry if the petals are smashed in all the wrong directions, that is good! The important thing is getting them extra wrinkled and textured.
Adhere the flowers together using glue dots and add a rhinestone to the center for sparkle amongst the texture.
Need extra sparkle? Add a strip of Dazzling Diamonds glitter paper for a mess-free glitz on your card.
You don’t need a lot of supplies to make a card that will wow them everytime. So, grab some paper and a flower punch, and have fun creating!
My Birthday Gift is a Gift for You!
I love celebrating birthdays… all the fun, cheer, and even a few presents! I’ve been so amazed to receive some very sweet gifts this year (some fun crafty goodies, some shopping money to get more, and even some pampering by my hubby!) So I wanted to share the joy by giving you all a gift as well!
I’m giving YOU a $5 gift certificate to be spent starting January, for every $25 you order today and tomorrow! This even counts if you order gift certificates from me or Paper Pumpkin prepaid subscriptions! So you can finish up your holiday shopping and get a little something fun for you as well.
Shop online or email me your order to jennifer@nwstamper.com and I’ll get your certificate emailed out to you right away! If your order is less than $150, then please use hostess codeXMUM7PJZ. To purchase a gift certificate, email me so I can make sure I have all the details. If you are interested in giving a Paper Pumpkin Subscription, you have the option to order them online here.
And can I just brag about my super hubby today? In the past we haven’t done much for birthdays but he has been amazing today including this yummy breakfast in bed! Eggs, sausage, and the oh so delicious Orange Rolls! Talk about spoiling a girl!
So I hope you all have a wonderful day too! Until tomorrow!
Project Supplies Used: (if you are reading this in email, click here to see the list of supplies)
I swear, if it wasn’t for the girls over at Stylin’ Stampin’ Inkspiration, I would be even more behind on my blogging! They are always so cheery and enthusiastic, and sharing such great ideas. Today we are sharing ideas using Blendabilities markers and so I wanted to share another sample using one of the EASIEST techniques to use with your Blendablities – coloring on a window sheet!
It’s like the stained glass technique, only way less messy and just about as pretty!
Tips for creating this card:
For this technique, you want to stamp on a window sheet with Stazon ink and then TURN IT OVER and color on the window sheet on the other side with your blendabilties markers.
With window sheets you can’t really blend your colors, so you just need to plan to go for one color or color different areas of the stamped image with different color markers – like I did here with the Cherry Cobbler and the Daffodil Delight blendabilities. But you get such a shiny bright look, you won’t mind.
Cut out your stamped image and adhere with glue dots to your project to prevent the adhesive from showing through.
Keep the rest of your card subtle – sponging the edges of the cardstock with Old Olive ink and using the large Polka Dot embossing folder for the background; so that your colored image can really pop!
Love this stamp set? It is one of the hostess sets in the annual catalog and you get for free using $17 of your free hostess benefits – all for 2 jam full boxes of stamps! They are so pretty and PERFECT for coloring with Blendabilities. So, if you are placing a $150+ order or have some friends who would be interested in picking up some craft supplies (or holiday gifts!) let me know by emailing me at jennifer@nwstamper.com and we can get you hooked up for your freebies including this set!
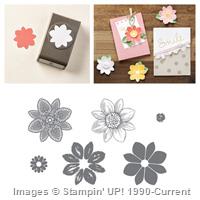
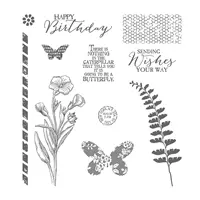
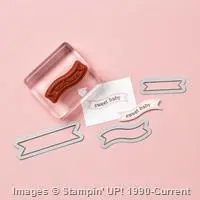
It’s Stamp Set Focus day over at Stylin’ Stampin’ Inkspiration and today everyone is playing with the Amazing Birthday stamp set! I had so much fun using it for the convention display boards this summer and I love it’s versatility!
So today I’m going to shake things up a bit… I’m not sharing a card! Gasp! I know, what is wrong with me? I don’t often do 3D projects but I do have to admit I love embellishing some of the premade treat bags and boxes. Especially these Muslin Bags from Stampin’ Up because they are so soft and have such fun textures to work with. What do you think?
Tips for this project:
You can stamp on the Muslin Bags with any of your Stampin’ Up inks, but for longer and more solid staying power, grab your Stazon Ink for best results – like I did with the cake images.
If you are really crafty – aka have a sewing machine, which I do not – you can sew your ribbons together and even onto the bag. If you are like me and DON’T own a sewing machine, I attached the Melon Mambo 1/8” taffeta ribbon to the Chevron Natural ribbon using Sticky Strip. Then I used hot glue to attach the Chevron ribbon to my bag. I made sure to put a piece of cardboard inside my bag while glueing just in case any glue oozed through (none did, but I wanted to be extra sure).
I used the Banner Framelitto cut out the Thankful sentiment. Then I took that same framelit and traced the outside of the framelit shape on a piece of Melon Mambo cardstock and cut it out with scissors to create the mat piece.
For the gold foil, layer a long strip of foil onto your banner shape and then just use your snips to cut out the banner end to match the cardstock piece underneath.
Add subtle sparkle by dotting Dazzling Details all over the front and back of the bag. Just make sure to give it enough time to sit out to dry!
These bags would be perfect for goodie bags or thank you gifts for a birthday party or other celebration! Just mix and match your colors and you are good to go!
One Week Only!
Join my crafty crew, the Fun n’ Crafty Stampers and receive an EXTRA $25 in free product with your Starter Kit! That is $150 in goodies for only $99! If you’ve been considering starting your own business, making some money to cover your craft supplies, or just want to get your supplies at a discount, this is a great deal and an awesome time to become a member of my stamping group from across the US! Learn more here
August Online Stamp Club Hostess Code – TT2NETD4 Use this code to get free exclusive tutorials & project kit! Learn more


![NWstamper signature_thumb[9]](https://i0.wp.com/www.nwstamper.com/wp-content/uploads/ad87b4046c1e_C9F6/NWstamper-signature_thumb9.png "NWstamper signature_thumb[9]")


