It’s the day I’ve been waiting for, the first of the new style of company event from Stampin’ Up called OnStage! This is the new convention (OnStage Live) coordinated with 1 day regional events in the countries in the company. So OnStage Live was held in Brussels and so, since I wasn’t making that flight, I am attending one of the one day OnStage Local events – this time in Vancouver, WA.

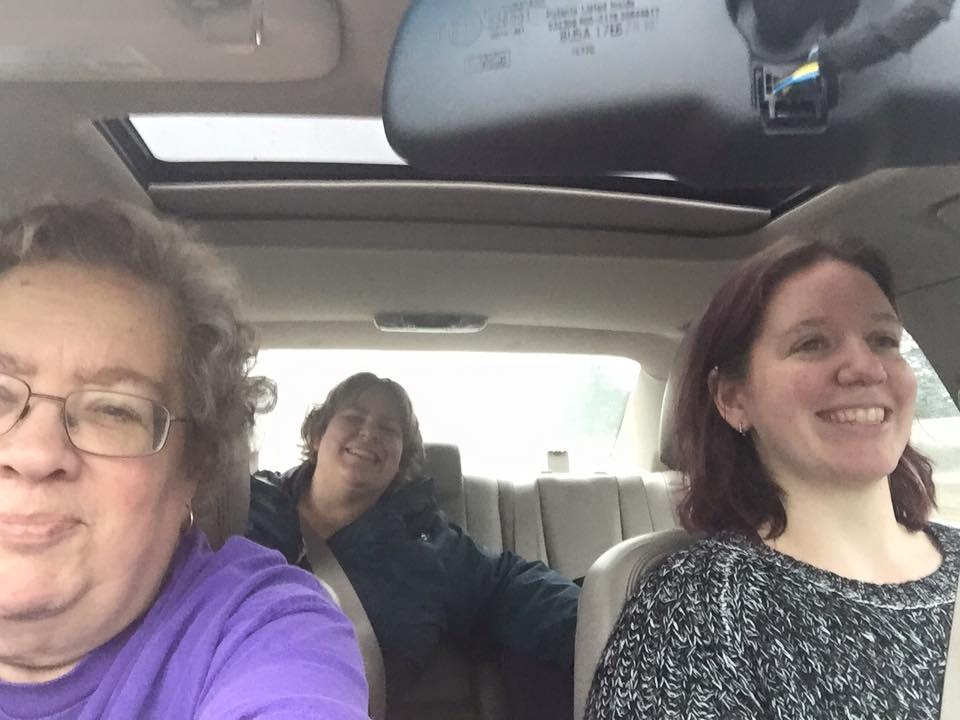
After a crazy drive from Seattle Friday afternoon (seriously people between traffic and CRAZY rains, what I was expecting to be 2 1/2 hrs turned into 4!) we made it into town in time to drop off my travel companions – my mom and my downline Tanya at our hotel and then I headed over to the event center for a leaders dinner and training!

I got to chat with some great ladies and have some yummy food (should have taken a picture of the cheesecake… sooo good!).

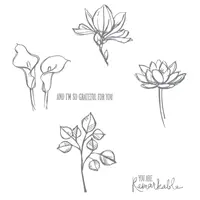
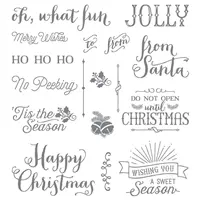
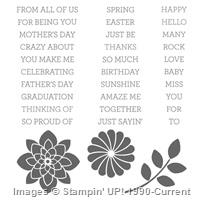
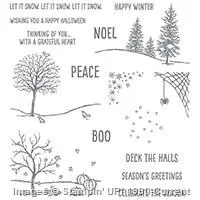
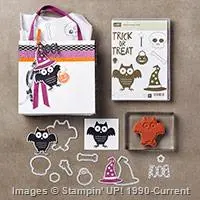
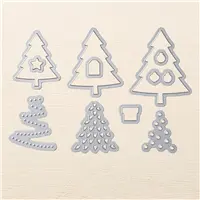
We also got a sweet gift and got to pick up our Sneak Peek stamp set a little early.
And while I’d love to share with you the picture of the sneak peek stuff, SU is making us stay mum until Monday night. So I can tell you though, that I’ve already jumped up and down clapping in excitement for at least one thing! And I haven’t even seen the upcoming spring catalog yet! So, I’ll keep you posted after seeing all the goodies today. ![]()
Now it is off to join up with my team for a FULL day of fun and prizes! If you want to follow along, feel free to join me over on my Facebook Page – http://facebook.com/nwstamper where I’ll be posting throughout the day.
I stayed up late last night working on my swaps, so I’ll be back soon to blog about mine and other great swaps I get when I’m there.
Here we go!![NWstamper signature_thumb[9]](https://i0.wp.com/www.nwstamper.com/wp-content/uploads/ad87b4046c1e_C9F6/NWstamper-signature_thumb9_thumb.png?resize=322%2C118 "NWstamper signature_thumb[9]")
![]()
But use Hostess Code PU2EYZJY to get a special thank you from me!


![NWstamper signature_thumb[9]](https://i0.wp.com/www.nwstamper.com/wp-content/uploads/ad87b4046c1e_C9F6/NWstamper-signature_thumb9.png "NWstamper signature_thumb[9]")


![15 off stamps promo_NWStamper[5]](https://i0.wp.com/www.nwstamper.com/wp-content/uploads/d47664f77271_9FF0/15-off-stamps-promo_NWStamper5.jpg?resize=420%2C275 "15 off stamps promo_NWStamper[5]")


