Happy yesterday Halloween! I don’t know about your part of the woods, but even though it was blustery and rainy most of the day, we still went out and had lots of fun! Not a lot of trick or treaters in our neighborhood, but I’m doing my part to help keep the tradition alive by taking my family around. They are just getting old enough to really start getting having a lot of fun with it – and still small enough that everyone loves seeing them. ![]() And now today, with the start of November, I’m seeing lots of people posting and talking about their 30 days of gratitude and sharing each day something they are thankful for. It something that I think is so good to do these days when we get caught up in what is frustrating or hard in life, or just being way to focused on ourselves! So, I figured I’d kick off the month sharing something I’m thankful for…. my family!
And now today, with the start of November, I’m seeing lots of people posting and talking about their 30 days of gratitude and sharing each day something they are thankful for. It something that I think is so good to do these days when we get caught up in what is frustrating or hard in life, or just being way to focused on ourselves! So, I figured I’d kick off the month sharing something I’m thankful for…. my family!

I’m so grateful for my awesome kiddos and that they love to craft with me! My mom who is as much of a craft-a-holic (or even more so than me!) so we can share fun projects and ideas whenever we are together… and my dad who is always so supportive and fun, even if it is putting up with mom and I going on and on about some new technique or project. ![]() And my hubby, who makes it possible to not only have these amazing kids, but supports me running my Stampin’ Up business and staying home to be the mommy I want to be!
And my hubby, who makes it possible to not only have these amazing kids, but supports me running my Stampin’ Up business and staying home to be the mommy I want to be!
What are you thankful for?
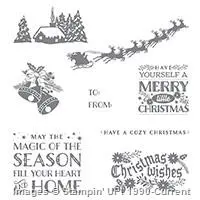
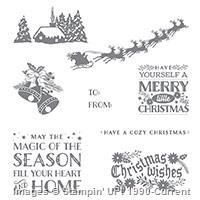
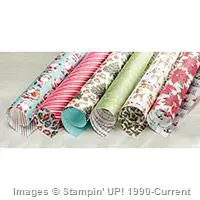
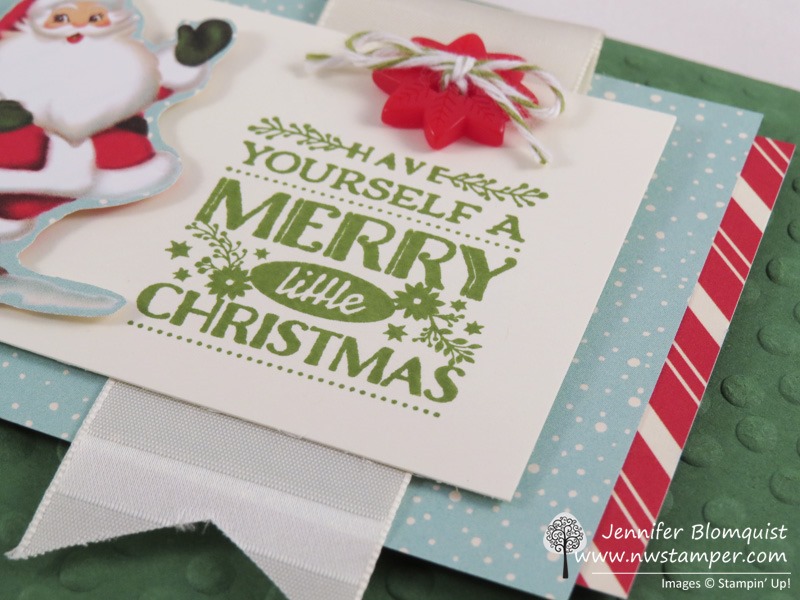
Well, as Halloween has gone by and we are gearing up for Thanksgiving and Christmas, I thought I’d share this fun Christmas card that I made based on an idea shared at Convention this summer using the Cozy Christmas stamp set and Home for Christmas designer paper.

So many fun layers and textures, it is a sweet little card that uses the heck out of your designer paper!
Tips for making this card:

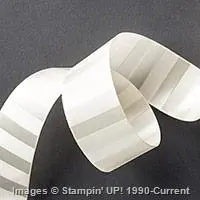
Pro tip – Fold the top of the ribbon FIRST and then ADHERE the ribbon to your white cardstock. THEN, trim the end of the ribbon (or even wait until then to cut your length of ribbon off the spool!). That way you can see how much ribbon is showing below the cardstock. If you cut your ribbon end too early, it may not look as nice when you go to adhere it to the back of your cardstock only to discover you cut your ribbon just a little too short!

So, thank you again for stopping by. Like what you see? Please leave me a comment and letting me know! Or swing by my Facebook page and say hello there! I always love hearing from you!
![NWstamper signature_thumb[9]](https://i0.wp.com/www.nwstamper.com/wp-content/uploads/ad87b4046c1e_C9F6/NWstamper-signature_thumb9.png "NWstamper signature_thumb[9]")
![]()
But use Hostess Code FHRCKER7 to get a special thank you from me!
Product Supplies Used:


Built for Free Using: My Stampin Blog
Leave a Reply