Sometimes I get all caught up in the fun of playing with all my punches, ribbons, and accessories, that I forget to go back to the basics…. ink, stamps, and paper! But I shared this card with my Stamp Club recently and loved the elegance of it and the simplicity.

Tips for making this card:
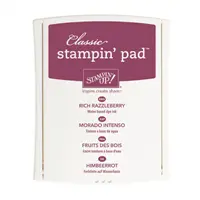
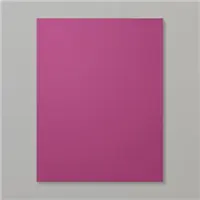
- Pick your favorite color and feature it on your card and then stick to simple neutrals to break it up. In this case, I just used Rich Razzleberry and Whisper White… and it turns out, that is all the color you need!
- Keep it from being too flat by spicing it up with two of my favorite tricks: Heat Embossing and Sponging!
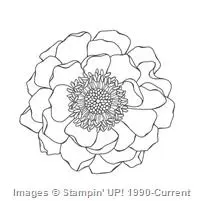
- I started by heat embossing the Blended Bloom flower in the lower left corner of my Rich Razzleberry cardstock. To do this:
– Lightly wipe over the area with the Embossing Buddy (it is a little cloth pouch with powder inside), this de-statics the paper and makes sure the embossing powder only sticks to the stamped lines and doesn’t give you speckles in other places!
– Stamp your image using Versamark Ink (the clear watermarking ink)
– Generously dump embossing powder over the stamped image to make sure all the ink is covered in powder.
– Tap off any excess powder onto a piece of computer paper or the grid paper mats are perfect for this! And then dump the excess powder back into the container.
– Use the heat tool to blow hot air over the embossing powder to melt it into the shiny awesome raised image that you want! - Once you have your embossed flower, tap a sponge dauber into Rich Razzleberry ink and then swirl it over the center of your flower to get the darker middle. Easy as that!

- Sponge all the way around the edges of the stamped card for a darker edge.
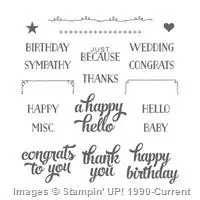
- Do the same thing with the sentiment by heat embossing, I used the “A Happy Hello” from the Tin of Cards stamp set (LOVE IT!) and added a bit of the trim from the same stamp set in Rich Razzleberry ink.

- Then just adhere your layers and you are done!


See, I told you easy… and fun too!
Hmm… speaking of easy, this is inspiring me. I think I may use this same general idea to create some swaps for OnStage Local – Stampin’ Up’s new live events that is the replacement for Convention and Regionals! I’ll be headed to Vancouver, WA tomorrow for this fun event starting with a leaders dinner Friday night and then the main event on Saturday! We’ll be getting a sneak peek at what is coming new in January 2016 with the spring Occasions catalog and Sale-a-Bration! Woo hoo! Can’t wait to see and then share. ![]()
And in other exciting news….
Class by Mail Page is Up! See available kits and tutorials from past classes now!
I have had folks asking for a place to see all of my classes by mail and project tutorials. Well, I finally have them all consolidated into one place. I’ll still be making some changes and improvements to the layout of the page and adding some more descriptions, but they are up and ready for you!
>>> Available Classes by Mail and Tutorials <<<

Just email me with your order
or
shop online at www.nwstamper.com/shop with hostess code PU2EYZJY
(if your order is over $150, skip the hostess code and you’ll get the benefits & the tutorial!)
Then email me with which tutorial you would like sent to you for FREE!
Offer good through 11/18/2015
![NWstamper signature_thumb[9]](https://i0.wp.com/www.nwstamper.com/wp-content/uploads/ad87b4046c1e_C9F6/NWstamper-signature_thumb9_thumb.png?resize=322%2C118 "NWstamper signature_thumb[9]")
![]()
But use Hostess Code PU2EYZJY to get a special thank you from me!
Project Supplies Used:


Built for Free Using: My Stampin Blog