Get ready for it! The cone of silence has been lifted and I can finally share more about what I saw at OnStage this weekend and all the crazy cute stuff I saw while I was there! I still can’t show you the inside of the catalog for a while, and my first preordered items won’t be getting here until later this week… but I bet there is enough here to at least give you a fun fix for now!
Ok, but before I get to the “Coming Soon” Stuff, I want to quickly mention the new things that are more “Now” and time sensitive in nature.  I’m very sensitive that way… hee hee
Holiday Catalog Retiring Product List is Released!
Stampin’ Up announced yesterday the full list of items in the Holiday Catalog that will be discontinued at the end of the catalog period. But the most important part is that they are WHILE SUPPLIES LAST! So, don’t wait until January 4th to get your favorites.

You can also check out the list in PDF form … either organized by Catagory or listed by Catalog Page Number
I’ll keep you posted as things sell out, but grab your must haves early so you won’t be disappointed later!
See the Holiday Catalog in PDF form here
New Weekly Deals too!
And since we love deals, how about the new Weekly Deals too?

See the weekly deals online here
Monthly Hostess Code – PU2EYZJY – enter this at checkout and receive a special thank you from me!
Ok, back to the sneak peeks!
Like I mentioned before, OnStage is Stampin’ Up’s new event to replace Convention and Leadership. I went into the weekend not really knowing what to expect. They had been fairly hush hush about what exactly would be happening but they promised a great time and the chance to get the Occasions Catalog and Sale-a-Bration catalogs in our hot little hands first! And you KNOW I’m a totally sucker for deals and for sneak peeks! One thing they didn’t change though, was Stampin’ Up’s habit of starting event days EARLY! Like, check in starting at 7:30 and festivities were on by 8:30! And though I had stayed up until almost 1am on my sugar high from going out with my mom, Tanya, and Janet Wakeland to Voodoo Doughnuts…mmm so good…


I was still able to get my butt out of bed (barely) and get over to the event location.

Thankfully, I had a few friends who got there extra early and were able to snag a table for our group. It wasn’t too full… the venue had a lot of space, but it was still 400 crazy stampers eager to find a seat and start seeing what was new and coming soon!


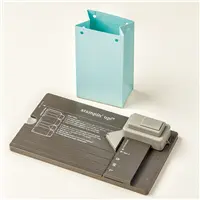
See those tables in the front of that bottom picture? That was ROWS of Big Shot machines! So much amazing stuff we got to try that goes with the Big Shot! If you don’t have one now, make sure to put one on your Christmas list! And then give your family my email (jennifer@nwstamper.com) to make sure you get it and all the perfect complimentary pieces in time for gift giving. 

It was fun to have Greg Pitt be our MC. Though his official title is Director of Distribution Services (getting our goodies from the warehouse to a box to us!) as soon as he started talking I recognized his voice – he is the voice of Stampin’ Up convention! Like the “please welcome to the stage…” guy. So, that was fun and he had a good humor too!

We started out with a video from the OnStage Live event in Brussels where we heard about the company stats and goals for the next year… and then on to the good stuff! Stamping presentations and the Occasions Catalog reveal! Lets just say we were super duper swooper excited to get our catalogs and see the new stuff!

And since that is a terrible picture if you are trying to see the cover of the catalog. Here is an only slightly better picture. Really, I was trying for you, but it was dark out when I realized the first picture was blurry!

SPOILER ALERT!
Ok, if you don’t want to see anything new that is coming up… look no further! I don’t know who you are… I could not have your restraint But if that is you, come back tomorrow for more fun non-spoiler projects!
So, we started out with video stamping presentations… including one by the Stampin’ Up president Rich Jutkins. Turns out he is funny AND can stamp!

Here is his card using a new hostess set from the Occasions catalog (which starts Jan 5th as an FYI)
 Oh, and love how he did this tag

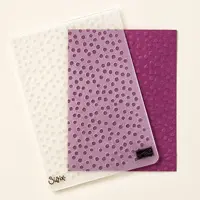
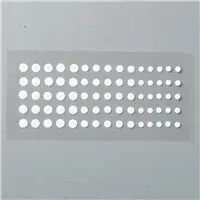
We have some cool new pop-out dies for the inside of your cards:


And just so many great stamp/die or stamp/punch combinations. Seriously people, watch for those bundles because there is lots of great stuff and lots of saving to be doing. Didn’t I tell you earlier I’m a sucker for a deal?
It was such an exciting morning filled with stamping, prize patrols, and sweets… I had one more voodoo doughnut with me for the drive home, but I just couldn’t wait and had to keep the adrenaline and sugar high going! FYI – the Grape Ape donut and new stamps are an excellent combination!
So I know you are here for the sneak peeks, so here are a TON for you!

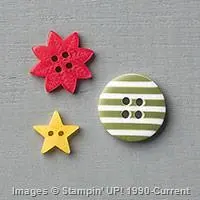
 Isn’t it so cute! That card was a combination of Sale-a-Bration stamp set and cut Honeycomb embellishments in the Occasions catalog. I can’t believe I forgot to take a picture of my FAVORITE image from the Sale-a-Bration set, a cute chick! It was the very top Sale-a-Bration wishlist item for me!
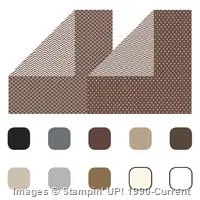
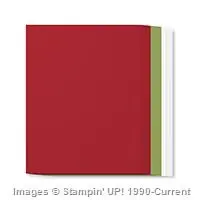
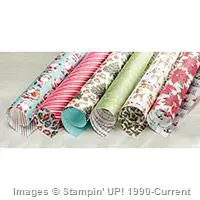
And speaking of Sale-a-bration, how about another card idea using new papers and dies from the Occasions catalog with a coordination stamp set from the Sale-a-bration catalog:
 Fun fact, the stamp set that coordnates with the flower die above, actually ALSO coordinates with the Designer Paper! Look, you can stamp added details onto you paper! Compare the left and right sheet.

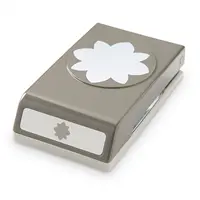
New stamp set with matching punch

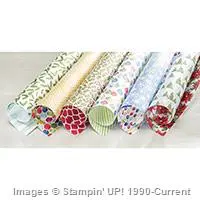
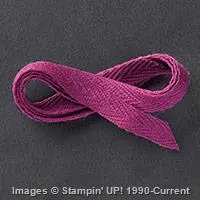
New ribbon

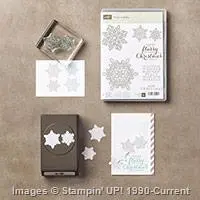
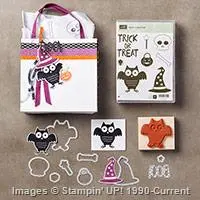
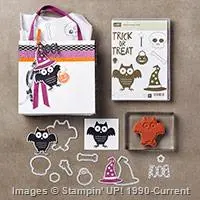
New project kits


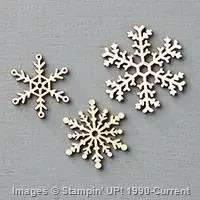
New sunburst die

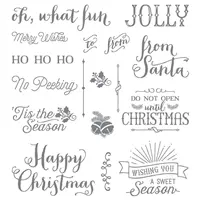
New stamps


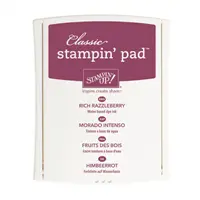
Another new die and BLUSHING BRIDE GLIMMER PAPER! Swoon!

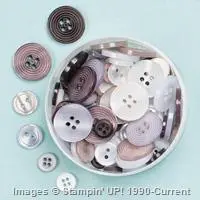
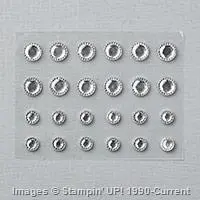
More new goodies


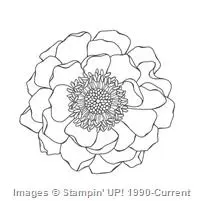
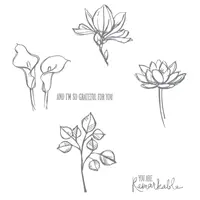
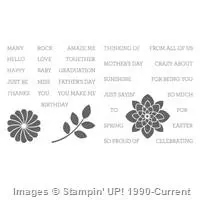
Yes! These are stamped images using a 3 step stamping set like the past Lotus Blossom!


Dies you HAVE TO HAVE


And lots more


In the end, everyone won a prize patrol, and I was so happy that Stacey (on the left) won the stamp set she wanted most of all from the catalog! How perfect was that!

I was so grateful to have a number of my Fun n’ Crafty Stampers with me to stamp with, debate, discuss, and share the experience. Plus my many new and long time stamping friends from across the region.

Want to see the whole Occasions Catalog and Sale-a-Bration Catalog Now?
Unfortunately, I can’t share the catalog for a while now, but all demonstrators as of today are able to view the catalogs online and starting December 3rd we will be able to ORDER from them too as part of a preorder!
But that doesn’t mean you can’t join in on the fun!
Just pick our your favorite wishlist items for a custom Stampin’ Up starter kit and for only $99 you can join the Stampin’ Up demonstrator family and get to pick out $125 in product to be shipped to your house (free shipping on your kit too!). Plus, you’ll get to start preordering the newest stuff on December 3rd and all the while, participate in our awesome Fun n’ Crafty team community through our Facebook group or connecting with us at events or with others in your area. We’d love to welcome you!

![NWstamper signature_thumb[9]](https://i0.wp.com/www.nwstamper.com/wp-content/uploads/ad87b4046c1e_C9F6/NWstamper-signature_thumb9_thumb.png?resize=322%2C118 "NWstamper signature_thumb[9]")
![order online button for sig 3_thumb[4]](https://i0.wp.com/www.nwstamper.com/wp-content/uploads/ad87b4046c1e_C9F6/order-online-button-for-sig-3_thumb4_thumb.png?resize=307%2C45 "order online button for sig 3_thumb[4]")
Use Hostess Code PU2EYZJY at check out to get a special thank you from me!
Through 11/18 – Get a free Class by Mail tutorial with every $35 purchase! See all the classes by mail here
Check out the Holiday Catalog Retiring List & Sold Out Updates
Save 25% on the Latest Weekly Deals
Don’t miss up to 60% off in the online Clearance Rack!
Love this Post? Share it with your friends!


![NWstamper signature_thumb[9]](https://i0.wp.com/www.nwstamper.com/wp-content/uploads/ad87b4046c1e_C9F6/NWstamper-signature_thumb9.png "NWstamper signature_thumb[9]")


