Today I wanted to share a card I created to send out as part of my customer thank yous. I had gotten embarrassingly far behind on sending out thank you cards for orders over the last few months and so I wanted to make up some cards and make sure everyone knew how much I appreciated them and their support. It took a while but it was great to sit and write a little note to each person. Plus it was fun to take a big stack to the post office… say HAPPY MAIL! 🙂

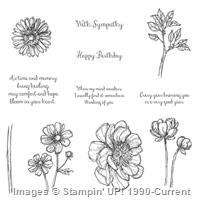
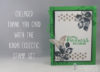
So what is inside many of those cards? This fun Kinda Eclectic collaged thank you card! I have always loved the Kinda Eclectic stamp set because it is one of those sets that you can just randomly stamp a bunch of the images onto a piece of cardstock and it almost always looks great. Gotta love stamp sets that make it hard for you to mess things up!

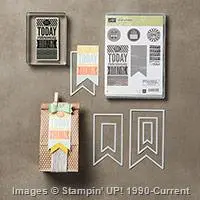
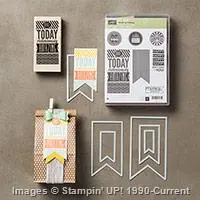
Now this card was also a last hurrah for me for many of the retiring items from the Stampin’ Up 2016-2017 retirement list (You can see everything that is still available and being discontinued here). Including:
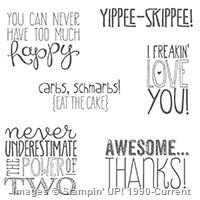
- the Kinda Eclectic stamp set
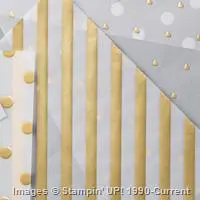
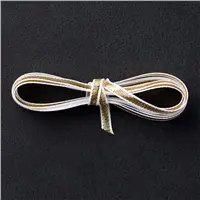
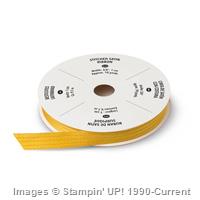
- Cucumber Crush Thick Baker’s Twine
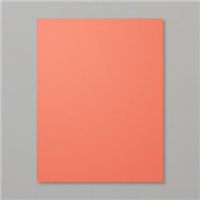
- Cucumber Crush cardstock
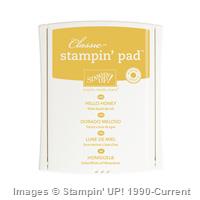
- Cucumber Crush ink
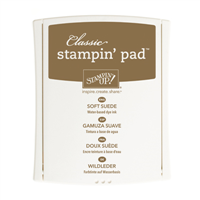
- Tip Top Taupe ink
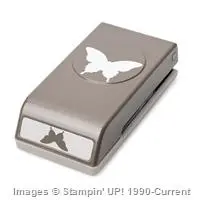
- Bitty Butterfly punch
- Elegant Butterfly punch


Yes… I’m still in a bit of shock that Stampin’ Up is retiring the butterfly punches! They are so cute and look so great layered together!
Tips for making this Kinda Eclectic collage card:
This card is a lot easier to make than it may seem, so here are a few quick tips for making it.
- Have fun with the leaves to fill in the corners! I stamped the leaves in Cucumber Crush ink on the corners of the card base. Then I used Memento Black to stamp ONCE full strength in the corner of the white cardstock and then I stamped AGAIN without REINKING just offset from the first black image so you get the faded layered look.
- The two butterfly images come from the Kinda Eclectic stamp set. Stamp the large butterfly full strength and punch out. Stamp the smaller butterfly once on scrap paper and then again without reinking the stamp onto your cardstock scrap and punch it out with the Bitty Butterfly stamp. Both of the butterfly images below were stamped using Tip Top Taupe ink.
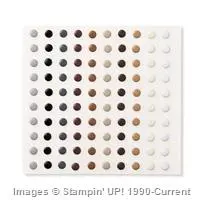
- Use glue dots to hold your butterflies together – I love using glue dots to adhere my butterflies. I use one dot in the center of each butterfly. This holds my punch out down firmly, but still lets me fold up the wings so it looks like it is trying to fly away.
- Make a tiny matting border for a crisp way to break up your layers – I love using this type of small mat. It is 1/8″ larger in each direction than the Whisper White cardstock. Now, I mailed off all my copies of this card without measuring, but I think it is approximately 3 3/4″ x 5″ for the Whisper White cardstock and then 3 7/8″ x 5 1/8″ for the Basic Black cardstock.


Want to make this card at home? Here are the project supplies:


![NWstamper signature_thumb[9]](https://i1.wp.com/www.nwstamper.com/wp-content/uploads/ad87b4046c1e_C9F6/NWstamper-signature_thumb9_thumb.png?resize=322%2C118 "NWstamper signature_thumb[9]")
![]()


![NWstamper signature_thumb[9]](https://i0.wp.com/www.nwstamper.com/wp-content/uploads/ad87b4046c1e_C9F6/NWstamper-signature_thumb9_thumb.png?resize=322%2C118 "NWstamper signature_thumb[9]")


![NWstamper signature_thumb[9]](https://i0.wp.com/www.nwstamper.com/wp-content/uploads/ad87b4046c1e_C9F6/NWstamper-signature_thumb9.png "NWstamper signature_thumb[9]")