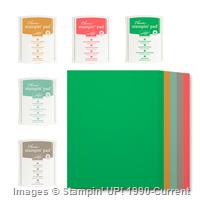
You’ve seen the new In Colors, right? I couldn’t decide what I thought of them at first… but once you start stamping and playing with them, you see how bright and cheery they can be! I mean, check these out:

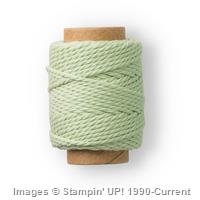
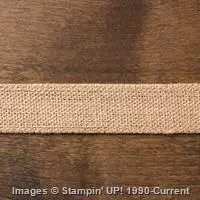
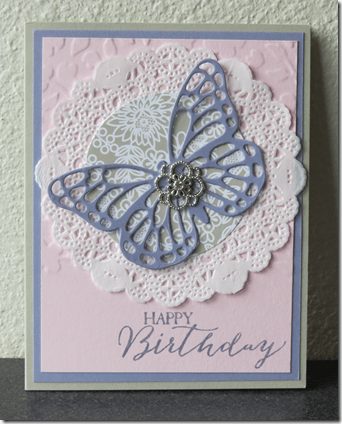
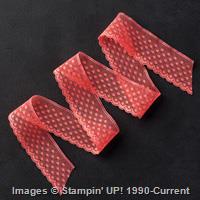
I could tell I would love Tip Top Taupe and I thought that Mint Macaron would be my other top choice, but turns out that Watermelon Wonder is my surprise go-to color right now! It is just so perfect for summer! I mean look at the projects you can create, especially with the beautiful Watermelon Wonder Dotted Lace Trim:

Get Everything In Color with the In Color Club!
Folks loved this last year and so I’m back with a new In Color Club! I know a lot of folks like to collect the In Color items and like the idea of having all the coordinating products to give you a chance to make lots of projects with matching elements.

How does it work?
 The club runs for 5 consecutive months and by the 5th month you will have received some of everything in the In Colors! Each month you will receive the following items in the color of the month:
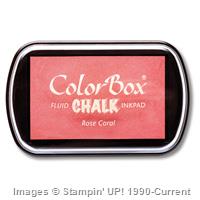
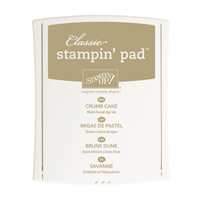
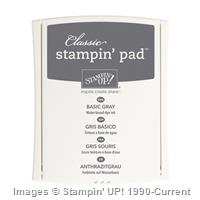
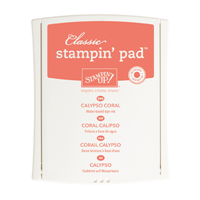
- Ink Pad
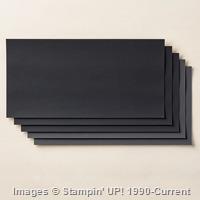
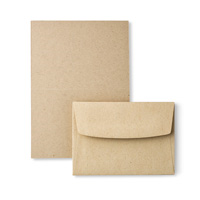
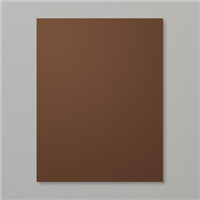
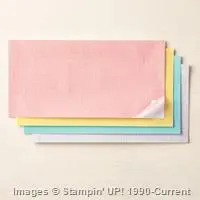
- 12 sheets of cardstock
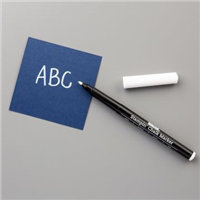
- Marker
- Ink Refill
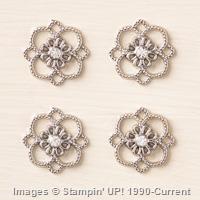
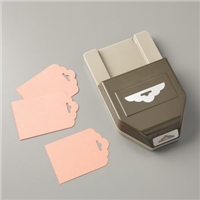
- 4 In Color Blossom embellishments
- 1 yd of Lace Trim Ribbon
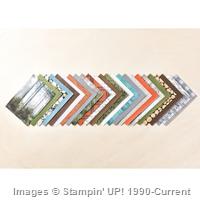
- 4- 6″x6″ sheets of the In Color paper stack (2 each of 2 designs)
- Two card samples based on the color of the month with supply sheets!
- Idea sheet with pictures of some of my favorite projects I’ve found using the Color of the Month
All for only $32 a month SHIPPED
BONUS- With your first month, you will receive:
- an In Color Bookmark & Stampin’ Up catalog (if you haven’t already received them)
- as well as a full sheet of cardstock from ALL the new In Colors so you can try them all out from the beginning in addition to your first month’s kit.
BONUS PERK! New this year – all members of my In Color club receive a $5 discount on the monthly Class by Mail each month they are in In Color Club!
So, sign up for In Color Club today and you could register for the Sprinkles of Life Card Class and save $5 off the class!
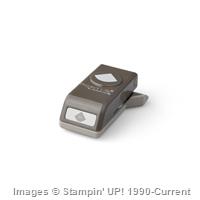
If you ended up ordering the stamp set and punch with your kit… as an In Color Club member, you would end up getting your class kit for only $5! Total steal of a deal, right?
![Sprinkles of Life class by mail promo[6]](https://i0.wp.com/www.nwstamper.com/wp-content/uploads/bff14a891b0e_13E80/Sprinkles-of-Life-class-by-mail-promo6.jpg?resize=534%2C446 "Sprinkles of Life class by mail promo[6]")
In Color Club is starting soon!
Join now! Sign up by June 10th to get in on the first Color of the Month kit shipment! The cards will be better this year and I can’t wait to share these cute products AND some extra great ideas!
Get started now & Join the In Color Club –
![NWstamper signature_thumb[9]](https://i0.wp.com/www.nwstamper.com/wp-content/uploads/ad87b4046c1e_C9F6/NWstamper-signature_thumb9.png "NWstamper signature_thumb[9]")
![]()
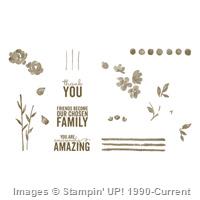
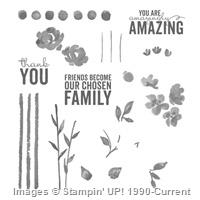
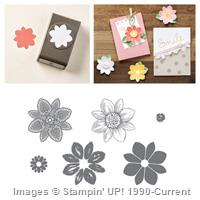
Project Supplies Used:


Built for Free Using: My Stampin Blog


![NWstamper signature_thumb[9]](https://i0.wp.com/www.nwstamper.com/wp-content/uploads/ad87b4046c1e_C9F6/NWstamper-signature_thumb9_thumb.png?resize=322%2C118 "NWstamper signature_thumb[9]")