

I’m back and sharing today another fun idea using the fabulous Carols of Christmas sneak peek bundle! If you have stopped by my blog recently, you saw my totally different Carols of Christmas card, and that is why I love this bundle – you can make such a wide variety of cards and styles of cards with the same stamps and dies!
*** Don’t forget, you have until Monday night (7/31) to get this stamp set & essentials pack FREE when you purchase the demonstrator starter kit or anyone can purchase the stamp set and dies as a bundle starting August 1st as part of the Holiday Catalog early release sneak peek! ***
Tips for making this Carols of Christmas forest scene card:
Last post I focused on the card front edge dies, so this time I wanted to play with the scenery dies instead. I came up with a fun forest scene for you to use as the highlight of your card. Its so easy to pull together with just a few pieces, so you could totally mass product the scene for multiple holiday cards.
- Stamp and die cut all the pieces you need first and then quickly assemble them with your basic tape runner and Stampin’ Dimensionals!
Here are all the pieces you need to put together the forest scene:
 You’ll notice the wavy stitched circle on the right. That is just the same stitched circle die from the Stitched Shapes framelits (largest circle), only cut out from the edge of a piece of scrap paper. Then I took my paper snips and cut a wavy edge, similar in curve to the bottom of the double tree die cut. You’ll layer this over the full circle to create a snowy hill.
 - Make it POP! Adhere the double trees directly to your large stitched circle, then add the wavy circle with Stampin’ Dimensionals. Then add in your single tree and deer, and any other elements you want to add.
- Don’t stop with the die cuts! I added Clear Wink of Stella to the wavy circle to make it like twinkling snow. I also used the Chalk Marker to add dusting of snow onto the tops of each of the branches on all the trees.

- Mini Stampin’ Dimensionals are perfect! They are exactly the right size for holding up the body of the deer and the top of the single tree. No needing to fuss with cutting up edges or larger standard dimensionals.
- How to easily adhere skinny ribbons – I really wanted to add a touch of color and a border to my patterned paper. I love this plaid pattern from the Merry Little Christmas designer paper in the Holiday Catalog but wanted more than just green and neutrals. I was looking at my ribbons and the Fresh Fig 1/8″ ribbon was perfect! The only problem? How to glue it down!
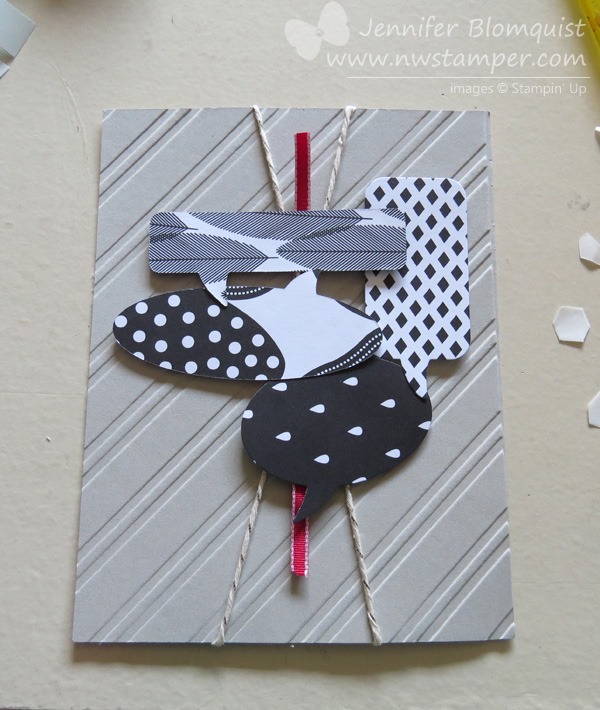
Check out my solution:
 I tried liquid glue, but it would leak through the ribbon and make an ugly dark circle. So I knew I needed a tape. I reached for my Tear & Tape and it hit me! Just trim off a very skinny piece from the end of the tape spool and it fit perfectly onto the ribbon. I added 4 pieces of tape along the ribbon and it held great.
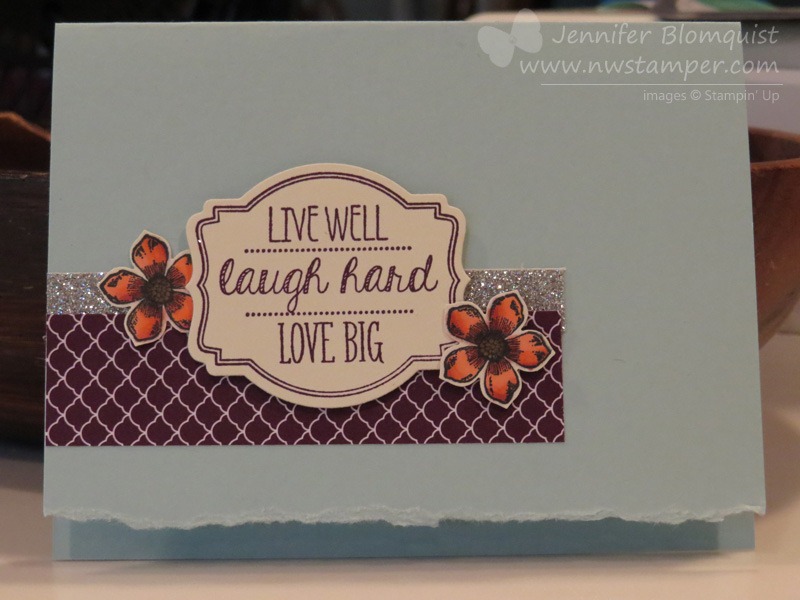
 - Sentiment doesn’t fit? Cut it up! Finally, I wanted to use a sentiment from the stamp set, but the blocky sizing just didn’t fit my card. So what’s a stamper to do? Why cut it up, of course! I stamped the sentiment on scrap paper and then trimmed each piece out. Tape it down and it can now fit wherever you need!


Then I just added some pearls for snow and a bit of the burlap ribbon for the finishing touches.
Check out more great ideas on the Carols of Christmas Blog Hop
Thanks for checking out my project and taking part in our blog hop! If you want to try this at home – and I encourage you to do so – card dimensions and supplies are listed for you at the bottom of this post.
There are so many more amazing ideas and inspiration you don’t want to miss. Remember that currently you are at my blog – Jennifer Blomquist – Northwest Stamper, so check the blog hop line up list to see who is next in the list.
Don’t forget! If you’ve been thinking of giving Stampin’ Up a try, I’d love to help you order your kit and get in on this awesome Starter Kit BONUS deal!
Join my Fun n’ Crafty Stampers group by Monday night (7/31) and you’ll not only get the regular kit but also $72 in bonus items including this Carols of Christmas stamp set! Plus you’ll be all set to get in on the Holiday Catalog preorder that kicks off for demonstrators on Tuesday. 🙂
Get the scoop here
Make this project at home! Here is what you’ll need:
- Whisper White cardbase – 4 1/4″ x 11″
- Merry Little Christmas designer paper (plaid) – 1 1/2″ x 5 1/2″
- Whisper White cardstock – scraps to cut out your large circle (3 1/2″x3 1/2″), 1/3 of a large circle, and sentiment (3″x3″)
- Old Olive cardstock – scraps for as many trees as desired
- Soft Suede cardstock – scraps for as many deer as desired
- Fresh Fig 1/8″ ribbon – 6″
- Burlap ribbon – two 2″ pieces
Product List


 Burlap Ribbon")


![NWstamper signature_thumb[9]](https://i0.wp.com/www.nwstamper.com/wp-content/uploads/ad87b4046c1e_C9F6/NWstamper-signature_thumb9_thumb.png?resize=322%2C118 "NWstamper signature_thumb[9]")


![NWstamper signature_thumb[9]](https://i0.wp.com/www.nwstamper.com/wp-content/uploads/ad87b4046c1e_C9F6/NWstamper-signature_thumb9.png "NWstamper signature_thumb[9]")


