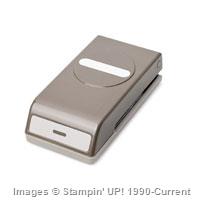
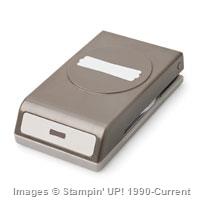
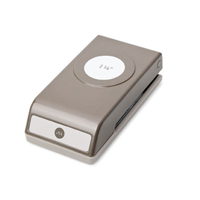
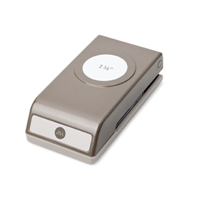
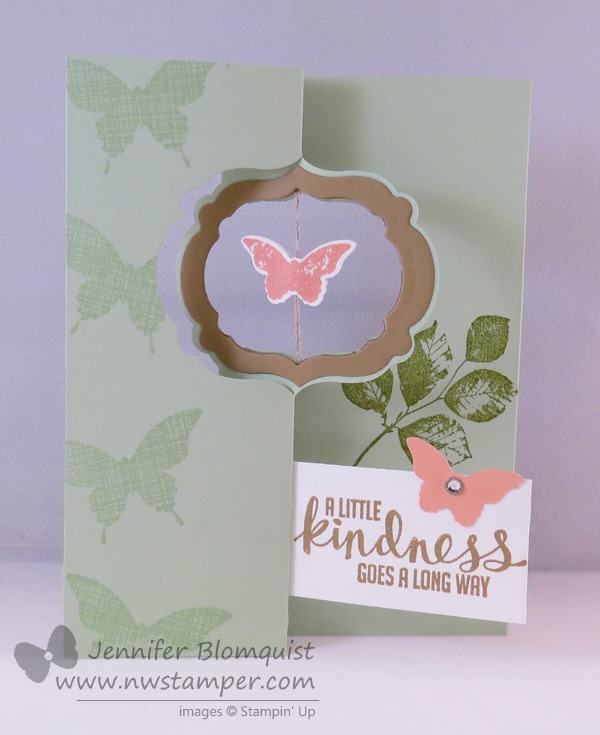
Every year I have one item on the Stampin’ Up retiring list that I can’t believe is going away. This year, I can’t believe the Modern Label punch is retiring! Especially since it goes so awesomely with the Word Window punch! I guess that just means I have to enjoy it now (and hang on to mine and keep loving it after they stop making it too. ![]() )
)
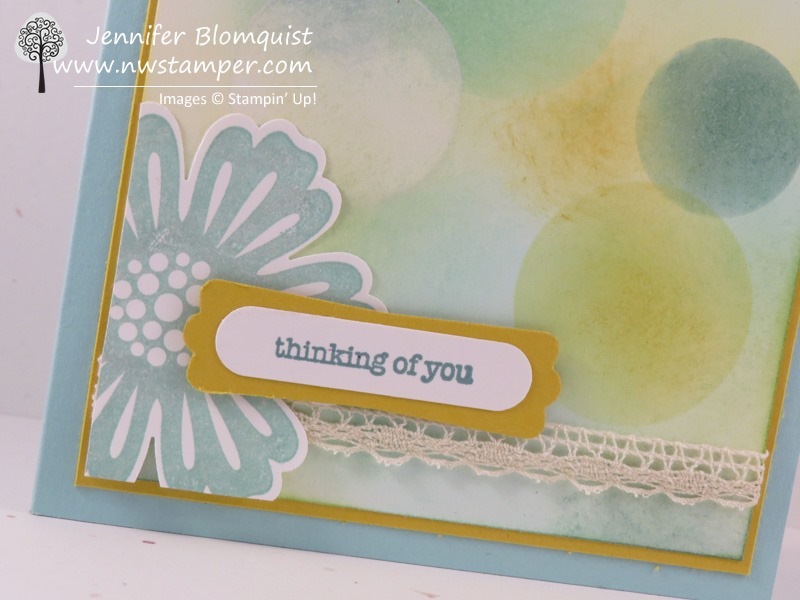
Today I wanted to share another Bokeh card we did in my technique class. I think I’ve decided I love mixing in colored circles with my white circles when doing the Bokeh technique. What do you think?

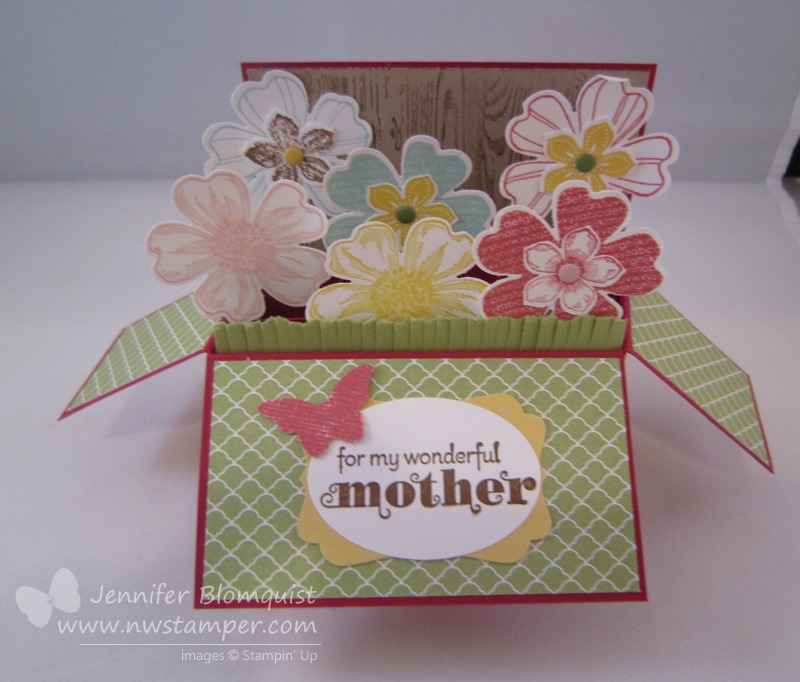
Featured Retiring Products:
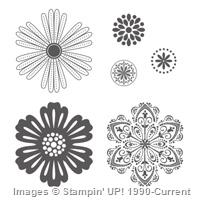
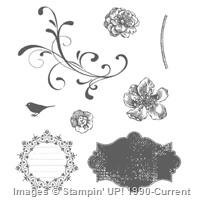
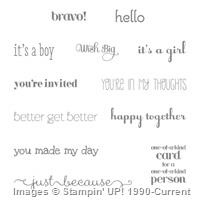
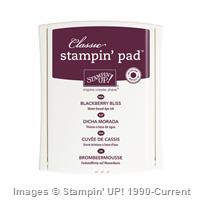
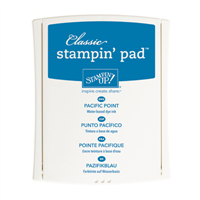
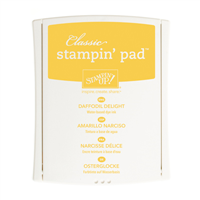
- Mixed Bunch stamp set (wood | clearmount rubber)
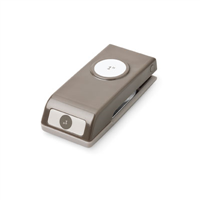
- Blossom Punch (sold out)
- Modern Label Punch
Get them before they are gone by the end of the month!
Tips for making this card:
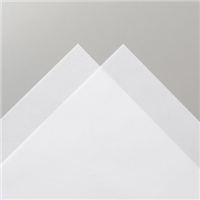
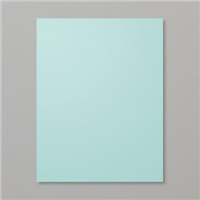
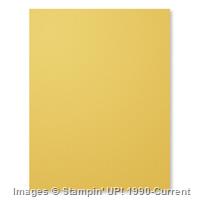
- Start with a piece of vellum and some circle punches – I used the 1”, 1-1/4”, and 1-3/8” circles and punch out a template to use for layering.
- Randomly sponge the background with your favorite color combination
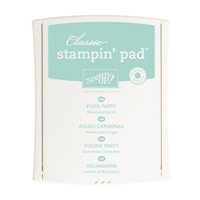
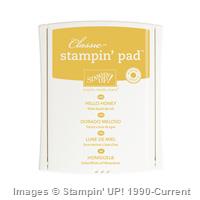
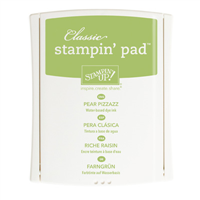
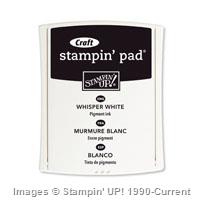
(this was Lost Lagoon, Pool Party, Pear Pizzazz, and Hello Honey) - Use your circle template to layer colored and WHITE craft ink circles on top of your background. It looks best if you overlap your circles.

- Keep it interesting by adding a punched flower, but trim some of the edges so it fits to colored layer (kind of makes it look like it is behind a window or something, huh?)
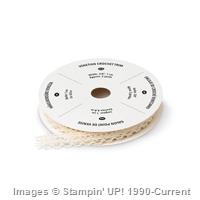
- The Venetian Crochet trim is a nice, soft addition to cards without being too girly because of it’s thin size.


Get them before they are gone! The retiring accessory list is while supplies last and as you saw with the Blossom Punch, things are selling out. Make sure you have ordered your favorites and when you shop with me, you will be on the list to get a new catalog sent to you! Shop now
![NWstamper signature_thumb[9]](https://i0.wp.com/www.nwstamper.com/wp-content/uploads/ad87b4046c1e_C9F6/NWstamper-signature_thumb9.png "NWstamper signature_thumb[9]")
![]()
Project Supplies Used:


Built for Free Using: My Stampin Blog


 NORTHWEST STAMPER CONVENTION SPECIAL


