Can you believe we are now less than a week out from Christmas?! Yesterday was my birthday and that always means we are getting into the home stretch! We’ve had my daughter’s birthday, school has just finished up for 2015, and I got to have lots of fun relaxing for my birthday. Now things actually get quiet around here until the evening of Christmas Eve arrives and we begin the excitement for Christmas.
And by the way, thank you for all the amazing notes of birthday wishes yesterday! I spent the day relaxing and picking and printing photos for my December Daily Project Life album. (Which I plan to start working on today! I can never seem to do the plan my pages ahead thing) But I was surrounded by family as we went out to dinner at California Pizza Kitchen.

And seriously, the surprise sundae they brought me was sooooooo good! Vanilla Ice Cream, just a little bit of Chocolate Sauce, whipped cream, candied nuts, and a cherry. Yum!
And then after the kiddos were in bed, my parents, the hubby, and I went off to see the new Star Wars! (Don’t worry, the other grandma was at home with the kiddos ![]() )
)
Now, I thought I’d share a card with you that we made in Stamp Club this month that just makes me smile. It was inspired by an idea by Patty Bennett with the two penguins peeking out but I put my own twist on the card! What do you think?

Tips for making this card:
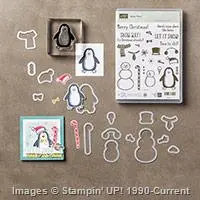
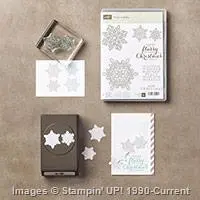
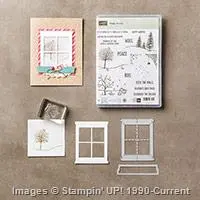
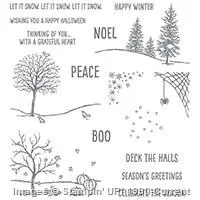
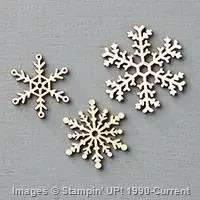
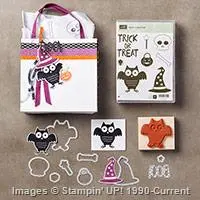
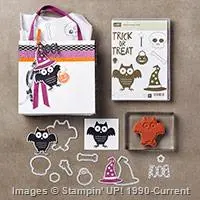
- The Snow Friends Bundle is like paper dolls! Have fun dressing them up! I love the Snow Friends stamp set because it is filled with Snowmen and Penguins and all the accessories you could want. You pick out your animals and their accessories and then just have fun dressing them up. It is like being a kid again and playing with paper dolls. In this case, I made a Mr and Mrs Penguin to spread the holiday cheer.

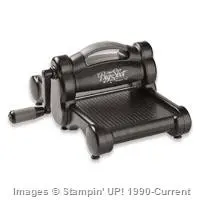
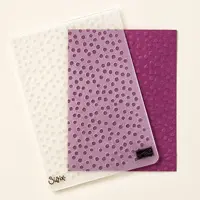
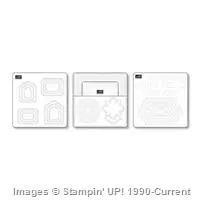
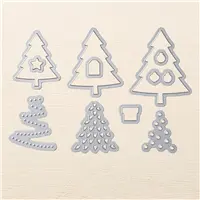
- Yes! There is a framelit for that! The Snow Play framelits are awesome because they have a framelit for EVERY shape in the set. So no need to hand cut a thing! Just stamp the different elements you want and then you can run them through your Big Shot at the same time.

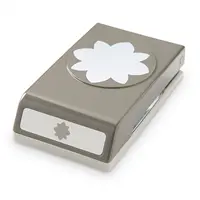
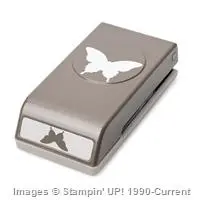
- Use circle punches to create windows for your images – We used the 2” circle punch to create windows for the Penguins. Put together your penguins FIRST, then punch two holes into your designer paper for windows. Glue them to the designer paper and trim off any parts that are hanging out.
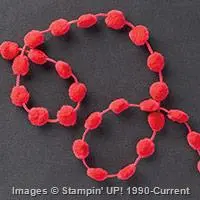
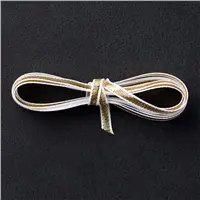
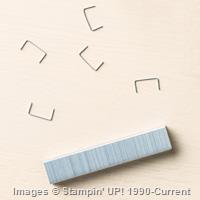
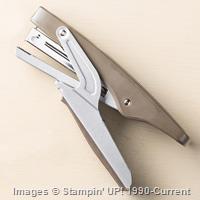
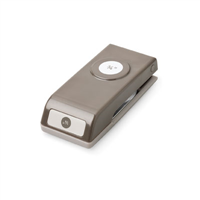
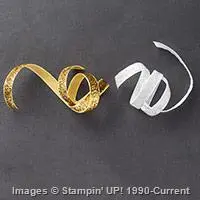
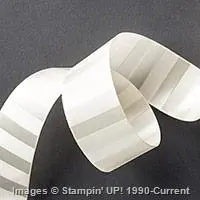
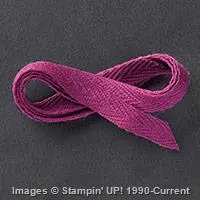
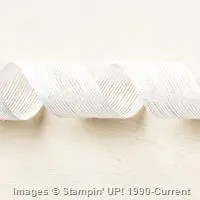
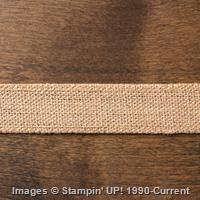
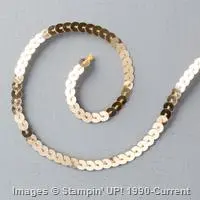
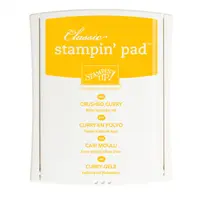
- Add festive cheer with holiday ribbons – I used two fun ribbons, the gold 1/8” ribbon and the Real Red pom pom trim (ON SALE with the Year-End clearance sale!) I wrapped and adhered the gold ribbon to the front panel of the card. Then I stapled the red pom pom trim to the card front using the mini stapler from Stampin’ Up. It is just the perfect size for reaching wherever I need on my cards.

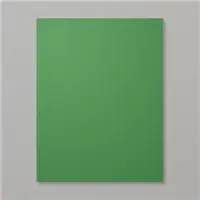
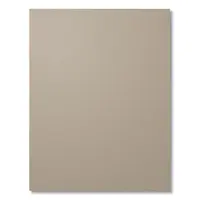
- Give it layers and dimensions for the final touch – I layered my penguin/designer paper with Stampin’ Dimensionals onto a piece of Real Red cardstock to make the penguins pop, then glued it all flat onto a Smoky Slate card base.
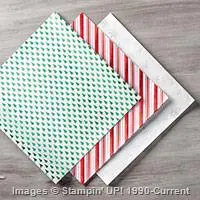
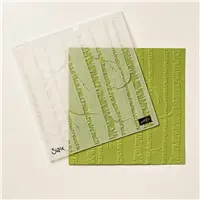
- Get the Supplies on SALE! Both the Real Red Pom Pom trim and the Merry Moments designer paper stack are discounted right now. So grab them before they sell out.


There is still time for a last minute gift! Everyone loves a Gift Certificate
Don’t forget to tell your friends and family to email me a jennifer@nwstamper.com or shop on my Gift Certificates page to get you the perfect gift or stocking stuffer! Or pick one up yourself as the perfect gift for that crafty friend… or just for Santa to put under the tree for you. ![]()

![NWstamper signature_thumb[9]](https://i0.wp.com/www.nwstamper.com/wp-content/uploads/ad87b4046c1e_C9F6/NWstamper-signature_thumb9_thumb.png?resize=322%2C118 "NWstamper signature_thumb[9]")
![]()
Use Hostess Code BEFX37ZS at check out to get a special thank you from me!
BIG Year-End Clearance Sale is on NOW! See what is on sale here.
See all the tutorials & classes by mail here
Check out the Holiday Catalog Retiring List & Sold Out Updates
Save 25% on the Latest Weekly Deals


Built for Free Using: My Stampin Blog


![NWstamper signature_thumb[9]](https://i0.wp.com/www.nwstamper.com/wp-content/uploads/ad87b4046c1e_C9F6/NWstamper-signature_thumb9.png "NWstamper signature_thumb[9]")


![15 off stamps promo_NWStamper[5]](https://i0.wp.com/www.nwstamper.com/wp-content/uploads/d47664f77271_9FF0/15-off-stamps-promo_NWStamper5.jpg?resize=420%2C275 "15 off stamps promo_NWStamper[5]")


