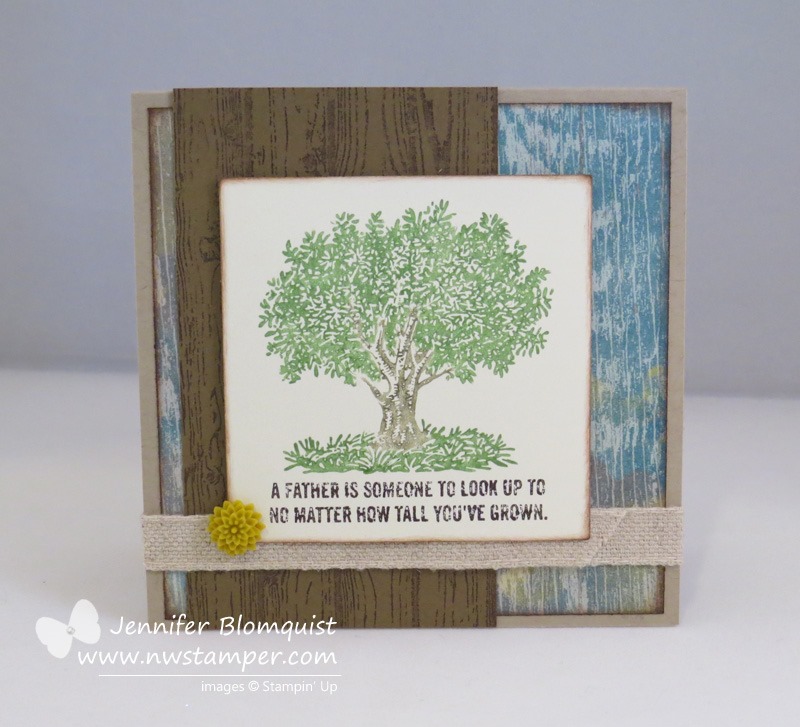
Ok, so this card doesn’t have to be just for the guys, but I was inspired by a version of this card from my Stamping Twin Julie Davison and had to recreate it for my Stamping Bingo the other week as a card they could make for guys or girls.

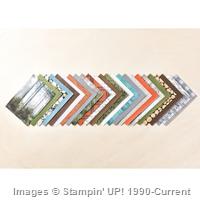
My biggest problem is that every time I pull out this Maritime paper, I fall in love with it all over again! From the awesome colors to the fun patterns. Seriously, great paper!
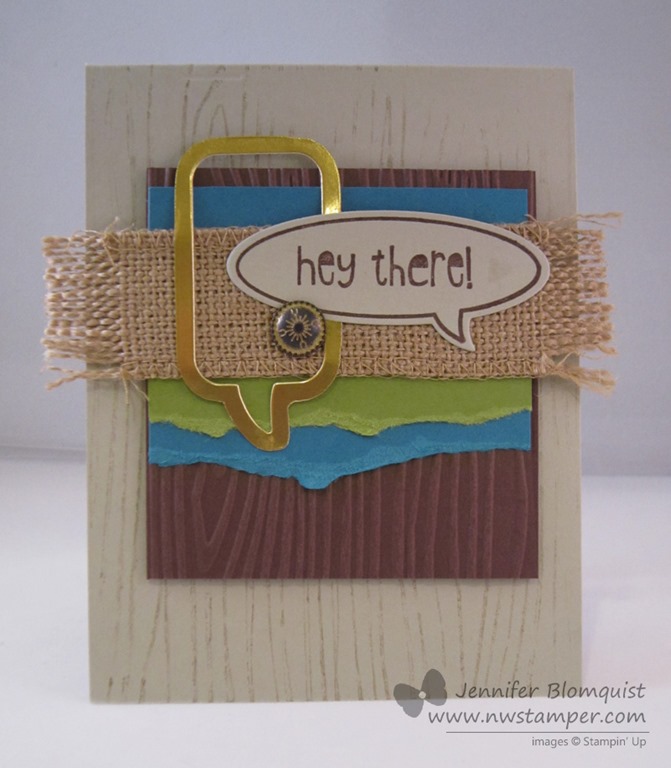
So this card gives a nod to the nautical and is quick and easy and another great way to use that pattern paper!
Featured Retiring Products:
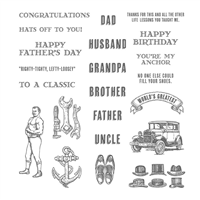
- Hey You Stamp Set (wood | clearmount rubber – 25% off!)
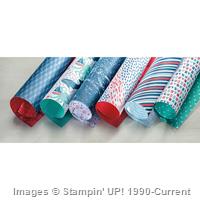
- Maritime Designer Paper (25% WEEKLY DEAL through 5/25)
Get them before they are gone by the end of the month!
Tips for making this card:
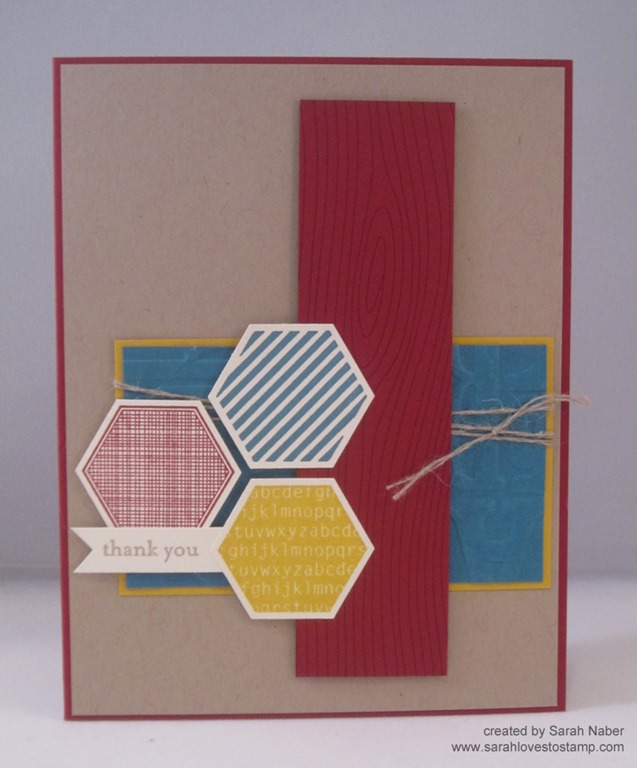
- Use up scraps of your paper or just make a stack of cards using your patterned papers when you cut a few squares and adhere them in a pattern on your card.
- Add your sentiment instead of another piece of paper! This works with any pattern of shapes. Try it with circles, hexagons, etc… just make a pattern with paper, then lift one up and stamp a sentiment instead.

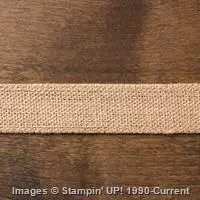
- Love your twine! I love this gold twine and I used 3 pieces that were wrapped and adhered around the back of the white cardstock to make the crossing pattern. Then add one more piece to tie in a knot at the cross point to hold them together. A little bit o glitz goes a long way!
- Don’t be afraid to cut out specific patterns and pieces from your designer paper too for accent pieces. I cut the light blue “rope” design out as an accent for my Thank You.

Don’t forget to RSVP for the Class by Mail!
If you missed my announcement, I have a limited time All About Guys Class by Mail available through next week, but order your kit or instruction set now so I can be sure to get yours out asap!

Quick Links:
- NEW Weekly Deals! See them in the online store
- Retiring Stamps (many 25% off)
- Check out 50% off retiring papers, tools, and accessories!
- Up to 80% off clearance rack finds!
![NWstamper signature_thumb[9]](https://i0.wp.com/www.nwstamper.com/wp-content/uploads/ad87b4046c1e_C9F6/NWstamper-signature_thumb9.png "NWstamper signature_thumb[9]")
![]()
Project Supplies Used:


Built for Free Using: My Stampin Blog