This last weekend I held the first of my Holiday Card Series – this is something new I’m doing this year where I’m running 4 Holiday Card classes between now and the end of November and each one will give you a stack of cards that will get you well on your way to getting your holiday cards done this year. PLUS – everyone who participates in 3 of the card series classes will receive a $15 shopping spree from me at the end of the series. Participate in all 4 and you get a $20 shopping spree! How stinkin sweet is that? And yes! This even goes for those of you participating in my class by mail program. ![]() You can get more details about this at the bottom of this post!
You can get more details about this at the bottom of this post!
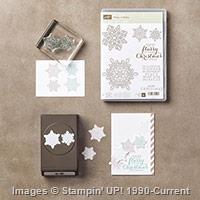
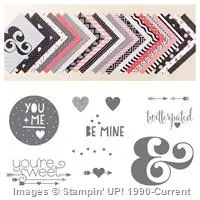
But back to the card I wanted to share today – this oh so pretty vintage & elegant Christmas card using the Flurry of Wishes!

LOVE! If I do say so myself. ha ha ha! Like I mentioned, it was part of the first Holiday Card class that was all about the Flurry of Wishes stamp set – here is everything we made:

But we are talking about this card today… and I wanted to share with you a few of my favorite touches with it.
Tips for making this card:
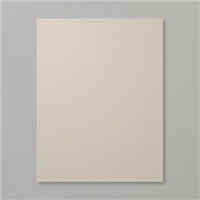
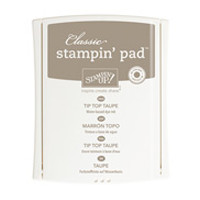
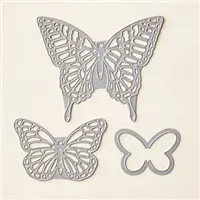
- Stamp your main image in a slightly darker ink color than the cardstock – in this case, we stamped with Tip Top Taupe ink on to Sahara Sand cardstock.
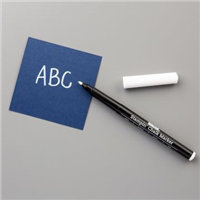
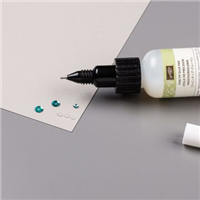
- Fill in a few of the outlined shapes using the white Chalk Pen. It gives a soft look and highlights some of the detailing of the image.

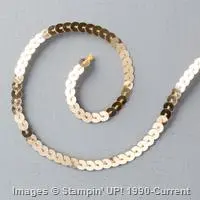
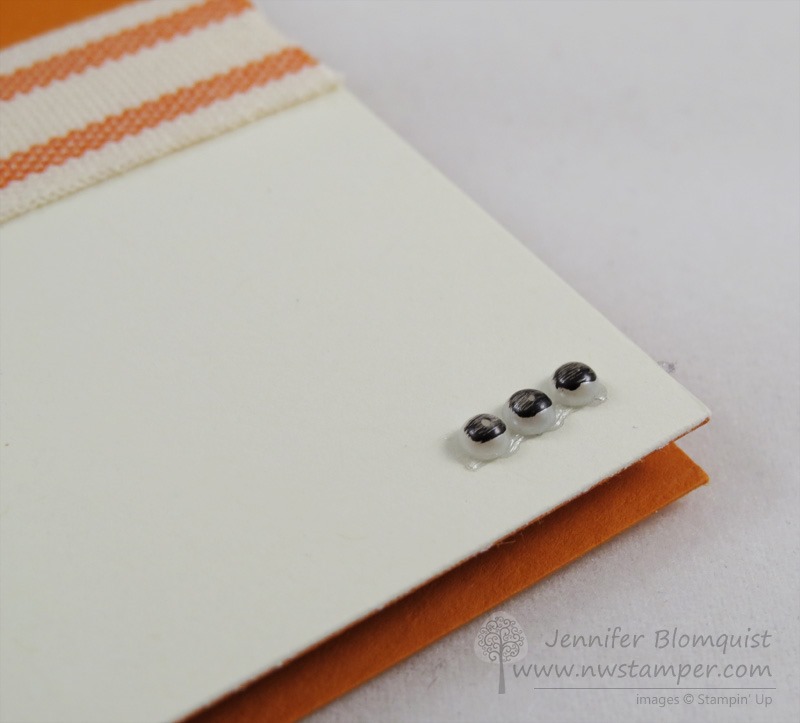
- Take it up a notch by adding a few small pearls as well! They are subtle but really add to the elegance factor.
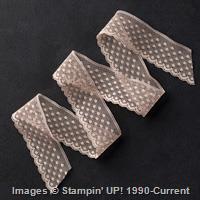
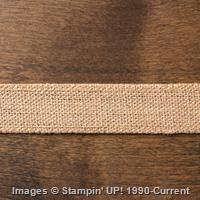
- For the sentiment, layer your cardstock over some of the A-MA-ZING In Color lace trim – again we were using the Tip Top Taupe trim. It is wide enough to be a great layering ribbon.

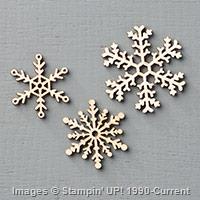
- I am in love with the wooden Snowflake embellishments so one had to come out for this card and again, a few more little pearls!


It all comes together for a great card that doesn’t actually take that many supplies and can be quick to mass produce as well. Always a perk, right?
Flurry of Wishes – Class By Mail is Here!

Everyone loved this class this weekend and raved about the cards and the value; and I wanted to share it with those of you who aren’t able to attend my classes in person! So, I am offering this (and the rest of the Holiday Card Series) as a class by mail.
In this class you’ll get:
- Precut supplies & accessories for 10 cards – 2 of each of the 5 designs
- Pre-punched elements for the cards
- PDF instructions walking you step-by-step through how to complete each of the cards
- Priority shipping of your kit to you
- (optional) the Flurry of Wishes photopolymer stamp set and Snowflake punch! <— BEST VALUE ADD-ON — SAVE over $10 off the class kit when you include the stamp set & punch in your kit
Live outside the US or don’t need the kit – PDF instructions ONLY option is also available
NOTE – I am finishing up the pdf instructions now, so they will start being emailed out to everyone Friday, Oct 2nd. Class kits will be mailed starting next week.
If you have any questions, don’t hesitate to let me know at jennifer@nwstamper.com . So, give this idea a try and have fun playing as we head into the fall and holiday season!
![NWstamper signature_thumb[9]](https://i0.wp.com/www.nwstamper.com/wp-content/uploads/ad87b4046c1e_C9F6/NWstamper-signature_thumb9.png "NWstamper signature_thumb[9]")
![]()
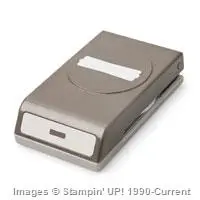
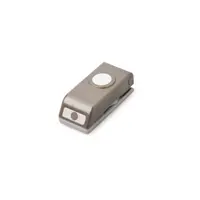
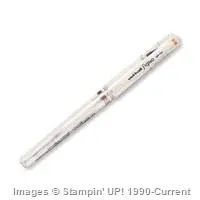
Project Supplies Used:


Built for Free Using: My Stampin Blog


 Ok, here is the scoop. I know a bunch of you out there are totally curious about the Holiday catalog coming out… and let me tell you, it is a good one this year, just ask my credit card company


