If you can believe it, we’ve already made it to day 3 of Leadership and it is time to start wrapping things up!

As always, thank to everyone who has been over on the Facebook page visiting with me and following along. I’ve been putting ALL of my photos up (well, except for the random business class slides) over in albums there, so you can check them out if you want to see even more!
So, shall we recap? 
Over the course of the last 3 days, I ran into some friends all the time…. like everytime I turned around I saw them! And then there were a few that I pretty much never bumped into. Thankfully, before the morning session I got some time to say hello, chat and – of course- take a selfie!!

Like getting to finally briefly catch up with the fabulous Lyssa Zwolanek
And getting in one last hug with the sassy Tamra Davis!

Then I had to hustle to my seat because it was time for the main stage presentations to begin for the final day. First up was the moving keynote speaker – Jason Wright.

He is an author… and in contrast to past speakers who talked to us about staying motivated or reaching out to new demongraphics of customers… he talk about making a difference. It was an AMAZING reminder of the core of what we do! He talked about how much meaning and importance comes with a hand written letter or a card.
An email is nice, but he was right, when you write a note and make a card, there are touches of you on that note and it is something they can keep with them if they ever need to think of you and have something to bridge the time or distance.
Long story short, there is something so powerful and special from the handmade! Time for me to start sending more cards and messages with others
For fun they did a gameshow. Do you like the “no cheating” blinders they got to wear?

The winner received a $100 shopping spree! Lucky lady!
Then it was back to classes for a few more great ideas and inspiration-

That is Alisa Bown who was a new trainer for Stampin’ Up and she was fabulous! She used to write for the magazine we all get as demonstrators – Stampin’ Success – and so if you see her on the list for a future Stampin’ Up event check her out.
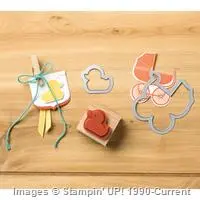
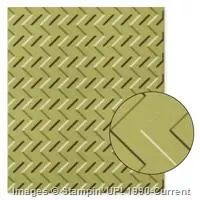
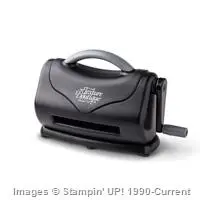
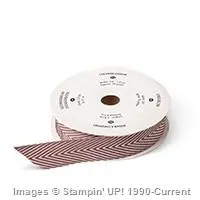
During lunch, I took one last run through the Product Playground and checked out all the displays (don’t worry, I have a whole blog post coming up to the display boards!). But here are a few of my favorites:


And I got a sneak peek of the next 2 months of Paper Pumpkin kits!

I won’t tell you what they are unless you email me or leave a comment asking me too… I know some of you like the surprise! But let me say, I think February is fun and I LOVE LOVE the March Kit! My mom had just cancelled her subscription and decided February was just her style and so she ended up signing back up – Just sayin’!
(PS – you know you can get a 3 month pre-paid subscription on sale right now AND earn a free Sale-a-Bration item at the same time, right? I know, right?!
Even current subscribers can take advantage of this and either give away the 3 month subscription as a gift or use it to cover the next 3 months of your subscription!! Get yours here)
And if you have been a subscriber for a while, check out some ideas using your stamps and supplies from past kits:


Oh my this is getting long! So hurrying up… Carrie did the final stamping presentation


And then with a final word from Shelli… one last giveaway (free Birthday Bash designer paper)… and a cheer, the last Leadership of it’s kind came to a close.
We had a little bit of time to kill before heading to the airport so we drove to City Walk at Universal Studios and grabbed dinner at Bubba Gump Shrimp… Don’t you agree, Karen got the coolest glass!

Though I was there for the Strawberry Shortcake! Yummy!!

Oh, and I thought this was HILARIOUS! If you want to go to the bathroom, all you gotta do is follow the “I*GOTTA*P license plates.

Too the point, no?
Then it was off to the airport… and a crazy stressful adventure. One little thing after another meant that we didn’t make it to the airport until 6:12 for our 6:42pm flight (thankfully we weren’t checking bags!). Thanks to Karen suggesting we get a wheelchair service for my mom because of how her body was responding to the stress, we were able to get through security fairly quickly… but a few mishaps later and we were standing at our gate watching while our last friend hustle to us as they closed the boarding door. 
We got put on the next flight that was supposed to get us to Dallas at 9:40pm in terminal C when our flight departed at 9:55pm out of terminal A…. it wasn’t looking good! But the gate agents tried to get boarding done early and the plane hustled to Dallas and we landed at 9:18! Then, because mom was in a wheelchair, when we passed one of those driven carts they gave us a ride and we got to our gate right as they were doing the final boarding call for us!!
What a whirlwind and amazing weekend! I loved seeing so many friends and learning great ideas and just getting my head and heart on straight!
Thanks so much to these Fun n’ Crafty Stampers who joined me for this! All of us and more are already planning our trip to Convention in July!

Won’t you join us?
I’d love to have you come join me for the incredible experience that is a Stampin’ Up convention! The great starter kit deal right now as part of Sale-a-bration makes it a perfect time to join our community and see what it’s all about… and then come party with us in Salt Lake City in late July!
I’d love to chat more with you about all the fun opportunities to grow your crafting, your friends, and your life…and go on the adventure with you. Email me at jennifer@nwstamper.com if you have more questions… (or just hop on over to get the starter kit and join our group now – it’s a no risk, no obligation best decision you’ll make!)
All my inky love!
~Jennifer

![order online button for sig 3_thumb[4]](https://i0.wp.com/www.nwstamper.com/wp-content/uploads/ad87b4046c1e_C9F6/order-online-button-for-sig-3_thumb4_thumb.png)
Love this Post? Share it with your friends!


 sffds
sffds


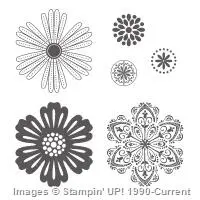
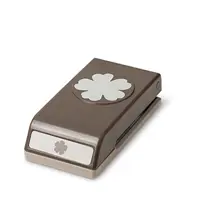
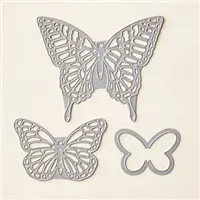
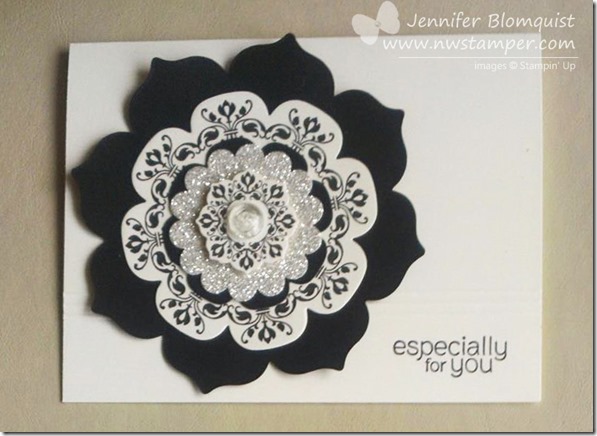 Just imagine it in your favorite color… fun, right?!
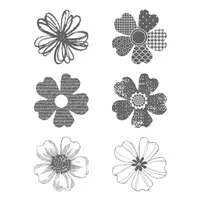
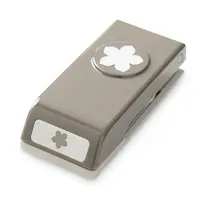


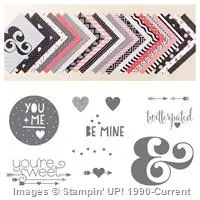
 The Fun n’ Crafty monthly blog hop is back and with new chic graphics too! I am very lucky to have the talented


