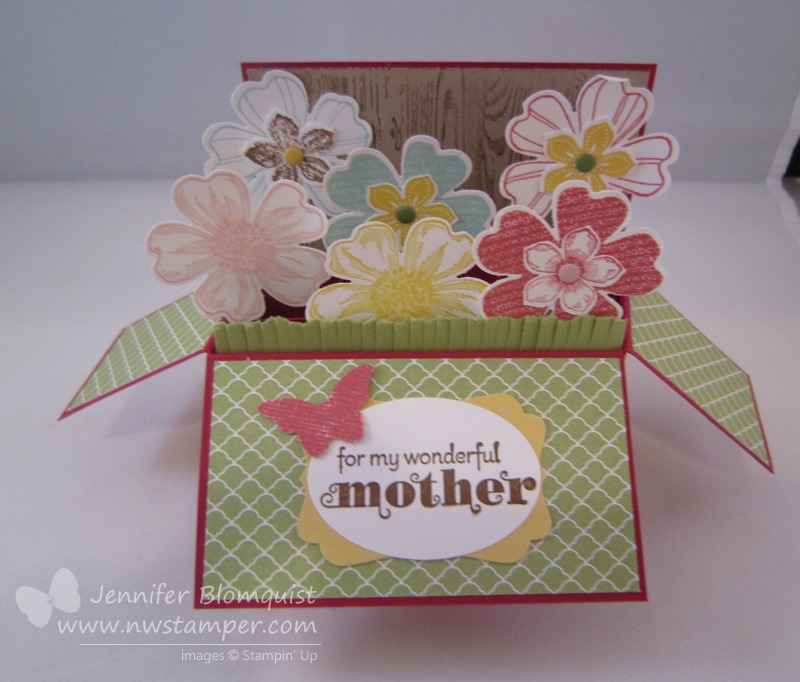
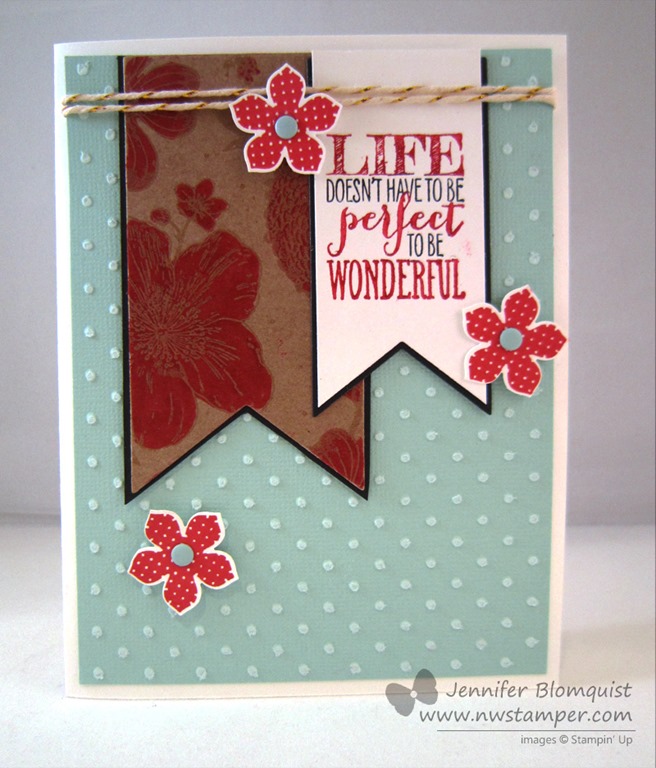
Over the last couple catalogs, I’ve collected many of the flower stamp sets and matching punches from Stampin’ Up! Because you know how much of a sucker I am for stamp sets that match punches – it makes it so easy! So, I was playing around and started combining my different flowers and it turns out they look pretty great together. Check it out –

Tips for this project:
- Stamp the flower image with the same color ink as your cardstock (in this case, Strawberry Slush) before stamping to create a custom look.
- Mix in between your layers flower punches out of Whisper White cardstock and sponge with the same color ink you used on the other flowers to create a pop of color and make your flower layers distinct.

- Use a Bone Folder to curl up the petals of your flower to help make it be more 3D and come to life!
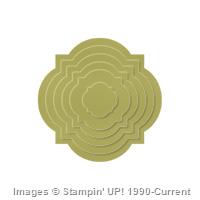
- The Window Frame framelits make the perfect opening to allow some of your patterned paper peek through behind your flower and frame your flower.
- Cut your patterned paper to 1/4″ larger than your Whisper White cardstock to give an extra coordinating border.


I often get asked if I recommend purchasing stamp sets in wood mount, clear mount, or photopolymer – and often I say it depends on the type of stamp set for me. With these flowers and matching punches, I know that 90% of the time, I’m going to be stamping and punching out my flowers and so I optimized for Easy and Speed in stamping.
–So I buy them in wood mount
This is because I know that I won’t need precision placement most of the time and it makes it easy to grab and go when I want to stamp, and especially if I want to punch out a few different flower images from the same set. I don’t have to clean my stamp and change the block between stamping, they are all ready to go and I can just do all my stamping at one time and then do all my cleaning. Easy, peasy, done!
![NWstamper signature_thumb[9]](https://i0.wp.com/www.nwstamper.com/wp-content/uploads/ad87b4046c1e_C9F6/NWstamper-signature_thumb9.png "NWstamper signature_thumb[9]")
![]()
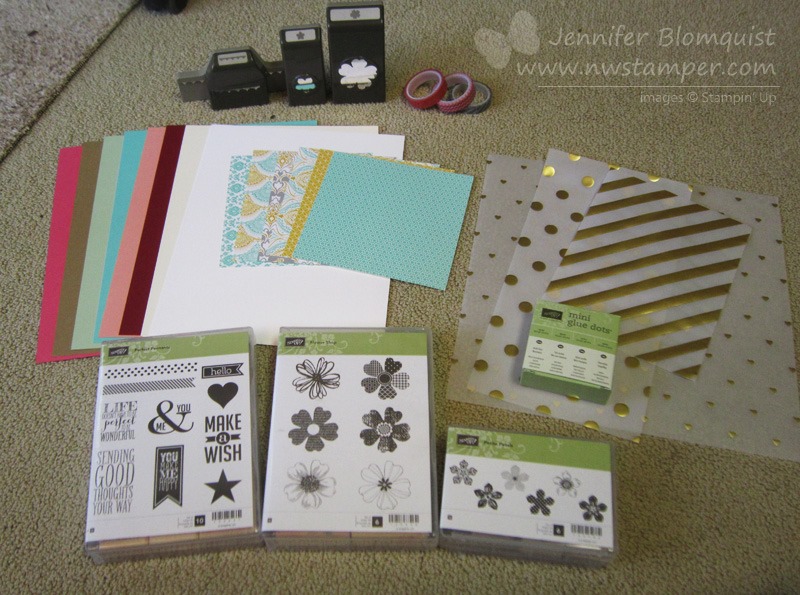
Project Supplies Used:
Easy shopping anytime! Click the images below to see the item in the online store.
Use Hostess Code EGR29JBV to receive a free gift from me when you place your order!


Built for Free Using: My Stampin Blog


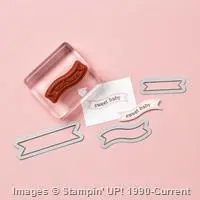
 Feels Good Clear-Mount Stamp Set
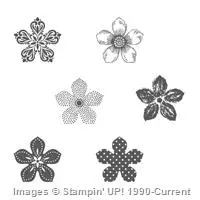
 Petite Petals Wood-Mount Bundle
 Modern Mosaic Embossing Folder
 Itty Bitty Shapes punch pack
 Silver Mini Brads
 Gold Baker’s Twine


