Northwest Stamper

Tag: a dozen thoughts

  • Clean & Simple Card with Lovely as a Tree

    Clean & Simple Card with Lovely as a Tree

    clean-and-simple-faux-torn-edge-single-layer-card
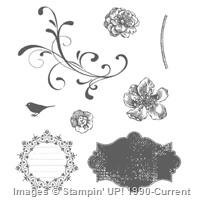
So yesterday I shared a Christmas card with Lovely as a Tree, so today I thought I’d share another idea with the same stamp set only NOT Christmas!  It uses another fun techinique – Faux Torn Edges – that I love for my clean and simple cards.  It is also great if you are doing a challenge for a single layer card too!

    How to do Faux Torn Edges:

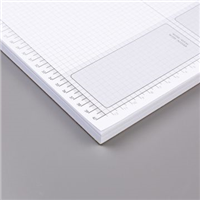
    1. Rip a piece of paper, preferably something thin like copy or printer paper, so you have the torn edge pattern you like.
    2. Place the torn edge across your cardstock and hold in place with washi tape or post-it notes.
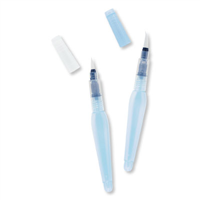
      TIP – you may want to secure your cardstock in place as well using washi or post-it notes.
    3. Using a yellow Stamping Sponge, tap the sponge into the ink color of choice and then starting on the copy paper, gently swirl the sponge in a circular pattern onto the the cardstock.
    4. Try to always go away from the torn edge (so from copy paper to cardstock) and not the other way around so you get a crisp edge.  Sponging towards the the copy paper edge can sometimes catch the copy paper and bend, rip, or get ink under the paper where you don’t want it.
    5. If desired, stamp an image over the masked area so that the stamped image is on top of the sponged color and will stop at the torn edge.
    6. Remove the torn paper and finish the card with any additional stamping you may want to do!

    clean-and-simple-single-layer-card-close-up
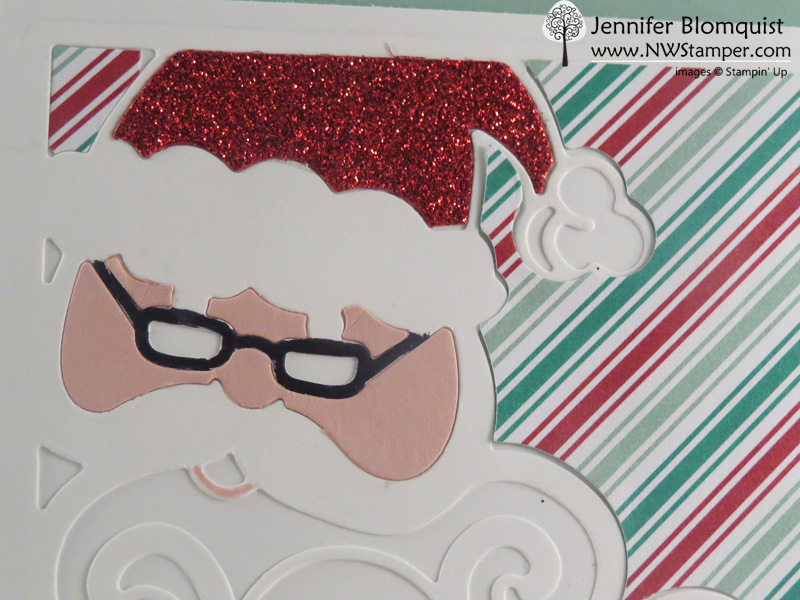
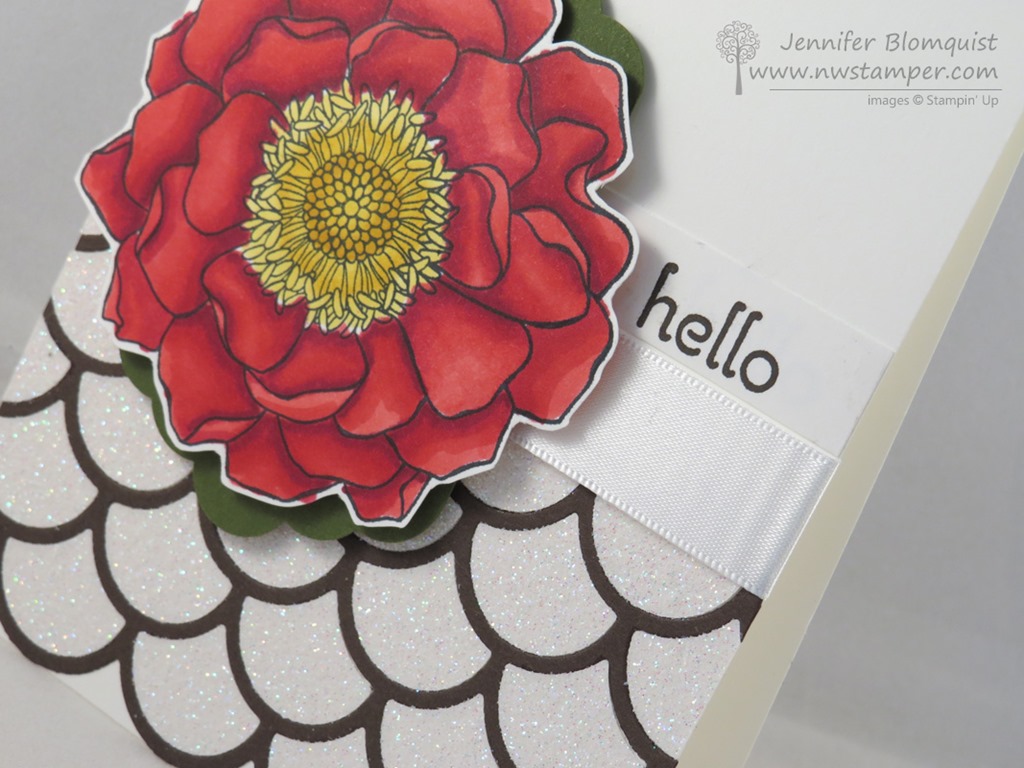
It is a really easy technique but can produce really WOW cards!  Here I just kept it simple with a little piece of burlap in the upper corner and on of the Halloween Nights Enamel dots.  See, Halloween stuff doens’t have to be just halloween!

    Easy, peasy, done!

    PS – Heads up about the Year End Clearance Sale!

    So, I didn’t know this sale was coming until yesterday when Stampin’ Up shared that it was coming with demonstrators.  I don’t know what will be in the sale but I do know this:

    • 15267554_10209710056660667_5857946819420869390_nItems will be up to 60% off
    • There will be updated Clearance Rack items, some discounted Annual catalog items, and the full list of Holiday catalog items that are going to be discontinued with many of them being discounted too!
    • You CAN add any of these items to a starter kit (so it is a great time to join because you’ll also be able to sneak peek the Spring catalog and preorder in December too!)

    If you bought something in the Online Extravaganza sale last week, DON’T WORRY!  They told us that anything from the Online Extravaganza sale that was retiring in December and so may be on the retiring list set of sale items, they would not be more discounted in December (and may not even be discounted as much).  So you will know you got the best deal possible on those items. 🙂

    If you want to be one of the first to know what is in the sale, you can check back in my Online Store a little after midnight MST tonight.

    Have the list delivered to your inbox!  Make sure you are on my mailing list and I’ll be sending out the list to everyone there once I get it!

    UPDATED November Hostess code – FUYTBWNK

    NWstamper signature_thumb[9]

    order online button for sig 3_thumb[4]

    Project Measurements

    • Very Vanilla cardstock – 4 1/4″ x 11″
    • Burlap Ribbon – 3″

    Project Supply List

  • Water Drop Bokeh Technique Card with Everything Eleanor (VIDEO TUTORIAL)

    Did you see? Did you see??  Today is another video this week! Smile  I’m planning on getting back into videos and tutorials again and aim to have a new video project for you each Wednesday.  Sweet, right?!

    Today I wanted to share with you this cool technique I’m calling Water Drop Bokeh!  Check it out:

    See that colored blobby area?  It is just masked and sponged area of the Whisper White cardbase!  So it is easy and perfectly customizable to any project you want!

    Tips for making this card:

    • Use your Grid Paper to help make sure you are masking off straight and even lines across your white card base (in this case they are at 1” from the top and 2 1/4” from the top)
    • Sponge Daubers will give you rich color which helps make the technique turn out better because concentration of ink on your paper is key!
    • Swirl on your favorite colors of dye-based ink (all Stampin’ Up Classic Ink pads are dye based) on Whisper White cardstock
    • Use an Aqua Painter to drop bits of water onto your sponged area – from just the tip of the Aqua Painter for small circles to squeezing out full drops for bigger circles
    • Let it start to air dry and then you can stamp over the top almost immediately to create cool, layered effects.
    • Mix and match your stamp sets, like in this case Everything Eleanor for the bird and swirl, and A Dozen Thoughts for the sentiments
    • Each card you make will be different, but that is what makes it fun!

    Want to see how it is done?  Check out this Video Tutorial as I walk you through making the full card step by step.  Then, let me know what you think and if you like this style of video so I know what to do more of. Smile 


    (If you are viewing this in email, check out the video here)

    Quick Links:


    NWstamper signature_thumb[9]

    order online button for sig 3_thumb[4]

    Project Supplies Used:

  • A Simple Hello with Blended Blooms with a NEW Blendabilities Basics Video Tutorial

    Are you ready for another Blendabilities card?  I have another one for you today…. this was another card that I made using up the bits and pieces I had lying around my craft room.  From a stamped Blended Bloom image that needed to be colored to the Striped Scallop thinlit and the cut out pieces from a Dazzling Diamond Glimmer paper die cut.  A little bit of this and a little bit of that can come together for something new and fun like this:

    And if you are interested, I finally got my Blendabilties Basics video up to share the basics about these markers along with tips and techniques for coloring your images along with a few other fun ways to use your markers that DON’T involve stamping! Smile  I have the video below for you to check out!

    Tips for making this card:

    • Use the 2-way Glue Pen for an easy and mess-free way to adhere your Striped Scallop die cut to your project – like the Early Espresso die cut I have on my card.
    • You can put your die cut over cardstock for a simple accent, or step it up a notch by using the leftover cutouts from a prior project to fill in the gaps!  In this case I had previously cut out a Striped Scallop piece from the Dazzling Diamond glimmer paper.  I used the outline on a different card and kept the teardrop pieces that had been left behind to use later.  So when I was making this card, I just started gluing them the the holes on this card!
    • For a different take on leaves, use the Scalloped Tag Topper punch to create two scalloped pieces.  Let them peek out from behind your flower for a hint of green.
    • When coloring your flower, it is a big enough image that you will want to color it a few petals at a time.  I recommend finishing up 2-4 petals at a time instead of trying to do all of them at once, which would cause the ink to dry too much and keep them from blending well.


    I actually walk through coloring a few petals of this flower along with other flowers and projects in this Blendabilities Basics video:

    (note- if you are reading this post in email, you will want to click here to view the video)

    Get Blendabilities for FREE!

    Just a reminder you can get many of the Blendablities for free during Sale-a-Bration!  For every $50 you order you can pick one set of the original 12 colors (found in the Annual Catalog) to get included in your order free. Smile  Shop online and use Hostess Code EGR29JBV to receive a free gift from me when you place your order!

    NOTE – due to the dock workers strike on the west coast, some of the colors of blendabilities are unavailable while inventory is being replenished in the warehouse.  Those colors are Cherry Cobbler, Daffodil Delight, Old Olive, Pumpkin Pie.  If you want to be notified when those become available, you can email me at jennifer@nwstamper.com and I’ll keep you posted!

    NWstamper signature_thumb[9]

    order online button for sig 3_thumb[4]

    Project Supplies Used:
    Easy shopping anytime!  Click the images below to see the item in the online store.
    Use Hostess Code EGR29JBV to receive a free gift from me when you place your order!

  • A Simple Elegant Card Perfect for a Birthday, Wedding, or White Christmas!

    Today is my Birthday and I am so excited for an afternoon where I don’t have to do anything except kick back with some great music and pull out all my preorder goodies and craft, craft, craft!  But before I got elbows deep in paper and ink, I wanted to share with you a card I put together for Stamp Club this month!

    I had had someone ask about a birthday card and I had seen a card that used white embossed paper over a white cardbase that I loved and so I set out to replicate and tweak that idea using my Stampin’ Up supplies I had at home.  I just love how elegant it turned out and I was so excited to share it with everyone at my events this month!  I made mine be birthday but switch out the sentiment and it would be great for just about any occasion!

    Tips for making this card:

    • Emboss a smaller piece of cardstock (in this case 2-3/4”x 3-3/4”) with your favorite embossing folder.  I liked the Mosaic embossing folder because it was a simple repetitive design that felt elegant and gave the card some visual structure.) and then mat it on a 3”x4” piece of white cardstock.
    • Since everything is based in white, pick a contrasting ribbon to anchor your color.  I love Black & White and so this Black Chevron ribbon was just the thing!
    • Punch 6 Petite Petal flowers and crumple each one up into the smallest ball you can in your hand.  Don’t worry if the petals are smashed in all the wrong directions, that is good!  The important thing is getting them extra wrinkled and textured.
    • Adhere the flowers together using glue dots and add a rhinestone to the center for sparkle amongst the texture.
    • Need extra sparkle?  Add a strip of Dazzling Diamonds glitter paper for a mess-free glitz on your card.

    You don’t need a lot of supplies to make a card that will wow them everytime. So, grab some paper and a flower punch, and have fun creating!

    My Birthday Gift is a Gift for You!

    maestro%20clipart

    I love celebrating birthdays… all the fun, cheer, and even a few presents!  I’ve been so amazed to receive some very sweet gifts this year (some fun crafty goodies, some shopping money to get more, and even some pampering by my hubby!) So I wanted to share the joy by giving you all a gift as well!

    I’m giving YOU a $5 gift certificate to be spent starting January, for every $25 you order today and tomorrow!
    This even counts if you order gift certificates from me or Paper Pumpkin prepaid subscriptions!
    So you can finish up your holiday shopping and get a little something fun for you as well. Smile

    Shop online or email me your order to jennifer@nwstamper.com and I’ll get your certificate emailed out to you right away!
    If your order is less than $150, then please use hostess code XMUM7PJZ.
    To purchase a gift certificate
    , email me so I can make sure I have all the details.  If you are interested in giving a Paper Pumpkin Subscription, you have the option to order them online here.

    And can I just brag about my super hubby today?  In the past we haven’t done much for birthdays but he has been amazing today including this yummy breakfast in bed!  Eggs, sausage, and the oh so delicious Orange Rolls!  Talk about spoiling a girl! 2014-12-18 08.01.11

    So I hope you all have a wonderful day too!  Until tomorrow!

    NWstamper signature_thumb[9]

    order online button for sig 3_thumb[4]

    Project Supplies Used:
    (if you are reading this in email, click here to see the list of supplies)