I just love, love, love the font in the Lovely Amazing You photopolymer stamp set, and I thought it just went perfectly with this pretty way to get a background with the Watercolor Wash technique! So today I just had to share this card with you, and I’ll have the video for the Wednesday Walkthrough posted too below! But for now, check out this cutie – ![]()

Featured Retiring Products:
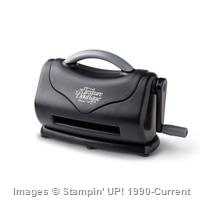
- Texture Boutique Embossing Machine (30% off – only $20.97!)
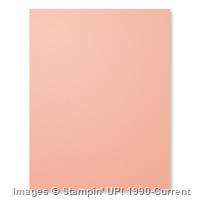
- Crisp Cantaloupe cardstock (sold out)
- Crisp Cantaloupe ink (50% off!)
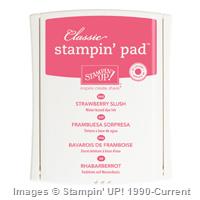
- Strawberry Slush ink
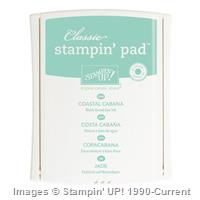
- Coastal Cabana ink (sold out)
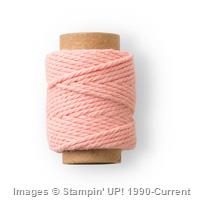
- Crisp Cantaloupe thick baker’s twine (50% off!)
Get them before they are gone by the end of the month!
Tips for making this card:
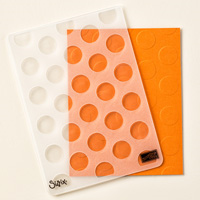
- Emboss your background piece of Very Vanilla cardstock using the Big Polka Dot embossing folder to complement the Bokeh circles you create on top of the tag.

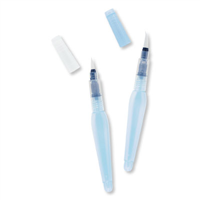
- Watercolor Wash makes an awesome background for your bokeh cards. You will want to make sure you use an Aqua Painter NOT a Blender Pen, and you want to be using Watercolor Paper NOT your basic cardstock because you’ll be using lots of water to help let your colors spread on the background.
- Stamp your sentiment on AFTER you have done your bokeh circles.
HEADS UP! This stamp set is one of the monthly photopolymer releases and so is NOT in a catalog. It is guaranteed available from Feb 2015 to July 2015, so don’t wait too long to pick yours up!
- Punch the top with the Scalloped Tag Topper and then wrap some of the thick baker’s twine through to make a tassel top.
- Get that extra tassel-y top by untwisting the baker’s twine so all the individual threads are fluffed out!


Want to see how to make it? Check out the Walkthrough Wednesday video:
(reading this in email, click here to watch the video)
New Product Samplers/Shares are Coming! Save your spot today!

I’ve posted the details for my Annual Catalog product shares. I’ll be ordering to fill the first round of people on June 2nd, so make sure your name is on the list if you want your samplers of a little bit of all the ribbons and papers the first week of the new catalog!
![NWstamper signature_thumb[9]](https://i0.wp.com/www.nwstamper.com/wp-content/uploads/ad87b4046c1e_C9F6/NWstamper-signature_thumb9_thumb.png?resize=322%2C118 "NWstamper signature_thumb[9]")
![]()
Project Supplies Used:


Built for Free Using: My Stampin Blog

![NWstamper signature_thumb[9]](https://i0.wp.com/www.nwstamper.com/wp-content/uploads/ad87b4046c1e_C9F6/NWstamper-signature_thumb9.png "NWstamper signature_thumb[9]")


 It is part of the new Holiday Supplement that just launched today.


