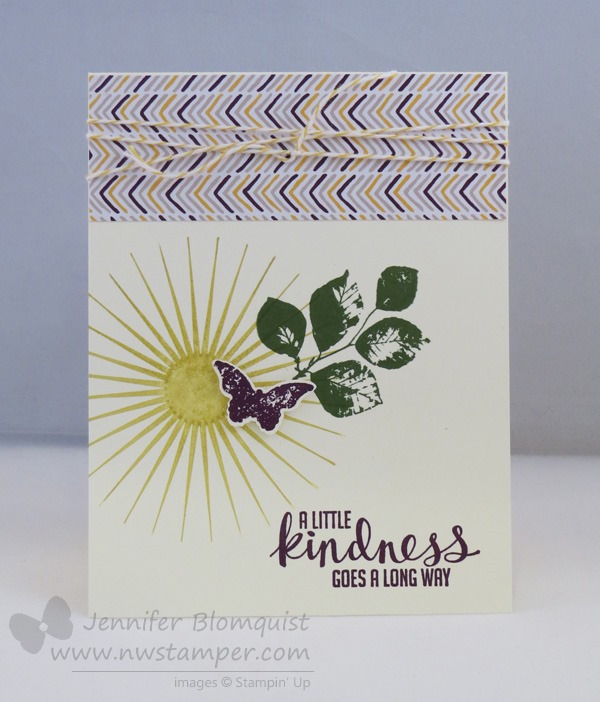
Happy Monday! I figured we could all use a bit of sunshine and cheer to kick off our week, so I thought I would share one of the cards from my recent Birthday Card Bash Class. A little while back my friend Breelin posted on instagram a pile of cards she had received and I was inspired by one to create this card.

It is always a nice reminder to see that sometimes the simplest cards are some of the cutest, don’t you agree!?
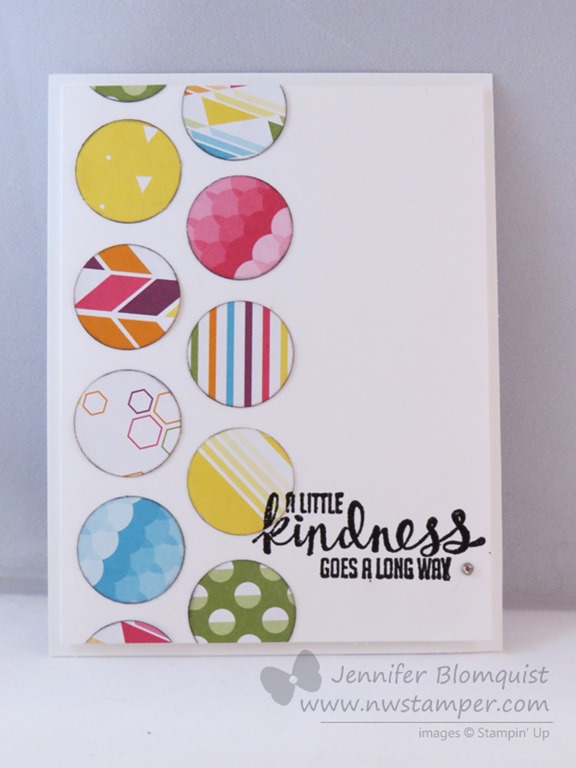
Tips for making this card:
- Have fun with the round patterns that come in the Celebrate Today stamp set!

When you layer them over the solid balloon stamp image, you can get all kinds of fun designs. Keep it to the same color like in this example, or pick a contrasting color to really punch things up.
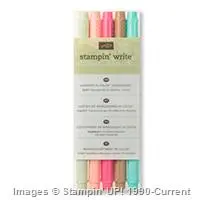
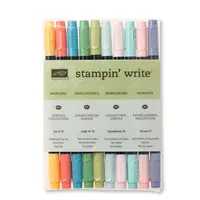
- Use your Stampin’ Write markers (the dye-ink markers; not Blendabilities or alcohol ink markers) to color your banner image to match the colors in the rest of the card.
- If you find you are having a hard time getting a solid image with markers and your photopolymer stamps, prime your stamps first by inking them up with an ink pad and stamping off onto scrap paper, clean the stamp, and then try it with the marker. Usually you will get a better result!
- Draw on your strings including a line across the bottom of the balloon tab for a “floating away” feel to your card.


PSST!! – EARLY BIRD St. Patrick’s Day Special!
I couldn’t let St. Patrick’s Day go by without some fun, so I decided to offer a card challenge tomorrow (more on that tomorrow!) but I’ll also be offering a 17% off discount on all Stampin’ Up orders with me through tomorrow night! So, if you are seeing this now, you can get in on the savings early by either
1. Shop online and use hostess code 9CYWBHVC on the shopping cart page
(if your order is over $150, don’t use the code and I’ll still make sure you get the discount)
OR
2. Email me at jennifer@nwstamper.com or call me with your order with the code StPattys17
![NWstamper signature_thumb[9]](https://i0.wp.com/www.nwstamper.com/wp-content/uploads/ad87b4046c1e_C9F6/NWstamper-signature_thumb9.png "NWstamper signature_thumb[9]")
![]()
Project Supplies Used:
Easy shopping anytime! Click the images below to see the item in the online store.


Built for Free Using: My Stampin Blog


