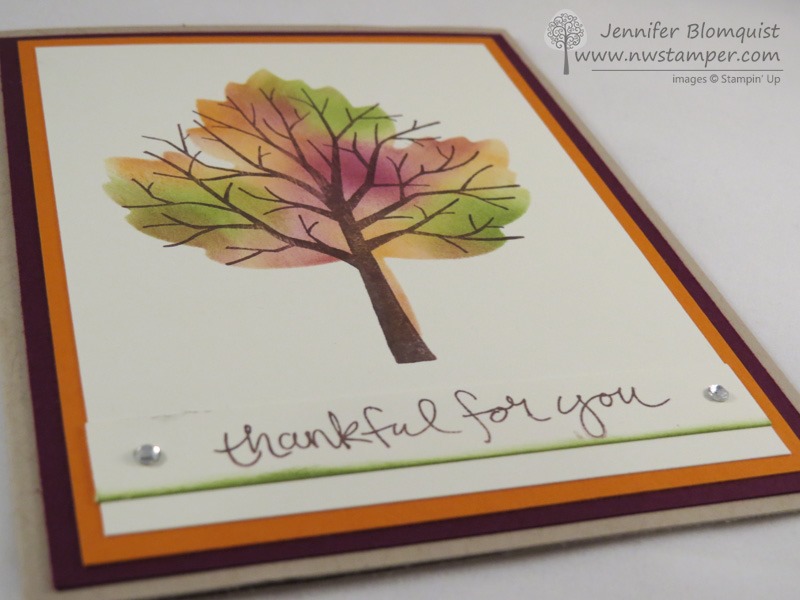
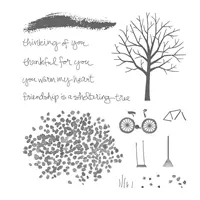
Don’t you just love when you find two things in your craft room that don’t officially go together, but they just work together perfectly?? I was so blown away when I was given a card by fellow demonstrator Jen Martin that overlaid the Leaflet framelits with the Sheltering Tree trunk. So I made my own version and used it as customer thank you cards. Isn’t it such a cool combination?

I never would have guessed that the two shapes were such a close match, and with a little coloring, they are super pretty together!
Jennifer’s Project Tips:
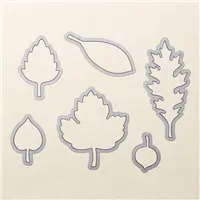
- Start by creating a stencil with your favorite framelit! In this case, I used the maple leaf thinlit from the Leaflet framelits and cut out a hole in a piece of computer/copy paper. You want your paper to be thin… so not a piece of cardstock so that you can get right up to the edge of the shape cleanly on all sides. You can throw away the cut out shape, you really just want the hole!
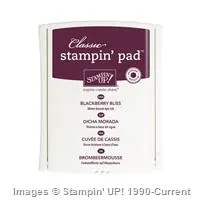
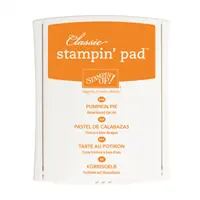
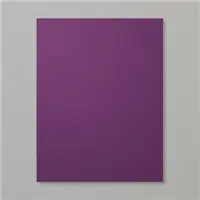
- Pick your favorite color combination – You are going to place the stencil over your cardstock and then use sponge daubers to color in the leaf. So grab your favorite 3-4 colors and matching sponge daubers to do this. I used So Saffron, Pumpkin Pie, Old Olive, and Blackberry Bliss.

- When sponging, start with your lightest color! Mainly this is to prevent your sponge dauber from picking up the darker colors, plus it gives you a bit more control about how dark things get. Here I sponged the ENTIRE leaf with the So Saffron, then I started adding bits of the other colors hear and there to get the tie-dye look.
- Layer your stamped image on top of your sponged image – by doing the sponged image first, you can see where your stamped image needs to go, or if you want to adjust your stamped image to cover up a less than perfect spot on your sponging. Thankfully, Sheltering Tree is a photopolymer stamp (meaning it is totally clear) so I can see exactly where to line up my stamp. But if you are using a rubber stamp, you may want to use the Stamp-a-ma-jig to get things perfectly lined up.
- Add a little color to your sentiment – I wanted to ground my image, so I took a strip of cardstock for my sentiment and stamped it in the same brown so that it would be easy to read… but then I sponged a little of the Old Olive along the bottom to make it feel like grass and just “ground” my tree/leaf. A little color can go a long way for really pulling a card together!


So, give this technique a try with any of your favorite framelits and stamps. You may be surprised at how cool the combinations turn out!
In the Seattle Area? Join me for my In with the New! Spring Catalog Kick off Party!
I have a bunch of super fun events coming up over the next few months, with more to be added soon. First up is a fun and free kick-off party for all the newest and coolest products from the Occasions Catalog. With free make & takes, over 60 new ideas on display, treats, and prizes – you should totally join me!
January 23rd at 1:30 pm, Bellevue, WA
Email me for more details at jennifer@nwstamper.com or check out it out on my Bellevue/Redmond Card Makers Meetup group!
![NWstamper signature_thumb[9]](https://i0.wp.com/www.nwstamper.com/wp-content/uploads/ad87b4046c1e_C9F6/NWstamper-signature_thumb9_thumb.png?resize=322%2C118 "NWstamper signature_thumb[9]")
![]()
Use Hostess Code PGHMVNJM at check out to get a special thank you from me!
Pick a FREE item with every $50 you spend! See the Sale-a-Bration catalog.
See all the tutorials & classes by mail here
Save 25% on the Latest Weekly Deals


Built for Free Using: My Stampin Blog