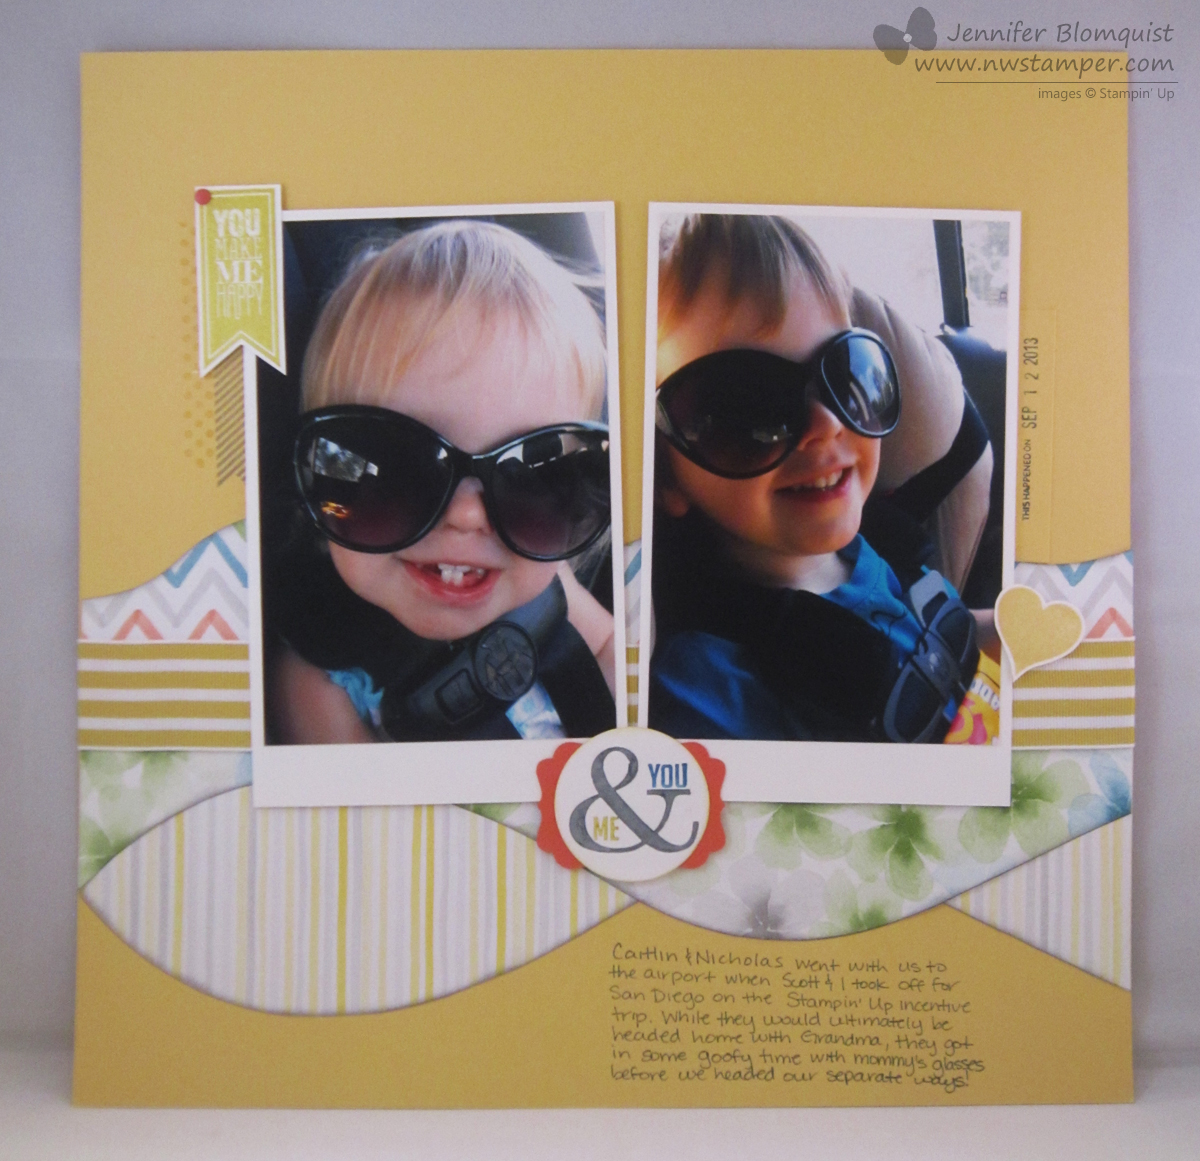
I’ve been making a concerted effort to actually use up my scraps. You know, instead of having bags and boxes stuffed full of scraps…. because I’m a hoarder, I’ll admit it. I have a good system for managing my scraps but even that can only take so much and so when I have extra punch out or die cuts, I have a new “Use it or Lose it” policy. And thus, this card was born –
![]()
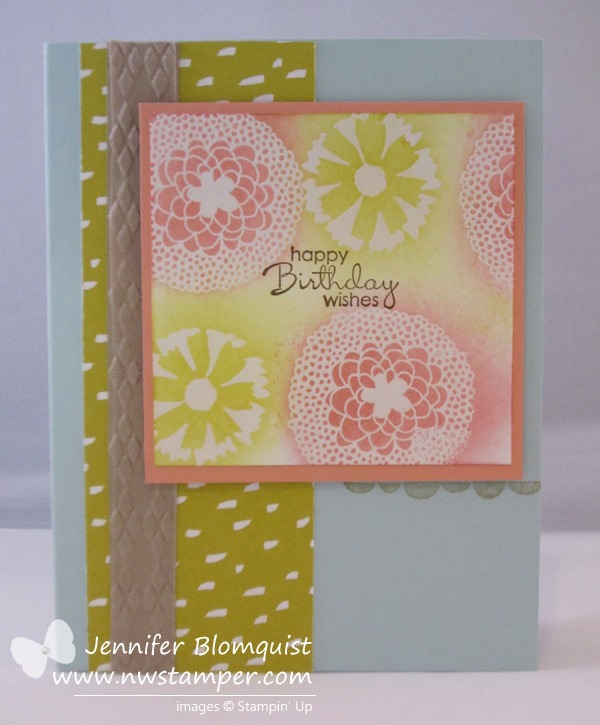
Yup! Totally a scrap card! ![]()
I started with the extra lattice that I had created when I was trying to figure out the technique for a recent class card. All it takes is the Chevron border punch and some weaving and you are done! (I have a full tutorial here if you want to try it at home.)
So, I stamped the Hardwood image on the back of my card and layered on the white cardstock lattice. Then I needed something to go over my lattice, and that is when my eye caught the butterfly scraps! The butterflies were left over for a different ombre butterfly card I created (see that card here) and I ended up having an extra of each of the colors, so I stacked them up only this time making sure to stagger them a bit so you could easily see each color.
Then I added my sentiment for the fabulous So Very Grateful (I’m shedding a tear that this stamp isn’t carrying over into the new catalog!) and it needed something else to ground it, so I added the scrap strip of Crumb Cake cardstock.
Psst- if you look closely, you can see that I put it on as an afterthought because I had to tuck it into each side of the lattice… see the empty space in the middle. ![]()
Quick Reminder: The butterfly I used here is from the Beautiful Butterflies Bigz die, which is retiring at the end of the month. I loved it because for my classes, I was cutting up to 6 pieces of cardstock at a time! Which makes cards like this much easier because you can do one run through the Big Shot to cut out all of your butterflies! Gotta love things that make your life easier. See the remaining retiring stamps and accessories online here.


May Online Stamp Club Hostess Code – ZUBHUEK6
Use this code to get free exclusive tutorials & project kit!Learn more
Stampin’ Up! Supplies Used
Stamps – So Very Grateful, Hardwood
Ink – Soft Suede, Early Espresso
Paper – Whisper White, Sahara Sand, Crumb Cake, Blushing Bride, Crisp Canteloupe, Calypso Coral
Accessories – Big Shot, Beautiful Butterflies Bigz die, Chevron Border Punch, Pearls


