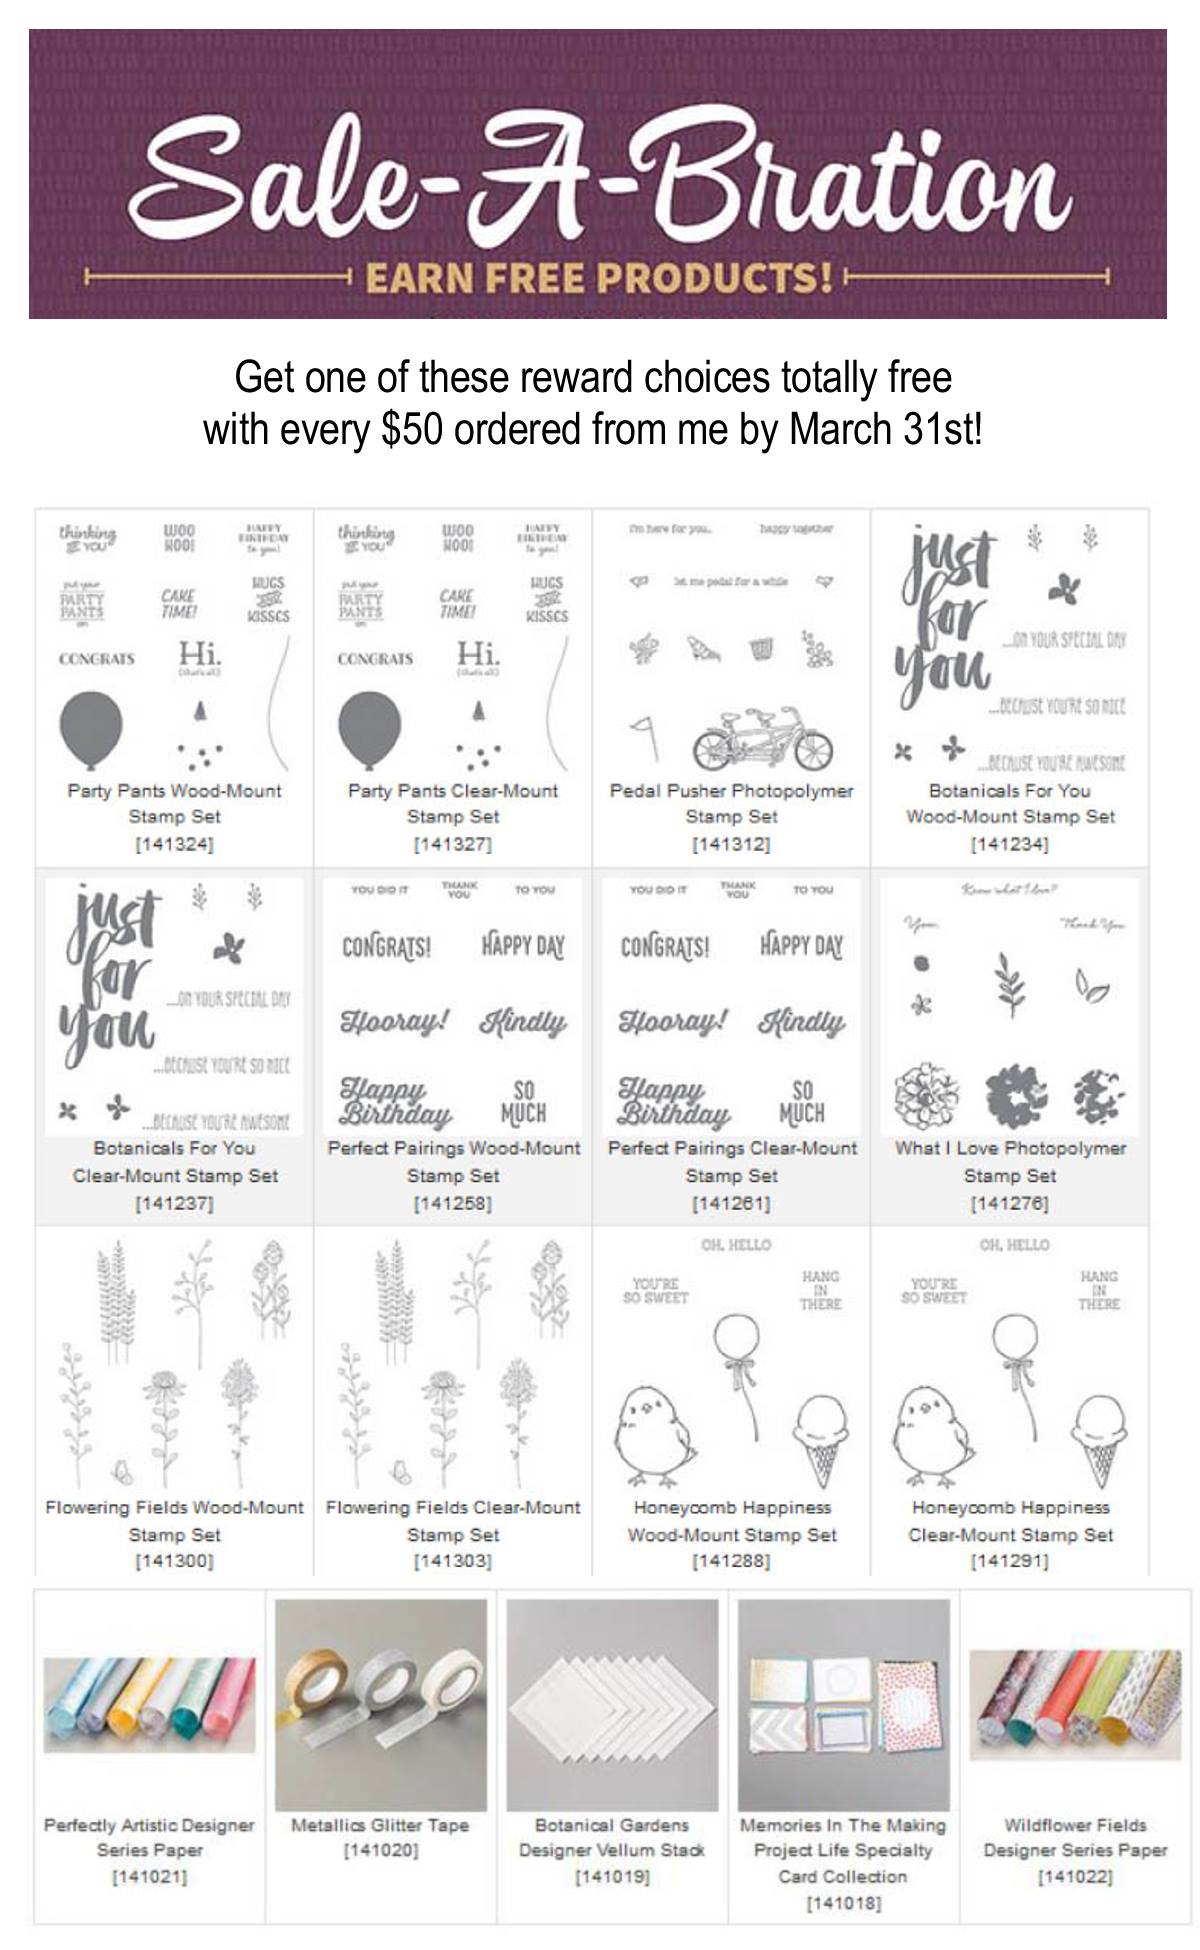
The countdown is on! We only have 6 days left of Sale-a-Bration, and I’d hate for you to miss out. ![]() Today I’m sharing some ideas from one of my FAVORITE options from Sale-a-Bration, the Honeycomb Happiness stamp set. The funny thing is, you actually get a few different images from the set, but I’ve pretty much only used the Chick from the set… as you’ll be able to see from my multiple samples below, ha ha! So, just so you know everything that is in the set, here is what it looks like:
Today I’m sharing some ideas from one of my FAVORITE options from Sale-a-Bration, the Honeycomb Happiness stamp set. The funny thing is, you actually get a few different images from the set, but I’ve pretty much only used the Chick from the set… as you’ll be able to see from my multiple samples below, ha ha! So, just so you know everything that is in the set, here is what it looks like:

NOTE – they are RUNNING LOW on the clearmount version of this stamp, so you might want to grab yours sooner rather than later! Since they are not making more at this point!
But let me share a new-to-the-blog card with another idea for this set. This was a card from my new Terrific Techniques series. Last month we did Heat Embossing and this was one of the cards everyone made practicing the basics!

The other thing about this card that is cool, is that it is an example of how AWESOME the Project Life Grid Cards are. But this isn’t a Project Life album page you say… that is right! The cool thing is that the grid cards are a really economical way to have precut 3”x4” layers for your cards. One side has a light grid pattern and the other side is plain white. It isn’t as glossy as Whisper White cardstock, but when you are doing things like simple stamping or in this case, heat embossing, it works great! And you get 50 cards for only $3.50. Which is a steal of a deal!
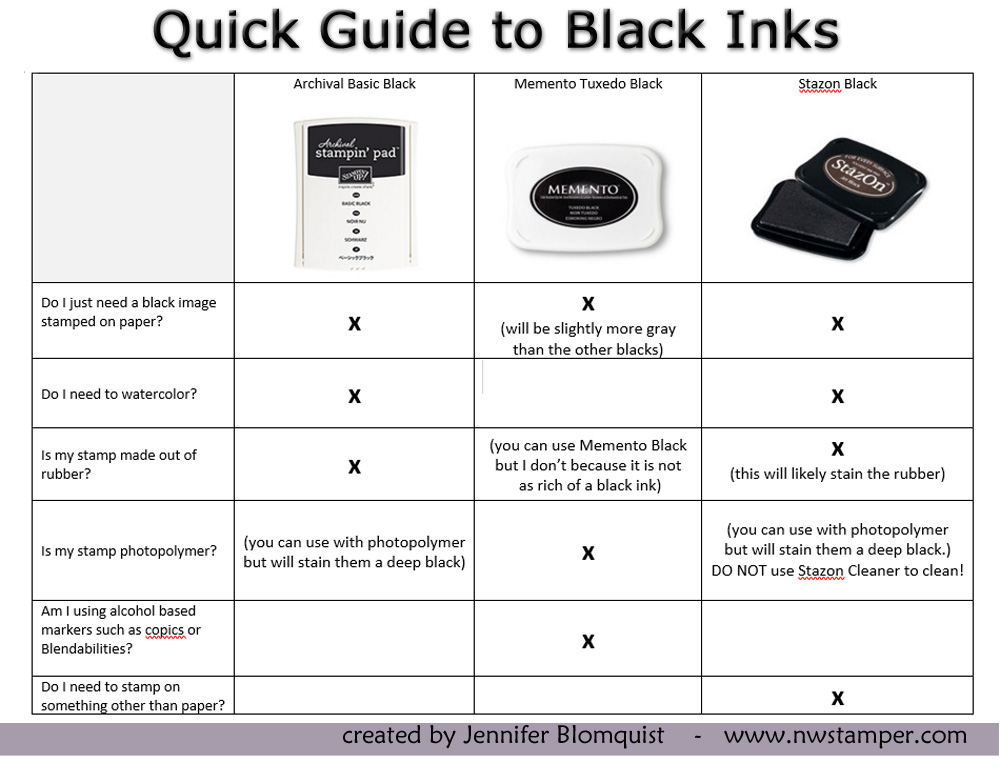
In this card, you ink the chick with VersaMark and stamp onto the grid card and then cover with Black embossing powder. Heat with your heat gun to set and then you can color to your hearts content with your Aqua Painter!

Then we showed how great heat embossing looks on dark colored cardstock.
- Rub the paper lightly with an Embossing Buddy (if you press hard, the white powder will show up on the paper)
- Ink your stamp with VersaMark ink and stamp on the dark paper (this was Blackberry Bliss, one of the retiring In Colors)
- Generously coat with light colored embossing powder like this White embossing powder
- Tap off the excess and then heat with your Heat Gun
- Only heat until the powder becomes shiny. If any part is not shiny, you haven’t melted the powder enough.
- TIP – if you are using metallic embossing powders, make sure to stop heating as soon as it becomes shiny! Overheating will cause the metallic finish to dull and it will look tarnished instead.
Sponge the edges and layer with some of the Pretty Petals designer paper. Add some of the White Perfect Accents (currently on the Weekly Deals!) and you have an oh so cute card!

See why I love this chick? He is just too dang cute!
NEW Terrific Technique Class is coming next week! We’ll be playing with Vellum and different variations with it! You can get your instruction sheet, samples, video instructions, and supplies to make two cards FREE with your $40 purchase through Monday! Just use hostess code MZ2REKD7.
Shop online and get your Honeycomb Happiness stamp set FREE with a $50 order! Get shopping – www.nwstamper.com/shop
More fun ideas with the Honeycomb Happiness Stamp Set


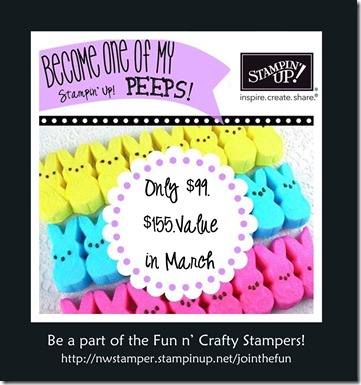
Steal the BIG deal and join our fun group – the Fun n’ Crafty Stampers! Get started here – http://nwstamper.stampinup.net/jointhefun
![NWstamper signature_thumb[9]](https://i0.wp.com/www.nwstamper.com/wp-content/uploads/ad87b4046c1e_C9F6/NWstamper-signature_thumb9_thumb.png?resize=322%2C118 "NWstamper signature_thumb[9]")
![]()
***Use Hostess Code MZ2REKD7 at check out to get a special thank you from me!***