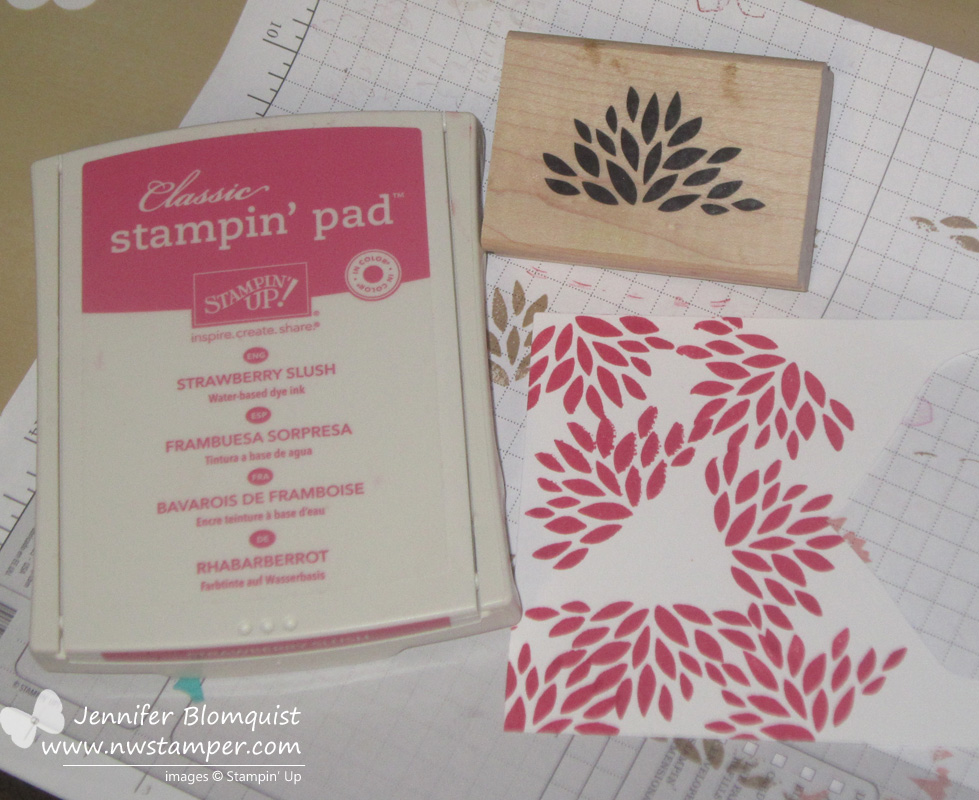
Watercolor Wonder Notecards Ideas–Day 2 with Wood Chips and Vellum
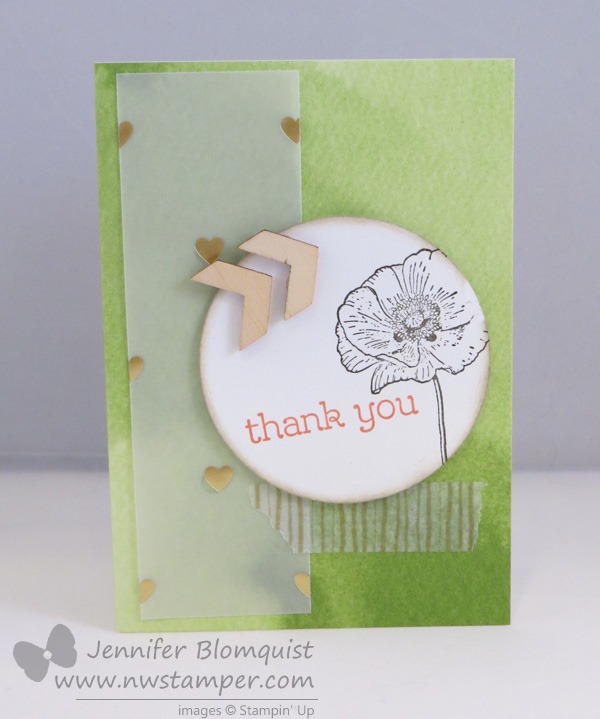
So, I was planning on finishing posting these cards this weekend… but then the family decided to do an impromptu holiday trip to Portland, OR, so we took off and I completely forgot to schedule these before I went. But now I’m back and have a lot to share with you in the next few…
Watercolor Notecard Weekend–Day 1 Fun with Happy Watercolor
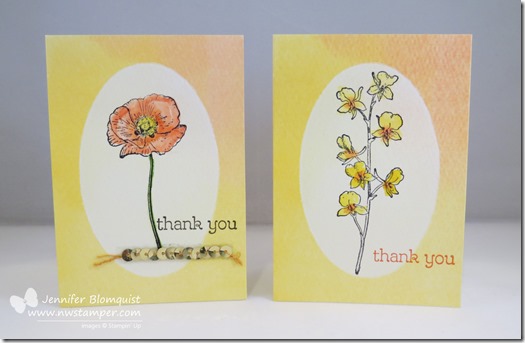
Ok, I know I’ve been sharing a lot with Happy Watercolor and even the Watercolor Wonder Notecards, but I’ve been having a lot of fun playing with them and I want to share them since I know a lot of folks have ordered the stamp set and the notecards. I figure more idea for how…
Lots of Ideas for Rainbow Cards with Happy Watercolor

Ok, as promised, I’m FINALLY posting those pictures from Stamp Club with all the variations of my Rainbow Happy Watercolor card (over on the right of this post). I have to admit, one of the things I love about stamping with other people in my classes is that I get to see some awesome ideas…
Rainbow Fun Card with Happy Watercolor
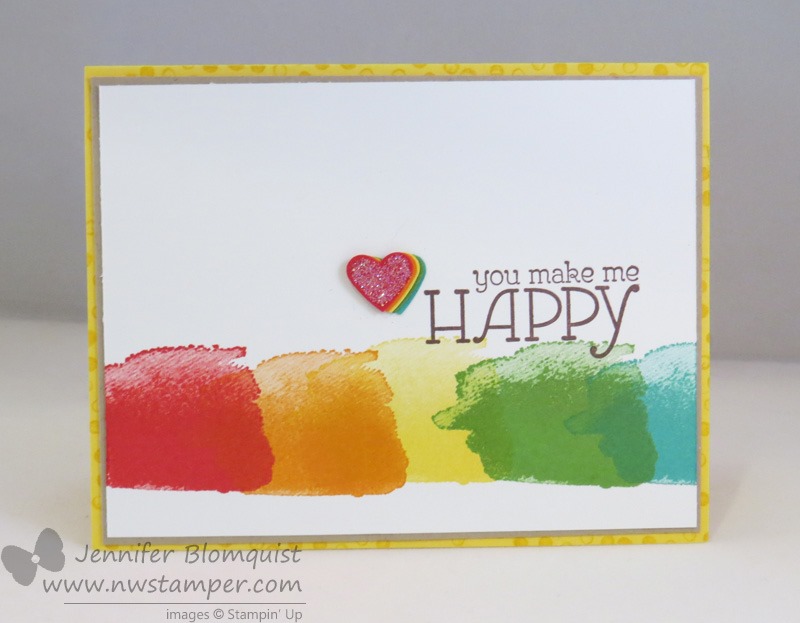
Alright, I spent most of yesterday editing photos and so I’m excited to have some new projects to share with you! Today the skies are a little gray here in Seattle, so how about something bright and cheery? Whabam! I have been having a mini love affair lately with the Happy Watercolor stamp set. I…
More Watercolor Wonder Fun!

Last night was my Watercolor Wonder Fun class… and aside from the major OOPS of forgetting my Stazon Ink at home (thank goodness I lived really close to where I held the class and could get it fast), it was another great night with lots of good conversation and creating! Yesterday I shared a few…
Have I mentioned I Love Happy Watercolor?
Last September when I was at Stampin’ Up’s Founder’s Circle retreat (seriously, I was so blessed with amazing downline and customers to help get me there!), they gave us the Happy Watercolor stamp set. When I saw it, I wasn’t quite convinced, but after looking at samples and then playing with it, I was hooked!…
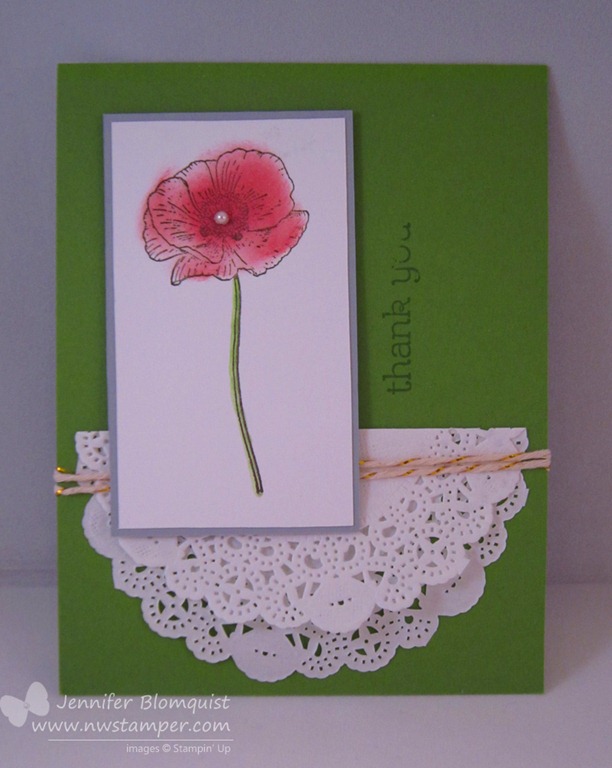
Create a Flower with Petal Parade
Turns out I’m the queen of last minute! I knew that I was on-deck for a card for the Stylin’ Stampin’ Inkspiration design team this week and I really did keep meaning to create some fun flower for our “Create a Flower” theme today. But next thing I know, it is 9:15 last night and…
Sweet & Simple No-Layer Card
Well, I totally forgot that today was Oscars day…. but given that my son has given me another head cold, today seems like the perfect day for laying on the couch and watching some TV. So, if you are following along with the Oscars with me, don’t miss out on my Winners Predictions Contest over…
Happy Watercolor Leadership Swap Card
I’m trying to get back in the swing of things and thought I’d share the card I created for a couple swaps I’m in. I loved this Happy Watercolor stamp set and thought I’d experiment with some different color combinations. What I used: Summer Starfruit, Pool Party, Early Espresso, Sahara Sand, and Real Red So,…