Embossing Two Ways with Dragonfly Dreams
When I had a hostess ask me this month to use Dragonfly Dreams for one of her event cards, I smiled and said “of course!” Then I did my best Winnie the Pooh impression and sat at my craft table poking my head and saying “think, think, think”. I had played a little with this…
Stampin’ Up Display Stamper 2014 Submission
So, every year I go to the Stampin’ Up convention… and every year I’m blown away by the amazing ideas and inspiration on all the different display boards. (To see what I’m talking about, here are a few past posts I’ve done showing the display boards.) Well, this year they are doing a call for…
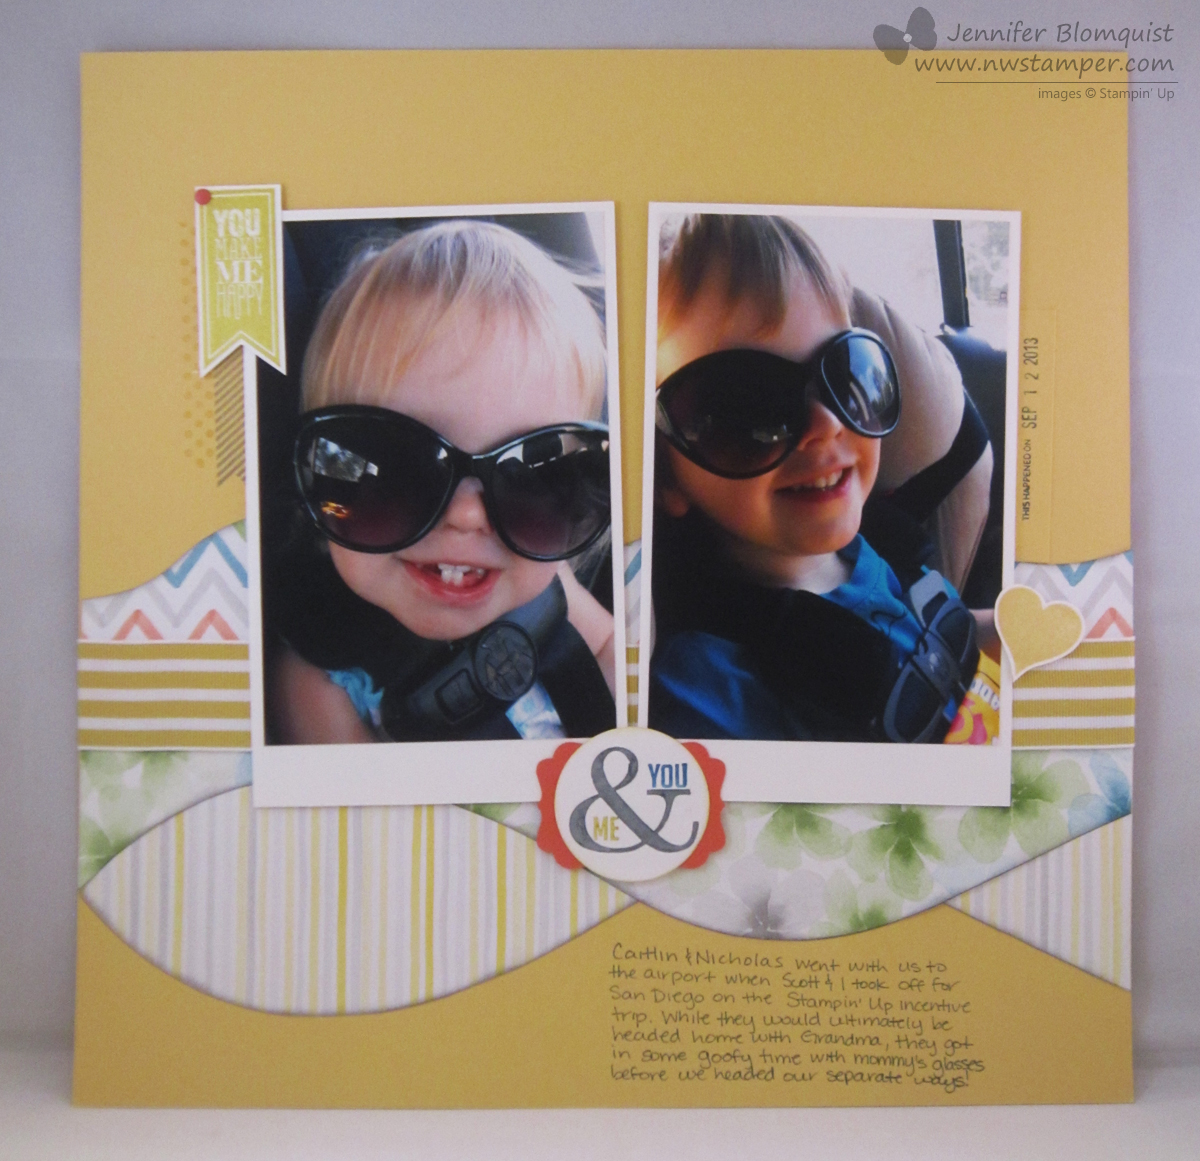
Chalkboard + Polaroid = Unexpectedly Cute Card!

My brain has been filled with getting things ready for my Demonstrator Stamp & Share event I’m planning for Saturday (I’m super excited though – 4 hours of stamping, demonstrations, displays, and door prizes! How can that NOT be a great way to spend a Saturday afternoon? ) But that means when it comes time…
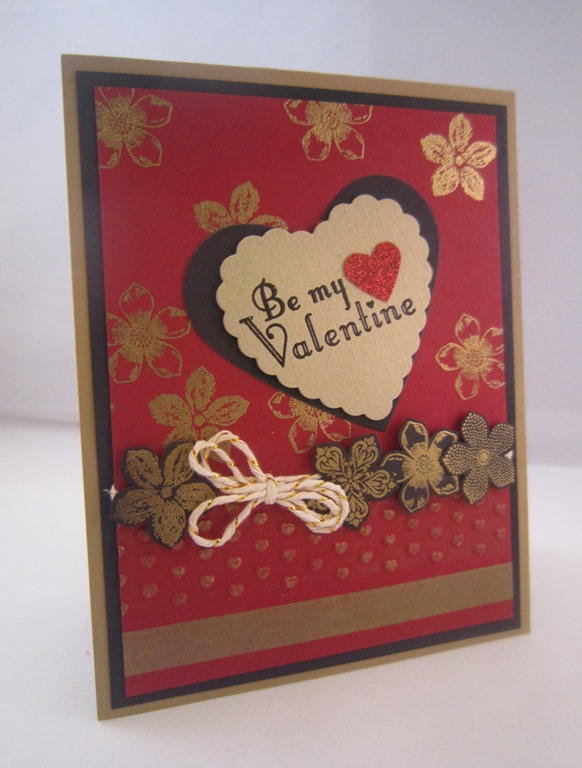
Cheery Thinking of You with Petite Petals Flowers

Whew! I’m back to the land of the living! I went to bed last Thursday night thinking of all my plans of what I was going to finish and get caught up on on Friday (aka Valentine’s Day). Instead, I woke up in the early hours of the morning with a terrible stomach bug! So,…
Last Minute Valentine Card Ideas from Leadership
I have had a TON of cards sitting on my camera begging to get edited and shared with the world, and finally I had time yesterday to spend most of the day editing them. So, with Valentine’s day just around the corner, I thought I would share some of the great card swaps I received…
Hershey’s Nugget Treat Box with Hearts a Flutter
Ok, ok, I know Valentine’s Day was yesterday but I got behind on my blogging and still had some cute projects that I wanted to share. So Pin these projects or save the pictures so you can remember them for next year – or change up the colors and stamps and make cute little goodies…
Elegant Thank You Card using Emboss Resist
Ever have one of those days where your mojo is kicking in and you are able to make some projects that just make you smile? I hope so! Yesterday was one of those days for me and I was having such a blast finishing getting ready for my Awesome Embossing class this weekend. I had…
Tons of Tools Card and Embellished Envelope
Sunday was this month’s Technique Night with my meetup group and by request, I did a night that was focused on going over many of the tools you might encounter on your crafting journey including: The BigShot Aqua and Blender pens for water coloring Crimpers Bone Folders Paper Piercing tools Heat and Dry Embossing the…
More baby gifts – thank you card set and a frame
It seems like I know a lot of people having babies right now. I reconnected with a friend recently on Facebook and learned she was due at the end of August with her first child. I was so excited for her, I decided to make her a few things to send in addition to a…
A new job and a couple cards
Its only been a day and a half and I already feel bad that I don’t have a blog post planned. 🙂 I started a new job yesterday and between that and racing home to place my first new catalog order, I didn’t get any crafting done. So, today is just a quick post before…