Stampin’ Up Convention 2015–Day 1
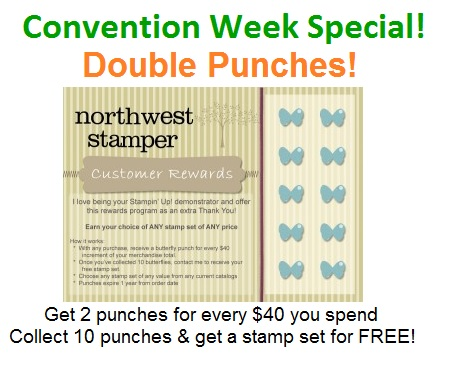
——————————- While I’m away you can play and earn free stamps twice as fast! Get double punches on your Northwest Stamper Rewards card all week when you shop with me online or email me. —————————— What a busy but great first day here at Convention! It was all about NEW and the NEW Holiday Catalog! …
Rediscovered: Season of Style Quick Cards!
Someone reminded me of this class I did a while back and that the Season of Style cards and Cherry Cobbler ribbon are both on the Year-End Blowout Sale for cheap! So I thought I would offer to anyone who purchases the Season of Style cards from my online store, I’ll send you the tutorial…
Weekly Deals and Reminders!
Oh my goodness, did you realize we have just over a week until Christmas!? I keep forgetting as I try to get my Christmas cards finished and in the mail (thank goodness for last month’s Paper Pumpkin kit to give me a few extra Christmas cards quick!) It also means we are at the end…
Simple holiday cards with a side of bling
Well, December is finally here and like usual I suddenly realize that I need to get my Christmas cards put together and my mailing list organized. Thankfully I was running a technique night this last Tuesday and so we created three fun holiday cards. The actual card designs aren’t too complicated as the focus was…
Swap card overload!
So, I showed you a couple posts ago about the cool gifts I was given and projects I made at the group meeting on Saturday. I also mentioned that I participated in a card swap. The other ladies made such awesome cards that I had to share! And here are a few of my favorites!
Do it yourself card kit – Holiday edition
Ok, so in my last couple posts, I’ve shown a bunch of different designs 5 of which be the set we do at the Holiday Stamp-a-Stack this saturday (space still available, email me to join!). I’ve also mentioned offering a card kit for those folks who can’t attend the workshop this weekend since I know…
Upcoming Classes and Events
Now that I’m a bit more settled after my move to Portland, I’m starting up some classes and events. These events are a great way to unleash your creativity and learn a new technique or two. I hope you can join me! Holiday Stamp-a-Stack – October 25th Ease some of the stress of the holidays…