Welcome! Its time for another Inspire, Create, Share Blog hop! This month we are trying to help get you inspired to finish up those love notes and treats for Valentine’s Day! I have this fun card for you – so please, keep reading and check out more about how I made it. Then leave me a comment letting me know what you think before hopping off to see what other awesome projects the rest of the gang made for you. 🙂 (more…)
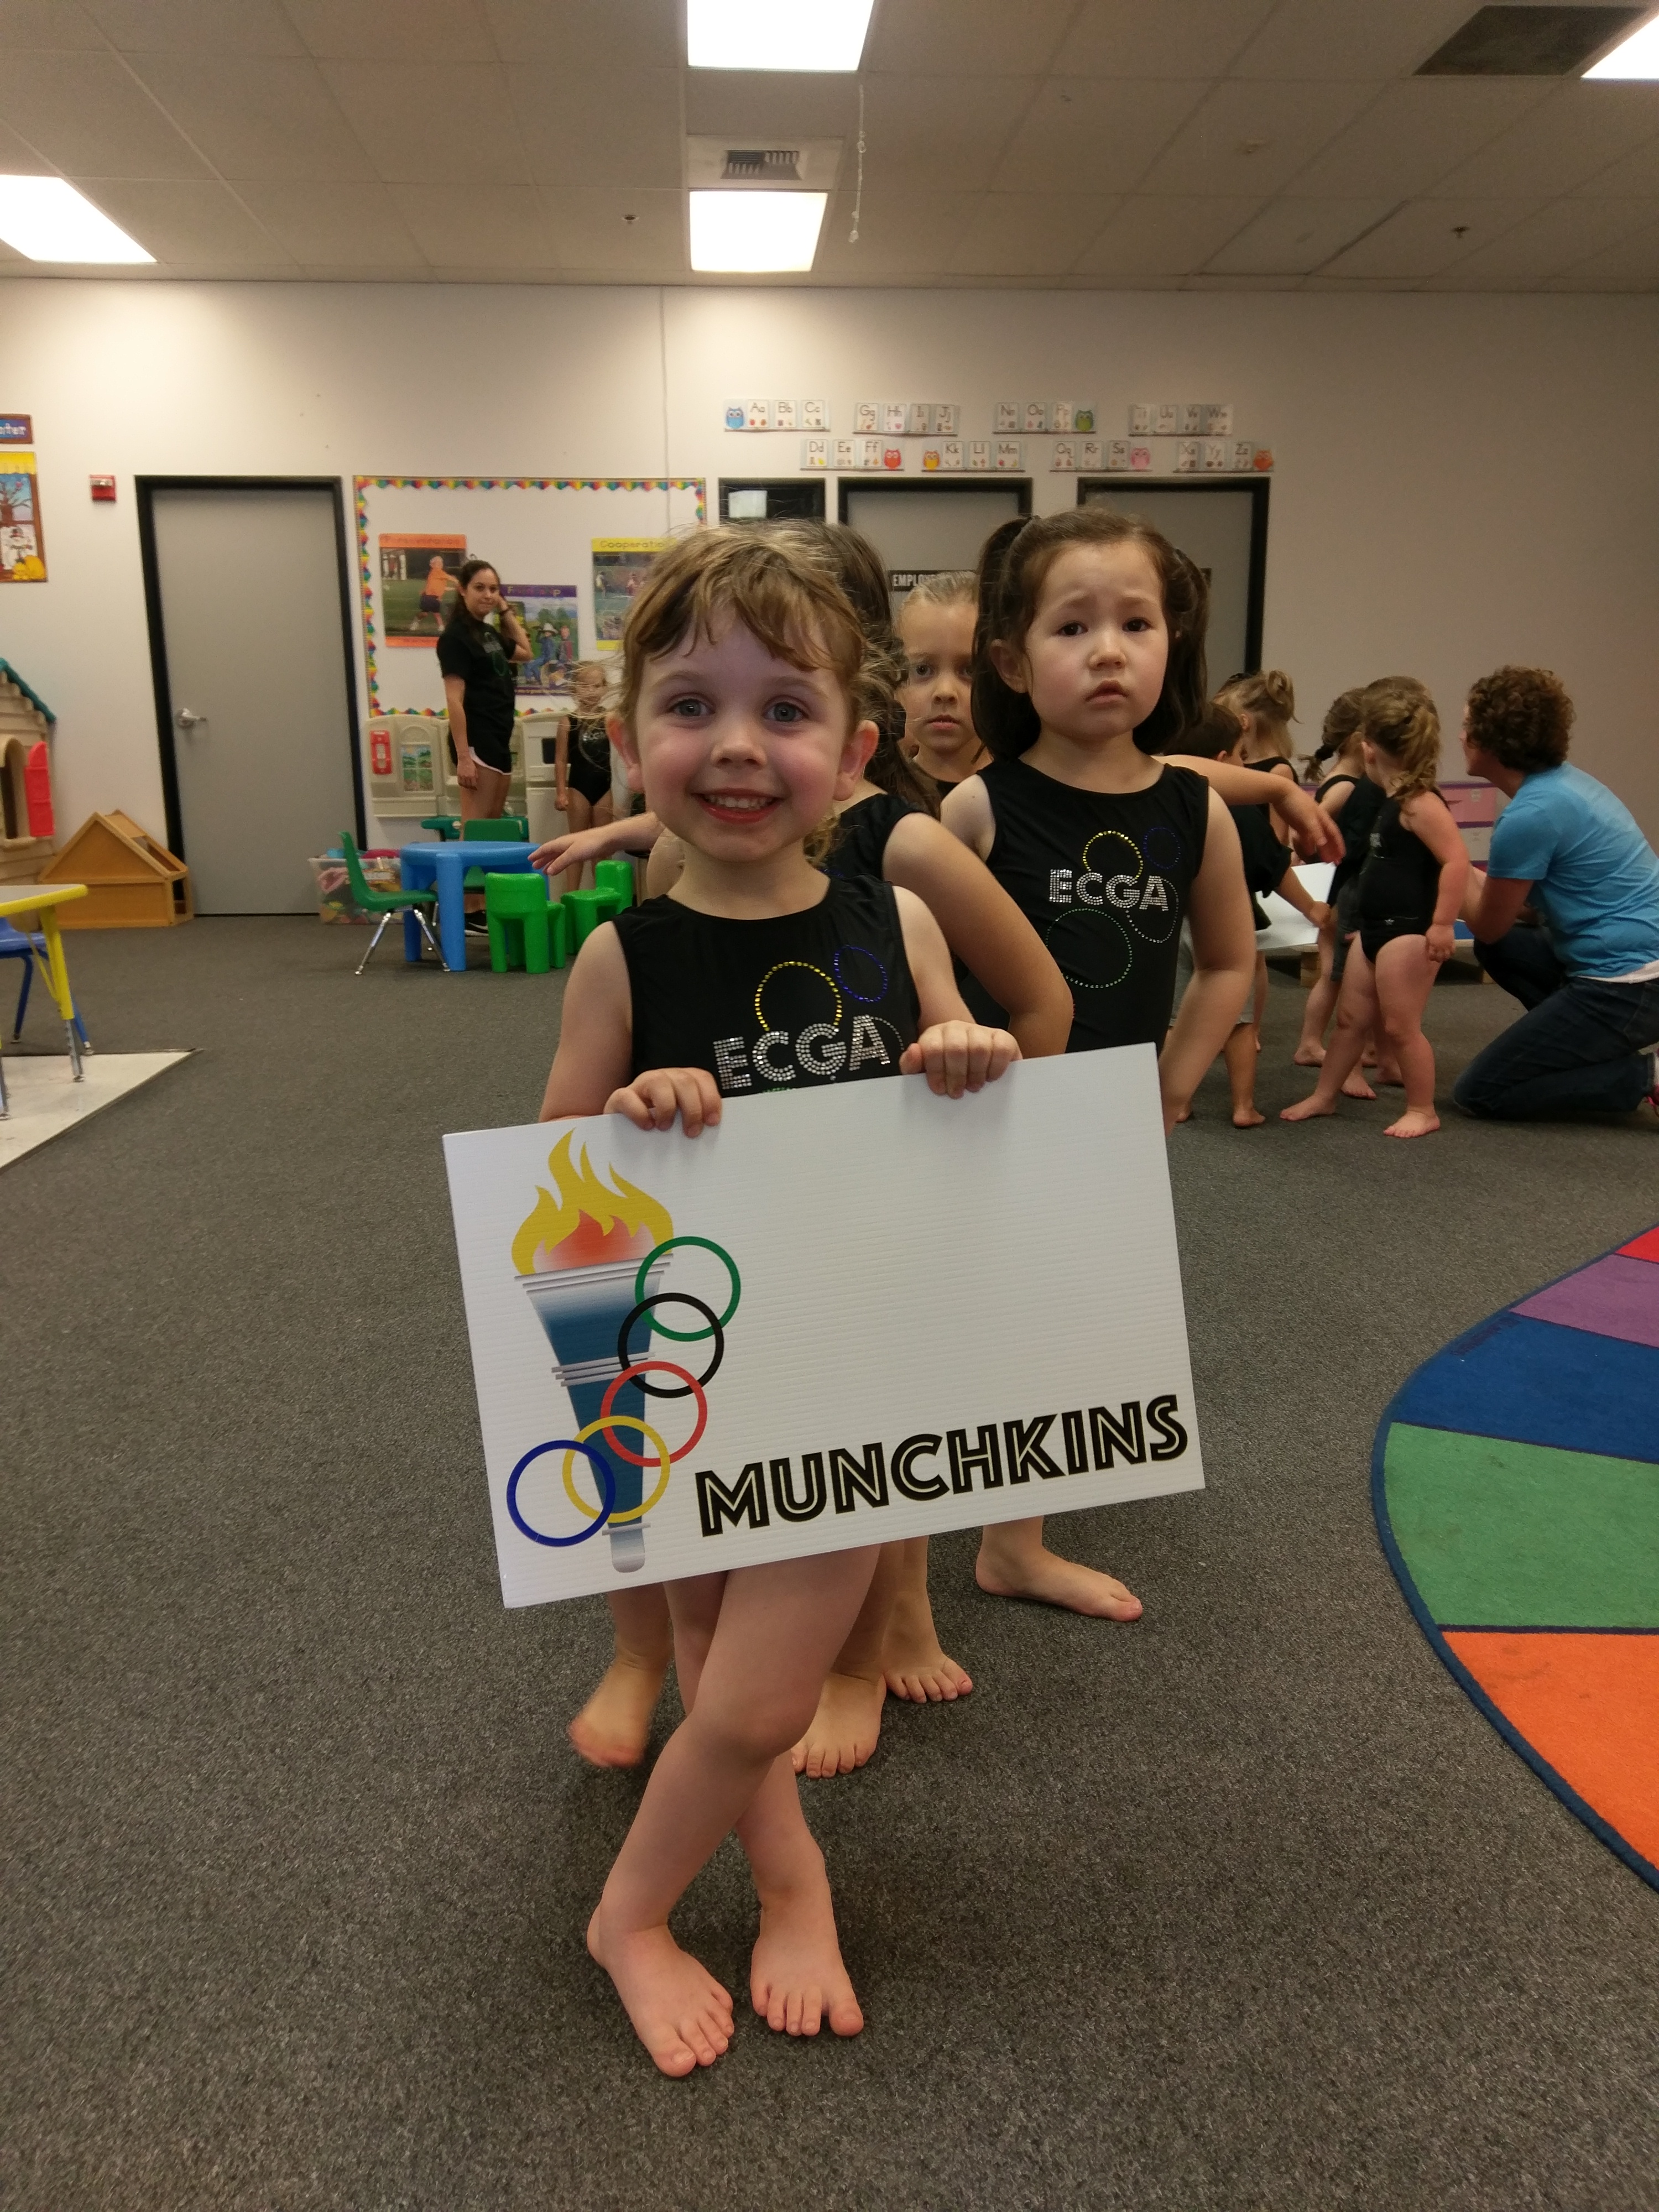
Ok I’m finally getting the last set of projects up on the blog! It’s been a busy week with Caitlin’s gymnastics show (or really, in her case, bouncing around the floor :))
and then Nicholas’ kindergarten graduation and then HIS gymnastics performance on Saturday. Then it is officially SUMMER! I’m not sure whether to be excited because there is more flexibility in the day or scared because that means the quiet time in the middle of the day is going to be gone for 2 1/2 months!
But the sun is shining and the kids are cute… so I’ll choose happy. 🙂
And here are some Minty Fresh project ideas to get you going for summer too!
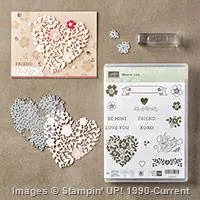
A fun and simple card that is quick and easy to do using some of the In Color designer paper, Bold Butterfly thinlits, and the Bloomin’ Love stamp set.
Or get a little fancier and bust out the vellum and Sunburst die to make a card like this:
And if you are in a hurry, how about a simple birthday card using the Balloon Celebrations stamp set?
I also had to create a scrapbook page for the display boards and just loved the fun of this picture from a Mommy & Me “spa” date. It was a special treat for Caitlin and so the sentiment from the You’re So Sweet stamp set.
So, if you missed any of my other Display Board projects you can check them out here:
As I’m racing to finish up final packing and blog post scheduling (plus new video tutorials too!) I wanted to quickly hop on to share a card that I totally thought I had shared a while ago, but apparently didn’t!
It is an easy card that takes advantage of some of the fun stuff you get in the Love Blossoms Embellishment kit – specifically the GORGEOUS Blushing Bride ribbon and the cute pink sequins!
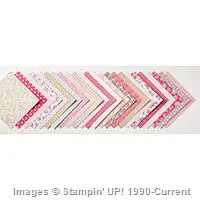
This whole card started out with a sample we made at OnStage in November – a Stampin’ Up event for Demonstrators where we get to play with the upcoming catalog products. Well the Bloomin’ Heart thinlit die was coming out and so we used it to cut out a piece of the Love Blossoms designer paper, and then stamped the flowers over the top – yes, they are directly on the heart – using the flowers from the Bloomin’ Love stamp set. Quick and easy. Well, easy if you have the Stampin’ Up die brush to pop everything out! (Check out my video tutorial on the die brush to see what I mean!)
But then I needed to do something with it – so I started to look at other things in the suite and loved the Embellishment kit. I layered the ribbon behind a strip of pattern paper from the same paper pack and added a few sequins at the bottom. Then I just created the sentiment with a scrap of Whisper White cardstock that I stamped the vines from the same stamp set in Crumb Cake and the sentiment in Memento Black. Trim the ends and you are done!
And yes… I know that “Be Mine” makes you think of Valentine’s Day, but this is great as an anniversary card or anytime you just need to send someone some love. Your spouse, I’m sure, never gets tired of hearing that you love them!
While I’m Cruisin’ – Duty Free Shopping Special
Use the hostess code ETHE2KQ4 when you shop in my online store and get a gift certificate for the new catalog!
When you shop, your taxes and shipping costs will be returned to you in the form of a gift certificate that you can spend starting June 1st after I’m back! So, you can get those last few favorites – or stock up on cardstock before the price goes up on June 1st – and then have free money to spend when the new catalog releases!
If your order is $150 or more, don’t worry about putting in the hostess code, use the free Stampin’ Reward dollars your earn for yourself and I’ll make sure you still get your gift certificate!
Oh my goodness you guys! I’ve been so excited to share this Bloomin’ Heart Butterfly card with you… and I’ve even got a VIDEO TUTORIAL for it too! I almost forgot how much I love doing videos. Now to take some time this afternoon to try to record some more!
But in the meantime, can we talk about how pretty this butterfly is…and the secret is to make it using the new Bloomin’ Heart thinlit die!
I first saw the idea to cut out a butterfly from the Bloomin’ Heart die by fellow demo Kirsteen Gill and I knew I just had to try it for myself. I tried repeating what I saw her do – tone on tone heart diecut over the butterfly, but decided I wanted to make some changes to brighten it up a bit. And I just LOVE how it turned out.
From Heart to Butterfly in one Quick Step
The secret to this card is that you can fit the outline butterfly from the Bold Butterflies thinlits over the Bloomin’ Heart die cut. So, you can just exactly cut out this pretty lacy butterfly. So, die cut heart… to butterfly… done!
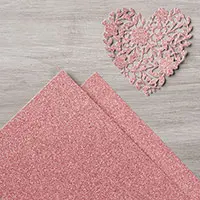
I wanted to really show off that floral pattern though, so I layered it over a contrasting color (Crumb Cake) butterfly and then stepped it up even more by adding some flowers cut out of the Blushing Bride glimmer paper. Don’t they look so pretty behind the Very Vanilla pattern?
Once I had my butterfly, I put together the rest of the card using some of the rest of the Love Blossoms Suite
Add an extra pop of color by adding some patterned paper from the Love Blossoms designer paper
Sponge the edges of the cardstock and designer paper using Crumb Cake ink to make it more vintage
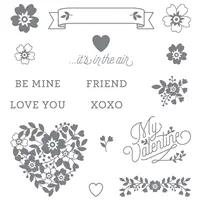
Stamp a sweet sentiment from the Bloomin’ Love stamp set! I figured “love, its in the air” went well with the butterfly theme
Keep the shimmer going, add some Clear Wink of Stella to the heart for the perfect final touch. Can you really go wrong with Wink of Stella? No… I didn’t think so.
See how to make this Step-by-Step plus LOTS of tips & tricks too
Want to see how to make it, get all the project dimensions, plus lots of tips and tricks? Check out this video tutorial I made, just for you!
Note – if you are reading this post in email, click here to view the video
I walk you through everything, its like you are hanging out with me in my craft room.
One Week Left for these Sale-a-Bration freebies
Just a quick reminder too, we are in the last week that these products will be available as a free choice from the Sale-a-Bration catalog:
So, if you love any of these items, make sure to grab them while you can! Any $50 order will let you pick on to have included for free. –> Shop Online and Get Yours here!
There will be 3 new options available starting February 16th (you can see them here), but I didn’t want you to miss out on one of the cuties above!
Use Hostess Code TNCXV4MP at check out to get a special thank you from me!
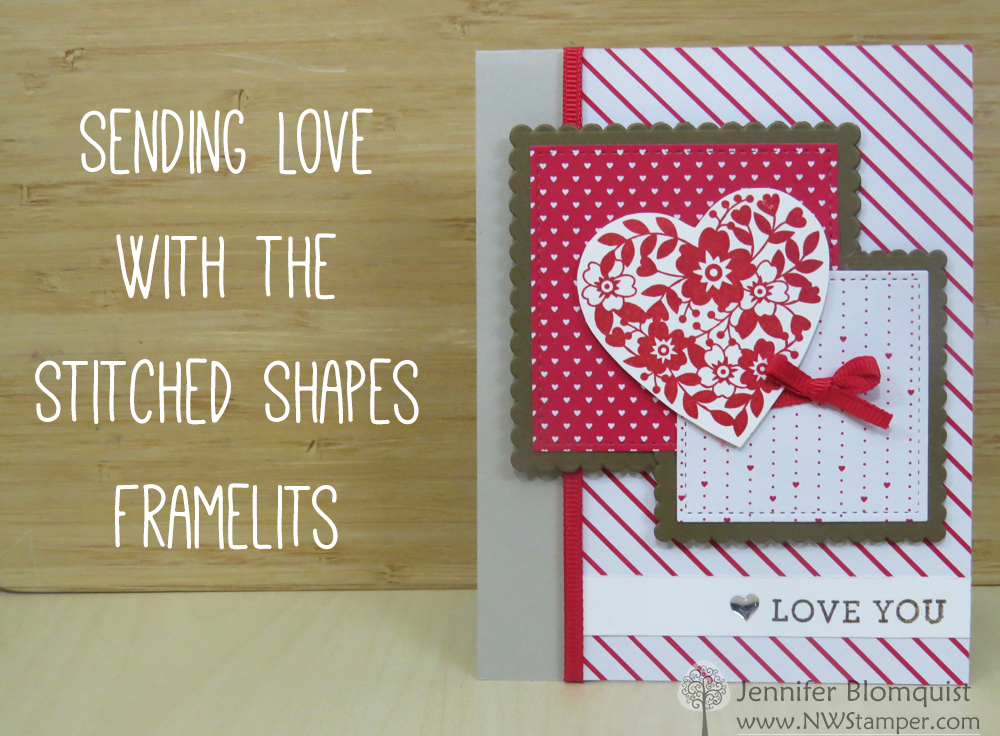
Friday was my day for card classes, I had one in the morning and one in the evening… which was lots of fun, because each class had it’s own personality and style. But the thing that is always interesting to me when I’m running my classes is to see which cards are the most popular from the group. I did 3 Valentine’s cards in the morning and then one repeat and 2 more cards in the evening. When I was planning my cards for the evening class, I decided to pick one from the morning to share as the Valentine’s Day themed card and then do two others. I picked what I thought would be the favorite, but turns out one that I DIDN’T pick was the surprise hit! So I thought I’d share here:
I think what everyone loved was how simple this card is to put together, but the gorgeous heart from the Bloomin’ Love stamp set just makes it extra pretty! I got this overall design idea from a card swap I participated in at the beginning of the year. Sadly, in the chaos of getting ready for my class, the original designers name got separated from the card sample, so if it was you, let me know!
Make it simple, and then step it up!
I did step it up a little from the original because you know me… I LOVE my Wink of Stella! I added some of the Clear Wink of Stella to my flowers in the heart. Bonus – if you have any spots where the stamp didn’t quite give you 100% coverage, the wink of stella brush helps even out the ink for you! Then I added a few small rhinestones to the center. Isn’t it pretty?!
Want to make this at home, here are the dimensions you need:
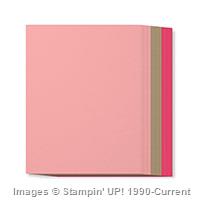
Whisper White cardstock – 5-1/2” x 8-1/2” (cardbase), 2-1/2” x 2-1/2”
Rose Red cardstock – 5-1/4” x 4”, 2-3/4” x 2-3/4”
Blushing Bride cardstock – 5″ x 3-3/4″
Love Blossoms designer paper – 1” x 5”
It’s quick easy, and oh so cute! So give it a try and let me know how it goes.
Last chances to order for Valentine’s Day project is tomorrow. So make sure to get those last minute supplies – shop at your convenience 24/7 in the online store.
Use Hostess Code PGHMVNJM at check out to get a special thank you from me!


![NWstamper signature_thumb[9]](https://i0.wp.com/www.nwstamper.com/wp-content/uploads/ad87b4046c1e_C9F6/NWstamper-signature_thumb9_thumb.png?resize=322%2C118 "NWstamper signature_thumb[9]")