I was so excited to finally kick off my first crafty retreat weekend! I have been wanting to run these for AGES but had a hard time finding a venue. But I finally found a great hotel that is amazing to work with and so this weekend is the first of what I plan for 2x a year Northwest Crafty Escape Weekends! (next one coming in October!)
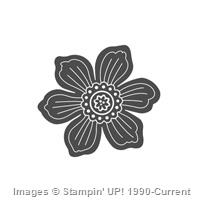
To kick things off, I had goodies on the table for everyone that arrived and made a cute floral decoration using the Floral Frame dies for them.

I thought I would share more about it because I love how it turned out and it was such a fun use for the Floral Frames Framelits.

Each one used 4 of the 5 dies in the set and after making the flower (more on that in a minute), I attached it to a wooden barbeque skewer that was then placed in one of the new Sketched Dot Tag a Bag Gift Bags that were filled with M&Ms and tied closed.
Plus I had to add to the front of the flower one of the new Bold Butterfly Thinlits cut out of the Dazzling Diamonds glimmer paper. So sparkly!!

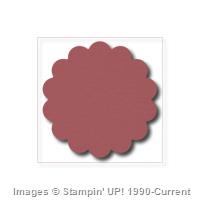
For the flower itself, I used:
- The largest die shape in Crushed Curry
- The 2nd largest die shape in Watermelon Wonder
- The 3rd largest die shape in Bermuda Bay
- The 2nd smallest die shape cut out 3 Cucumber Crush cotton paper pieces
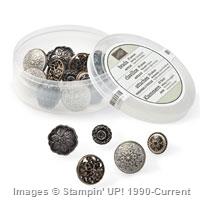
I sponged the edges in all the flowers in Watermelon Wonder. And then directly layered the watermelon and bermuda layers together and then used an Antique Brad to hold the Cucumber Crush cotton paper to the layered flowers. Then crinkle up the cotton paper to give them some texture. Add those layers to the Crushed Curry flower with Stampin’ Dimensionals.

I’m excited for the rest of the weekend. Here are a few more pictures of what our set up is like:
our room

I have just a few Paper Pumpkin kits with me for sale as part of my Crop Store ![]()

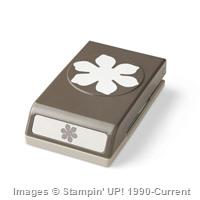
Punches and tools for anyone to borrow

And a few inspiration boards for the event too!

Check back tomorrow for more project and other pictures from the event! This has been so much fun so far, I’m already working on locking in the date for our next one in mid-October!
![NWstamper signature_thumb[9]](https://i0.wp.com/www.nwstamper.com/wp-content/uploads/ad87b4046c1e_C9F6/NWstamper-signature_thumb9.png "NWstamper signature_thumb[9]")
![]()
Project Supplies Used: