So, I was planning on finishing posting these cards this weekend… but then the family decided to do an impromptu holiday trip to Portland, OR, so we took off and I completely forgot to schedule these before I went. But now I’m back and have a lot to share with you in the next few couple weeks!
Today, I was going to share with you the rest of the designs I put together for the Watercolor Wonder notecards. With these cards, I started pulling in some different elements from around my craft room. So, here is one of my favorites:

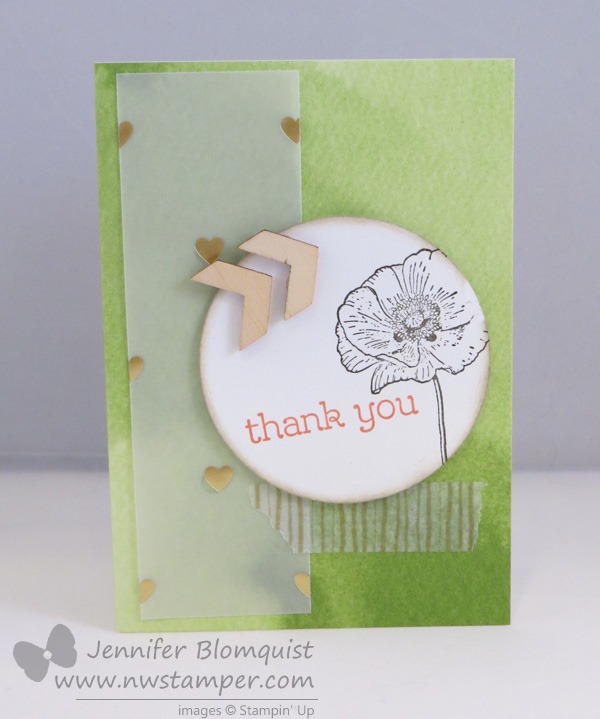
I started out with the Gold foil vellum and then added the stamped circle with the poppy and sentiment from Happy Watercolor. But it was just too plain…. so then I added some of the gold Watercolor Wonder washi tape. And that was better, but it still needed something.
And that is when I decided to grab my Wood Elements embellishment pack….. They were just the right addition of texture and dimension for me. LOVE them!

But these cards don’t have to have lots of layers to be cute. Like I also really like this card too…. the chevrons come preprinted on the card, so all I had to do was stamp my flower and thank you. I watercolored the flower with my aqua pen and just to add something to the card, I wrapped some linen thread around and add a subtles designer button, and DONE!

Can you tell yet that I’m a fan of things that are cute but very quick and easy?  Seriously, with my two hyper heads running around, I have to squeeze in what crafting I can so while I love lots of layers and intricate projects, I can’t do them that often. Thankfully I don’t think my friends and customers mind the quick and cute ideas! (or if they do, they have a great poker face, ha ha!)
Ok, so here are the last two cards. They are the same card base (the polka dot background and the flowers come preprinted on the cards). This was actually the most challenging for me to design with because the flowers are so pretty I didn’t want to completely cover them up, but I also needed to figure out how to have something balanced in the non-flower part of the card. So, I started with just a simple thank you.

But since just thank you isn’t enough… gotta have some pizzazz, I added some gold sequins and a daffodil bitty butterfly so I had my beloved dimension to everything.

They are both pretty much the same except for the sequins…. So what do you think? Random sequins or straight sequins are better?
And just to end on a fun note, I thought I would share one of the photos from my trip to Portland. Near downtown is a mall called Lloyd Center where there is a big ice rink enclosed in the mall. A couple years ago we were in Portland and we took Nicholas on the rink, so this time Caitlin got her first chance to go ice skating… see, this is a novel thing in the Northwest.  She did awesome and have fun on her one trip around the rink (both kids were ready to be done after one trip around). I, of course, was the only one from our family to fall over on the ice and I did it in style! Flat on my back, landing head first. But it was still a great trip! I hope you had a wonderful holiday weekend as well!

Quick Dates Reminders:
So I realized that the dates for when some of these items are no longer available are a little confusing so I wanted to give everyone a quick reminder of how it works this year:
- The Occasions Catalog items (like the Happy Watercolor stamp and the Watercolor Wonder Notecards used above) are available until June 1st
- The NEW Annual Catalog items are available starting June 2nd
(need a catalog? Fill out my request form here) - The Retiring items (everything on the discountinued Stamp list or discontinued Accessory list) is available WHILE SUPPLIES LAST through June 4th
Make sense? If you have any questions just shoot me a note to jennifer@nwstamper.com. 


May Online Stamp Club Hostess Code – ZUBHUEK6
Use this code to get free exclusive tutorials & project kit!Learn more
 Stampin’ Up! Supplies Used (for all cards in this post)
Stamps – Happy Watercolor
Ink – Stazon, Gumball Green, Calypso Coral, Daffodil Delight, Tangerine Tango
Paper –Watercolor Wonder Notecards, Whisper White, Gold Vellum, Daffodil Delight
Accessories – Watercolor Wonder washi tape, 2-1/2” circle punch, Wood Elements accessories, Gold Sequins, Aqua Pen, Bitty Butterfly punch, linen thread
Love this Post? Share it with your friends!


![]()

![NWstamper signature_thumb[9] NWstamper signature_thumb[9]](https://i0.wp.com/www.nwstamper.com/wp-content/uploads/ad87b4046c1e_C9F6/NWstamper-signature_thumb9_thumb.png?resize=322%2C118)


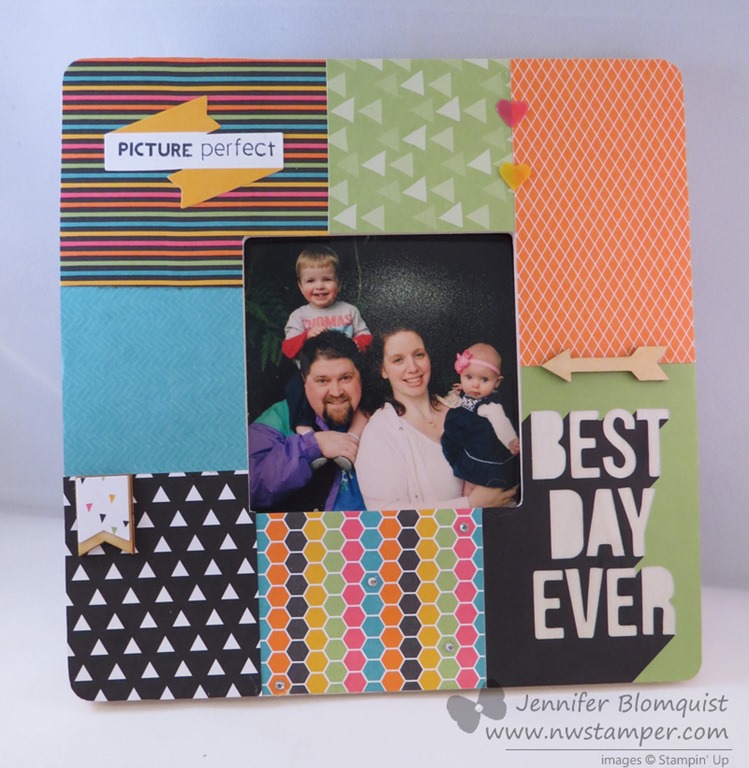
 I loved this project and even my non-crafty hubby liked it and said he wanted one for his desk at work! Thankfully the frame is only $1 at Michaels and another set of Everyday Adventure Project Life by Stampin’ up is easy to come by! So, I’ll be creating another one soon for him.


