Northwest Stamper

Tag: card tutorial

  • Water Drop Bokeh Technique Card with Everything Eleanor (VIDEO TUTORIAL)

    Did you see? Did you see??  Today is another video this week! Smile  I’m planning on getting back into videos and tutorials again and aim to have a new video project for you each Wednesday.  Sweet, right?!

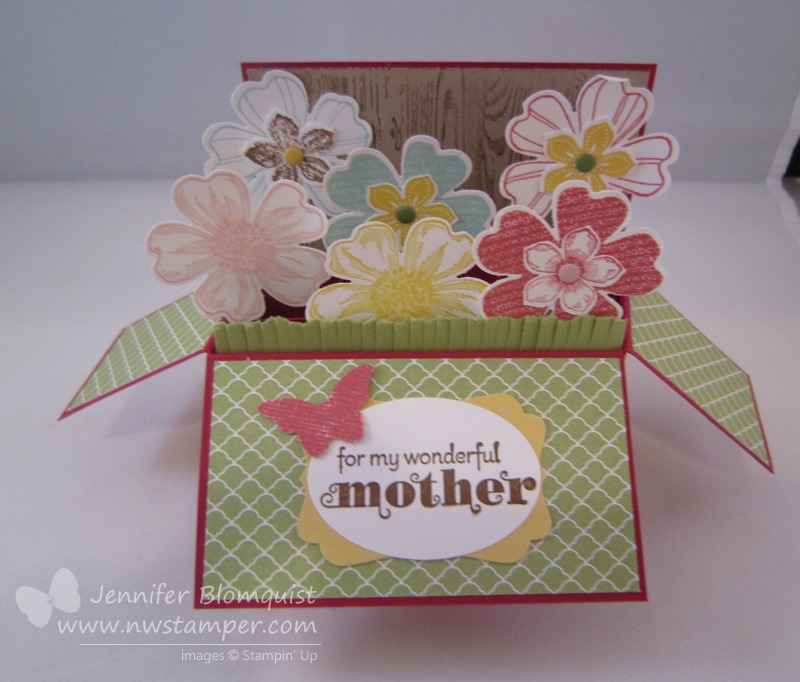
    Today I wanted to share with you this cool technique I’m calling Water Drop Bokeh!  Check it out:

    See that colored blobby area?  It is just masked and sponged area of the Whisper White cardbase!  So it is easy and perfectly customizable to any project you want!

    Tips for making this card:

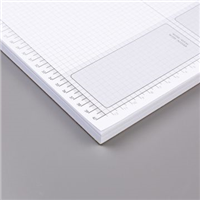
    • Use your Grid Paper to help make sure you are masking off straight and even lines across your white card base (in this case they are at 1” from the top and 2 1/4” from the top)
    • Sponge Daubers will give you rich color which helps make the technique turn out better because concentration of ink on your paper is key!
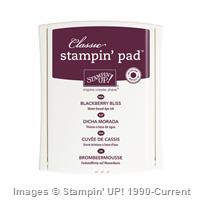
    • Swirl on your favorite colors of dye-based ink (all Stampin’ Up Classic Ink pads are dye based) on Whisper White cardstock
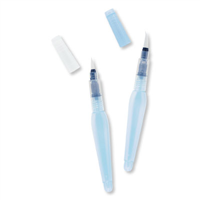
    • Use an Aqua Painter to drop bits of water onto your sponged area – from just the tip of the Aqua Painter for small circles to squeezing out full drops for bigger circles
    • Let it start to air dry and then you can stamp over the top almost immediately to create cool, layered effects.
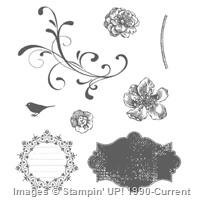
    • Mix and match your stamp sets, like in this case Everything Eleanor for the bird and swirl, and A Dozen Thoughts for the sentiments
    • Each card you make will be different, but that is what makes it fun!

    Want to see how it is done?  Check out this Video Tutorial as I walk you through making the full card step by step.  Then, let me know what you think and if you like this style of video so I know what to do more of. Smile 


    (If you are viewing this in email, check out the video here)

    Quick Links:


    NWstamper signature_thumb[9]

    order online button for sig 3_thumb[4]

    Project Supplies Used:

  • A Long Version of the Pop Up Card in a Box

    A Long Version of the Pop Up Card in a Box

    I planned to post this yesterday but had forgotten about our Fun n’ Crafty Blog Hop (if you haven’t seen the projects CASE’d from the new catalog, you should totally take a look!)  But never fear!  I’m back with my customized version of the card in a box so that it will be a long card AND you can use an 8-1/2” x 11” piece of cardstock.  Here is the card I made as my prototype:

    If you recall, my other card in a box was skinnier and taller.  This was the default size I saw all over the web.  But I really wanted something longer and so I started futzing with the dimensions and other example I saw online.  The important thing for me was to have it only use an 8-1/2” x 11” piece of paper.  Most of the dimensions I kept coming up with would have made me use a 12×12 piece of cardstock, which is totally fine, but I have WAY MORE letter sized paper and so I wanted to use that.

    It still fits in a regular envelope….

    And when you pull it out, it lays flat… see the white looking edges around the cardstock.  Did you know if you sanded Core’dinations cardstock just on the edges you get this cool border look without needing any ink?

    And for the back, I didn’t know what I wanted to say, so I just added more of the Flower Shop and Petite Petal flowers to perk it up.

    I used a TON of tools on this card but that is the fun of this type of card.  You can keep embellishing and decorating to make it as fun and fancy as you want.   I loved the touches of the Hardwood stamp on Crumb Cake cardstock in the background to make it look like a fence.  And making the grass by taking a strip of Pear Pizzazz cardstock and tearing off one edge (the long edge) and then cutting down with the fringe scissors.  It makes it look so much nicer than if you don’t tear and then just cut with the scissors.


    I’ve decided to post my instructions for how to make this card/box. They don’t include the decorating instructions for the card above, but it gives you the templates and directions for making both sizes of the base box.  From there you can decorate in whatever way your heart desires!

    Get the PDF Instructions for the Card in a Box

    If you are going to make this type of card at home you can use the supplies you have lying around, but I HIGHLY RECOMMEND you use the following for the best effect on your card:

    imageimage
    Sticky Strip – for making sure everything holds together because you will be folding and opening and moving it a LOTWindow Sheets – So your pop up elements can have some movement and take center stage without cardstock strips getting in your way


    So, I hope you enjoy this card and tutorial – and if you do, leave me a comment and let me know!  I don’t normally do tutorials but I thought you might like this one.

    spaced shop now sig bar

    June Online Stamp Club Hostess CodeACANDKB4
    Use this code to get free exclusive tutorials & project kit!  Learn more

     Stampin’ Up Supplies Used
    Stamps – Flower Shop, Petite Petals, Hardwood, Delightful Dozen (retired)

    Ink – Chocolate Chip, Daffodil Delight, Blushing Bride, Primrose Petals (retired), Pool Party
    Paper – Crumb Cake cardstock, Whisper White cardstock,  Subtles Designer Series Paper Stack, Raspberry Ripple Core’dinations cardstock (retired), Pear Pizzazz cardstock, So Saffron, Window Sheets
    Accessories – Pansy Punch, Petite Petals Punch, Fringe Scissors, Decorative Label Punch, Wide Oval punch, Bitty Butterfly Punch, Subtles candy dots