Quick share for your Friday the 13th. 🙂 Its been a while since I went wild on stars but I still love my stars in all forms!
Tips for making this card:
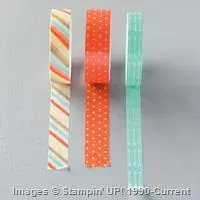
- Grab a paper or element for your card and use that to dictate your color scheme. In this case, I used the Retro Fresh This and That washi tape. Which gave me a set of colors that I knew would look great together.
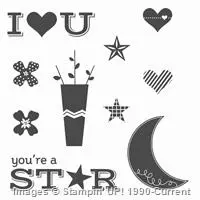
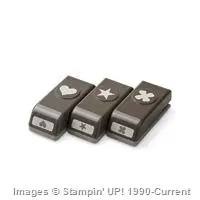
- The Pictogram Punches stamp set gives you a bunch of smaller stamps that match the Itty Bitty Accent Punch Pack so you can punch them out… or, mix them up and use the little stamps to make your own custom background!
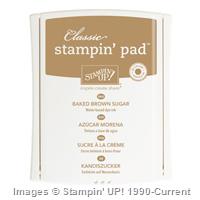
- Those small stamps also match the sentiments of the stamp set and so you can stamp in one color (like the Baked Brown Sugar here and then stamp one of the stars, punch it out, and layer it over the top!
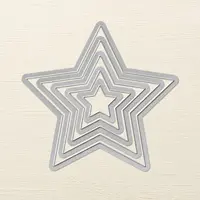
- Die cut different star sizes from the Stars Framelits and layer them on the top of your card. Trim off around the edges of your card front…. and then SAVE the parts you trim off! You can add them to other edges of your card to look like extra stars peeking in, 🙂
- Sponge the edges of your stars to give them extra dimension and Pop!
Quick, easy, done!
I just wanted to also officially invite you to join our fun group of stampers! We’ve had a number of folks take advantage of the Starter Kit special this Sale-a-Bration so far…. you know, get $125 in product for only $99, get free shipping, get a free project kit of your choice from the Occasions catalog, get discounts on your Stampin’ Up orders, but best of all, be part of a fun and active community of crafters just like YOU!
I’m working on planning new rewards programs and fun social activities for our group and would love to have you be a part of it! 🙂 Get started here or email me at jennifer@nwstamper.com for more info!
Project Supplies Used:
Easy shopping anytime! Click the images below to see the item in the online store.
Use Hostess Code S7A2HN9W to receive a free gift from me when you place your order!
Built for Free Using: My Stampin Blog


![NWstamper signature_thumb[9] NWstamper signature_thumb[9]](https://i0.wp.com/www.nwstamper.com/wp-content/uploads/ad87b4046c1e_C9F6/NWstamper-signature_thumb9_thumb.png?resize=322%2C118)
