I’m so excited!  The Fun n’ Crafty monthly blog hop is back and with new chic graphics too! I am very lucky to have the talented Stacey Lane in our group who graciously offered to take over running this hop. She has super ideas for the next 5 months of hop themes and we have more folks getting excited to participate, so you won’t want to miss it each month! And if you ever want to join us and be a stop on our hop, all you have to do is hook yourself up with a Starter Kit from myself or one of the awesome folks from across the US in our group and get a great deal on your supplies and then tell us you want to be a stop on the hop and you are in!
This month, our theme is LOVE and I have a couple ideas to share with you then make sure to check the list at the bottom of the blog to see even more great ideas!

I had extra scraps and a half idea after putting together my Stacked with Love class and so I started playing around and just having fun and this sparkly card came out!
Project Tips:
- The Stacked with Love designer paper stack gives you a ton of patterns all in the same black/white/red color scheme, so it is fool proof to pick and choose a couple patterns to use on your card and know they will complement each other.
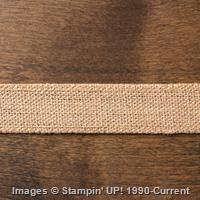
- Add a softer touch of burlap by cutting off the seamed edges of the ribbon and then pulling threads to get a soft fringe look.

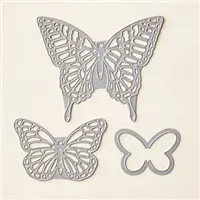
- Use the Red Glimmer Paper to cut out a sparkly butterfly (the Butterfly Thinlit die set)! Not only does it look pretty, but the paper is really stiff and sturdy, so it is really easy to work with in this intricate die. No wax paper required!

- And speaking of the pieces from the intricate die, you don’t have to throw them all away! Grab a couple and layer them together to create a cute little heart that is a perfect tiny accent for your sentiment.


Fun right?
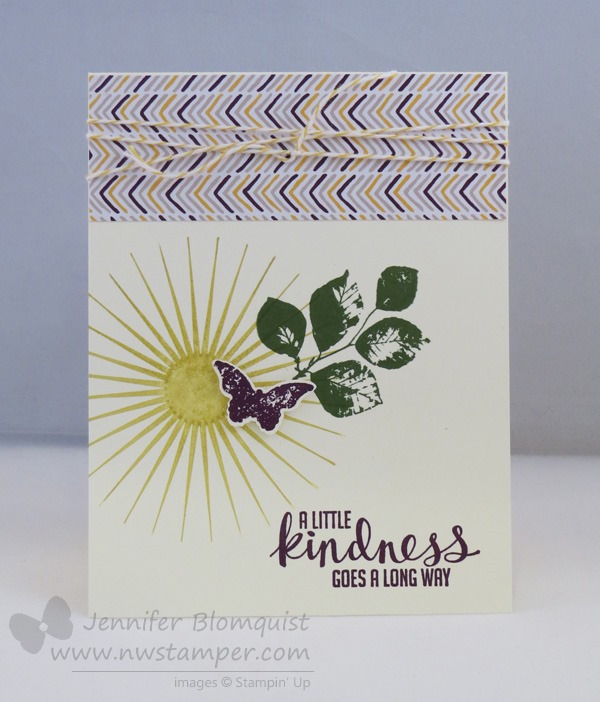
Then the next card, I had to share. I know, I know… you’ve seen my other versions of this card, but I got the idea to do it for a class and so for my technique class on using designer paper, I pulled this together and I think it is my favorite version yet!

Project Tips:
- You’ve heard most of the tips before with my prior cards, but like usual, pick out your 5-6 patterns of designer paper and lay them out BEFORE you start gluing down. This makes sure you like the effect you get with the smaller pieces of the patterns.
- Glue your strips onto a scrap piece of cardstock, so you can then use it however you like as one big piece instead of having to continue to futz with the little pieces.
- Adhere your complementary cardstock piece first and then add your strip of custom designer paper near the TOP edge of the cardstock. If you have it to close to the bottom of the cardstock strip, when you add your sentiment it will overlap too much of the patterned paper and you stop being able to see them.

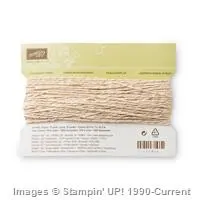
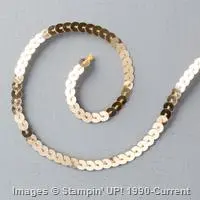
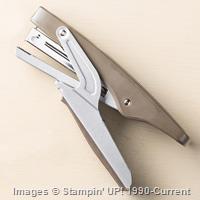
- And when you are doing white/black/red as your color combination, GOLD is always a great choice! Add some gold baker’s twine and then use our mini stapler to staple some gold sequin trim to the top of the card. Bam, you got bling!

Love it!
I hope you enjoyed my ideas. These lovely ladies have also put together projects to inspire you. So make sure to check them out and if you wouldn’t mind, leave them a comment along the way. I love these ladies and hopefully you will enjoy all the ideas they have put together for you. ![]()
Fun & Crafty Blog Hop
- Pam W. of Stinky Tofu
- Jennifer B. of Northwest Stamper
- Stacey L. of A Work of Carte
- Tobe B. of The Craft Sea
- Susan S. of Stampin’ By The San Francisco Bay


![NWstamper signature_thumb[9]](https://i0.wp.com/www.nwstamper.com/wp-content/uploads/ad87b4046c1e_C9F6/NWstamper-signature_thumb9.png "NWstamper signature_thumb[9]")
![]()
Project Supplies Used:
click any image below for more details or to get it now in the online store!


Built for Free Using: My Stampin Blog