Northwest Stamper

Tag: stampin’ up

  • Get Connected Promotion plus upcoming events

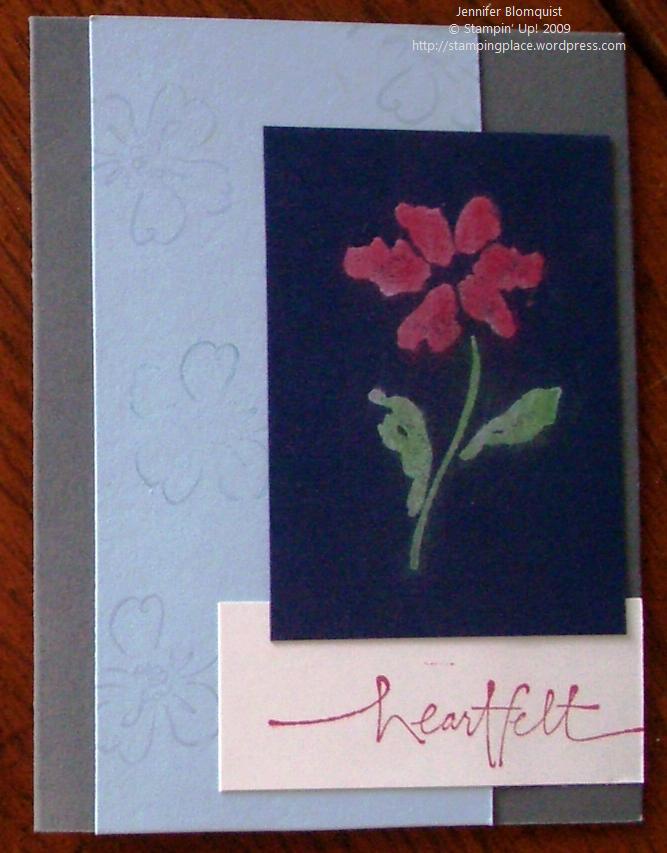
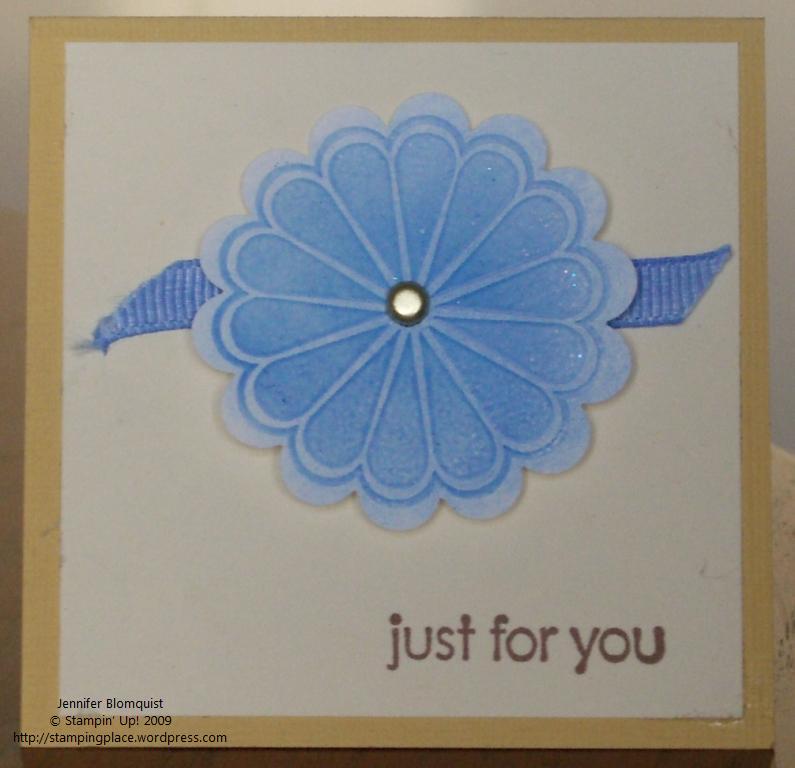
    I suddenly realized that I hadn’t shared with you all the latest promotion from Stampin’ Up!  I don’t know about you, but I am always one for a deal and so I had to be sure you all knew about the latest deal from SU.  From now until April 30th, every $40 you spend from the new Occasions Mini catalog earns you free stamps!  How awesome is that.  I love it when I can get cool free stuff just for buying what I want anyway.  🙂  In this case, you have your choice of any of the under $10 stamps in the back of the catalog or one of the under $10 mini note kits.  I think those are definitely the best deal because you get stamps, note cards, envelopes, AND an ink spot… all Free!  If you host a workshop, every $150 worth of orders gets you another free stamp or note kit.  That could add up to a lot of free stuff. 🙂 So, here are the pretty pictures and details:

    occasions-mini1
    Peruse all the super cute new items
    free_stamps
    Spend $40 in the occasions mini and get anything on this page free!


    If you live in Portland, I’d love to have you join us for one of the classes in April.  Email me for all the details.

    BigShot Night – April 7th 7pm.  The first Tuesday of each month I host a technique night.  This month we will playing with the BigShot die cutting machine.  The BigShot can cut out over 50 different types of materials in fun shapes plus create embossed patterns and textures on your standard paper and cardstock.  Try it out and make a couple projects and samples.  RSVP with your $5 supply fee.


    Glass Etching with the BigShot – April 19th   2pm.  Create beautiful etched glass items from your home quickly and easily using the BigShot.  We will be using the BigShot to cut out the shapes that will then be etched on to your own glass.  I’ll provide all the supplies including a glass.  RSVP with your $10 supply fee by April 15th.


    Card Night – April 27th  6:30 pm.  Whether you are a card making pro or just starting out, come join us for laughter and fun as we make 4 cards using different stamps and fun embellishments. RSVP with your $8 supply fee by April 23rd.

  • A craft fair card

    What a weekend!  The usually cold and rainy Pacific Northwest turned beautiful and sunny for the weekend.  It got up to almost 80 today, which was just nuts!  I was at a craft fair all weekend so I mainly got to see the sunny weather from afar but thankfully it stuck around though the evening so after the fair ended at 6, I raced home to spend a bit of time lounging in the sun.  Now if only this weather would stick around for a few days!


     However, even though the weather was so nice and most people were playing outside over the weekend, I am still really glad I was at the craft fair.  I met a ton of nice folks who stopped by my table and chatted with me about their hobbies and experiences card making and scrapbooking.  And the other vendors were a blast to hang out with during the slow periods.  I think it would be fun to do another fair with many of them again in the future.  And if you need any of the products you purchase from in-home parties, I probably have a reference for you now. 🙂  


    occasions_jfy_wm

     I had hoped to spend my downtime making a ton of samples and projects but instead spent it chatting and finishing up a number of cards that were in various stages of completion.  In the end, I only created one completely new and original card.  (Though I made a few partials from BigShot die cuts).  I was trying to use some of my Occasion mini catalog goodies and so pulled out the paper, Oval all stamps, and the new fabulous scallop oval punch.   The flowers are punched out with the BigShot. 


    And speaking of the BigShot,  my next Technique Tuesdays is this coming Tuesday and we will be focused on using the BigShot.  We will be making 2 cards and a small 3D project.  Let me know if you want to come join us and I’ll send you all the details! 


    Hope you all had a great weekend!  Here comes monday!

  • Another baby card

    ladybugbabycard_wmI told you that the card I posted earlier in the week was only first of many to come.  🙂  Last Thursday, my co-worker had her last day at work before spending the next week or two preparing for the birth of her baby girl.   I couldn’t let her leave without making her a card.  Again, I waited until the last minute but I guess sometimes pressure is a good thing. 


    Almost every piece of this card started as scraps from my pile.  I had to use the new, fabulous scallop oval punch.  i just love punches that let me layer cardstock.  Once I had the card done, I suddenly remembered that they had nicknamed the baby “Lady Bug”.  So, I had to add a little ladybug on the inside.  She is created completely with circle punchs (3/4″ circle, 1/2″ circle, double circle punch).  Such a fun punch art and my coworker loved the fact that I had a ladybug in the card.

  • Craft Fair #2 – Jantzen Beach, Portland, OR

    Last winter, I set up a table at my first ever craft and vendor fair.  It was a holiday fair and I spent a lot of time preparing craft items I thought would be great for the holidays.  Unfortunately, somewhere between the bad weather and the slightly hidden location, attendance was low and so it turned in to all the vendors shopping each others table. 🙂  I did come away from that fair with some yummy orange cranberry bread, though.  Now, its spring time and I decided to give craft fairs another go.  This time, it is a 3 day affair in the local Jantzen Beach shopping mall. I’ll be here till 9pm Friday, all day Saturday, and 9am to 6pm on Sunday! Whew!   If you are in the area, I’d love to have you stop by and say hello!


    This craft and vendor fair benefits the charity New Chances.  New Chances offers support and services to women and families in crisis and this fair is helping them support 12 families for Easter.   So, it is a pretty cool thing.  There is a carousel in the food court, tons of fun vendors, and a great cause we’re supporting.  


    I’ll be offering specials to folks who visit me at the fair and have a drawing for a free workshop.  Check out the  flyer for a list of the participating vendors and a coupon for a free raffle ticket. 

    craft_flyer

  • Thank you Stampin’ secret sister!

    april_ss_wm1  One of the wonderful ladies in my stamping group decided to organize a secret sister group.  When you signed up for this group, you agreed to send your secret sister a handstamped item plus anything additional you want to send.   We were supposed to send out our first gift by the end of March and boy did that deadline come up faster than I think most of us expected!  I know it did for me. 🙂 


    Yesterday, I got home from work and had this very cute card waiting for me in my mail box.  She used the Manhattan Flower die for the BigShot to make this simple yet cute card.  And then, she included a movie pass, which with the skyrocketing movie ticket prices is very generous. She knew I liked movies, so now I just have to decide what movie to use it for.  Anyone have any recommendations?


    Thanks, Secret Sister!

  • The Occasion mini is here! New punches, new stamps, oh my!

    Wow time has flown and its already April!  But that means it’s time for the new Occasions mini catalog to come out – and boy is this a good one.  There are lots of cool new items in this mini.  There are tons of new stamps, a new awesome scallop oval punch, a new matchbox die for your bigshot, colored rub-ons, courderoy buttons in super cute colors, and more! 

    The mini is good from now through June 30th, but don’t wait until the end to get all the good stuff.  🙂

    occasions-mini

  • Another card organization option – a year in a box!

    cardbox_wm1As I’ve mentioned before, I’ve been slowly trying to get my crafting supplies, partial projects, and completed projects organized so I can actually find what I’m looking for in less than 20 minutes. 🙂  Well, when my mom was visiting last month, she brought with her the instructions for a great project.  Using the Forget-me-not keeper from Stampin Up!, we created a decorated box and inserts for storing all of the cards you need to send out in a year.  Now, first I don’t know how many of you out there had seen this box in the SU catalog and were like me and thought, ” that looks just like the photo boxes you get at Michaels only in plastic”.  Well, it took me ordering one to realize they are totally different, and the SU box is way cooler!  Turns out, the boxes you get at craft stores really are made for photos and so are not quite tall enough for your standard 5.5 x 4.25 cards to be placed inside and still have the lid close completely.  The SU box is made to fit cards perfectly, plus it comes with 12 plastic inserts to help you organize the cards you make.  In our case, we used those inserts for each month.   So, now I’m totally a convert to these boxes.  They pack flat and then go together in a jiffy and actually fit my cards.  


    cardbox_inserts_wmSo, we placed a piece of cardstock on the inside of the box behind the the front panel to add some color and then used designer paper and ribbon to decorate the frontside.  One note if you are going to decorate one of these boxes yourself.  Definately use the red sticky strip.  The plastic has a slight texture to it, and the sticky strip really locks the paper to the plastic.  For each of the inserts, we printed out a piece of paper with the month dates on it to fill out who needs a card and for why.  We used the So Many Scallops stamp set for all of the stamping in this project and the crop–a-dile made punching a hole in the tabs for the ribbon soo easy.  Really the thing that I think makes the crop-a-dile a must have is how it makes punching thick and hard materials like you were punching through paper.  I’ve punch metal and chipboard and now thick plastic. 


    Anyway, when we were all done with the box project, we made four matching cards.  Again, we used some patterns she brought and I was so glad she brought them.  I would never have thought to do some of these techniques like punching out all the cardstock circles and gluing them on a cardfront of the same color – but they all turned out super cute!  We spent most of the day making theses projects because we were chatting and sharing supplies (and cutting the paper, that I think was what took the longest).  I wish my mom lived closer than 5 hrs away so we could do projects like this more often because it is really fun to spend an afternoon crafting and then end in the evening with so much completed so show for it!   Though I guess this means next time she visits it is my turn to come up with the craft project. 🙂


    cardbox_cards1_wm    cardbox_cards2_wm 


    Box Recipe
    Stamps:
    So Many Scallops
    Inks: Baja Breeze
    Paper:  Windsor Knot DSP, Baja Breeze CS, Old Olive CS, Chocolate Chip CS, So Saffron CS, Whisper White CS
    Accessories:  Forget-me-not Keeper, Double Stitched chocolate chip ribbon,  Filigree Brads, Stampin’ Dimentionals, Sticky Strip, Scallop edge punch, Scallop Square punch, Crop-a-dile

    Card Recipe
    Stamps: 
    So Many Scallops
    Inks:  Baja Breeze, Chocolate Chip
    Paper:  Windsor Knot DSP, Chocolate Chip CS, Old Olive CS, Baja Breeze CS, So Saffron CS, Whisper White CS
    Accessories:  Sage Shadow 1/4″ ribbon, Whisper White 1/4″ ribbon, Apricot Appeal 1/4″ ribbon, Chocolate Chip 5/8″ ribbon, filigree brads, glue dots, 1/2″ circle punch, Scallop edge punch, Scallop Square punch, Stampin’ Dimentionals, So Saffron marker, Chocolate chip marker, Sage Shadow marker, Old Olive marker

  • The first baby card of the season

    So, I’m realizing that I’m now of the age that wedding seasons are winding down and its baby time for many of my friends.  Over the last month or two, I’ve learned that at least 5 friends are pregnant with most of their due dates being later this summer and fall.  I’m so excited for all of them and am looking forward to having lots of cute little babies to play with.   Yesterday was the first of a number of baby showers and so I needed a card to go with my gift.  Of course, I waited until the last minute to put it together so I was rushing the morning of our drive to Seattle to put one together.   


    baby_congrats_wmIf you can’t guess, we learned that our friends were having a girl so I had to go with the pink theme and this Bella Rose designer paper seemed to fit the bill.  I pulled out my old baby stamp set for the stamp set and went from there.  If I had more time I would have colored in the teddy bear but I think it works as is.  The other fun bit I did was to take a pretty in pink brad and wrap the tines around the knot in my taffeta bow to make the pink center.  It was a little hard to get started but I think it adds a fun bit of color to the ribbon. 


    The baby shower ended up being lots of fun.  Since it was a co-ed shower, my hubby came with me and we had a chance to catch up with a number of friends that we haven’t seen in over a year.  Hopefully now that we live closer to Seattle (and I seem to drive up there all the time) we will see them more.  I was wondering what kind of game they might play at a co-ed shower and it turns out they put together a game of Life (like the board game) using pieces of paper taped to the floor.  At one point you have to either go down the kids or no kids path based on if you have kids or not.  I made it through the no kids path first and the last square was labeled “suprise”.  I was told to flip up the paper and read the suprise.  Turns out the suprise is you are accidentally pregnant and get to go back to the start of the kids path.  We all laughed and said of course, its a baby shower so everyone has kids in this game. 🙂  And the honored mom-to-be won the game so it turned out perfect. 


    Recipe
    Stamps: 
    Bundle of Joy, Congrats
    Ink:  Close to Cocoa, Pink Pirouette (for sponging the teddy bear edges)
    Paper:   Whisper White CS, Basic Black CS, Bella Rose DSP
    Accessories: White taffeta ribbon, Soft Subtle Brads, glue dots, mat pack and paper piercer, sponge

  • Pictures from Mom and Me

    What a whirlwind spring!  There have been tons of family visits, stamping events, and work deadlines.  That has kept me away from my computer as much as normal but also means I have a backlog of great things to show you! 


    First up, I thought I would share some of the projects we did as part of the mom & me event.  I tried to keep the cards simple with plenty of opportunity for kids of all ages to get involved.  So, I’m thinking of going back and sprucing up some of my examples now (like coloring in some of the images that I left as outlines for kids to color or leave as is) but since I want to get a post up, I’ll show you there current state. 🙂

     And my SCS blogging group, sorry I’ve been away so long but I’m back and will be visiting your blogs very soon!


    Here are the cards we did:

    star_thanks_wmmm_monkey_wmmm_lym_wm


    This is a photo frame we did using a CD case as the holder. All you have to do is pop the cover off of the case and then rotate the cover so it would stand up if the cd case base was on the table.  Pop the cover back on and then slide in your decorated background.  In the second picture, I didn’t have a photo printed out to put in the frame, so I put a red piece of card stock in to show you how you don’t glue down the top left corner so it can sit over your photo.  🙂  Its easy, peasy!cd_photomat_wmcd_photomat2_wm

  • Another Petal Pizazz pastel card

    Four of the samplers with different pages shown
    Four of the samplers with different pages shown

    Late last week, my mom came up for a visit (a week after my MIL was here for a week visiting!)  She was in town to join me at the Creating Keepsakes big scrapbooking convention in Portland this last weekend.  The convention was an absolute blast and we stayed up waay to late Saturday night at the crop and then having our own after-hours crop back at my house. 🙂  We had a great time over the weekend and between our projects at home and the projects we made from the classes at the convention, I have lots of cool things to show you this week.  I’ll be trying to get to pictures taken of the projects and posted this week. 


    Late last week, the paper came in for my paper samplers and so I got to go through all of it when I was cutting it to 6×6 sheets.  I have to say, there is some really cute paper!  I have a few now on my wishlist that I didn’t have on there before (Flock Together anyone? Textured designer paper!)  I still have a couple left, so if you want one, email me and I can get one out to you!


    A badly fanned out view of one single paper sampler
    A badly fanned out view of one single paper sampler

    Finally, when my mom was here, she wanted to try out the pastel techniques we did at our technique night last week.  So, while showing her how to use pastels to color an embossed image and color ribbon, I made a quick thank you card for one of the ladies who purchased one of the paper samplers.  This time I played with layering multiple pastel colors on an image.  I only used a little but it makes such a nice blended effect that you could get more complicated and make some beautiful designs.


    pastel_thanks
    Card Recipe
    Stamps:
    Petal Pizazz, Thank You Kindly
    Inks:  Green Galore, versamark
    Paper:  Purely Pomegranite (love note), Very Vanilla CS, Whisper White CS (for the embossed images)
    Accessories: Pastel chalks, clear embossing powder, sponges, whisper white grosgrain ribbon, glue dots
  • Playing with Pastels

    ahhh… it feels good to back at the blog.  I just getting over a yucky cold and just in time because my technique night was last night.  We were playing with pastel chalks and between my cold and my half-cleaned craft room, I got a bit of a late start preparing for it.  However, I’m happy to report that I’ve made huge progress on my craft room (you can now fit chairs at the table and the table is cleaned off for the first time since moving here last fall :))!  Of course, in the process of prepping for the class last night, my craft table is a mess… so I get that straightened up and share it with you.


    But in the meantime, I thought I’d share what I whipped up as samples for some different techniques.  This was actually my first time in a long time that I had used my chalks and I discovered they are a lot more fun than I remembered.  And the girls did some awesome work with them – I just need to remember to take pictures of what they create!

    pastels_tt_wm2

    The techniques we focused on were popping pastels (the cupcake and the butterflies), coloring an embossed image (the blue scalloped flower), coloring ribbon (the blue ribbon), chalkboard technique (the red flower), and using chalks directly on the stamp to color a stamped image (some of the background flowers on the heartfelt card).


    pastel_ribbon_wmThe flower started out as clear embossing powder over versamark on whisper white paper. After you have embossed your flower, you can take a sponge to your chalk to pick up some color and then rub the sponge over the embossed image to color it. I recommend using brighter colors though because my first attempt with a light blue barely showed up. This card was made using the brilliant blue chalk. And with chalks it is very easy to layer colors. One person, used orange as a base color and then used rose red to color the edges.


    And yes, this is a white ribbon! Use the same sponge to apply color to your ribbon by rubbing along the white ribbon.  You can use sealent afterwards to keep it from rubbing off on your hands but it doesn’t rub off much if you don’t.


    chalkboard_heartfelt_wm This card used the chalkboard technique where you stamp with white craft ink on a dark paper and then pick up the chalk color using a q-tip or applicator.  Once you have the color, you want to tap your stamped image to apply the chalk.  Don’t rub or you will have a lovely smear of white and chalk in places you may not want. 🙂  Once you have applied your colors.  I tapped off excess power and then use a paper towel to lightly wipe off the excess color.  It turns out with a very lovely effect.


    Well, I’ll be back later with hopefully some new goodies to show you (my occasions mini preorder is supposed to arrive today!)  Have a happy wednesday!

  • Working on my new craft room

    Ever have one of those projects that keep you obsessed until you get it done? My craft room is one of those projects. After two weeks of being super busy (out of town on a business trip and my MIL visiting), the house is finally quiet again. 


    While my MIL was here, she helped me get motivated to organize my space and move all my crafting stuff out of the dining room and into my office/craft room. Now, this is the room that has never been unpacked completely since we moved in last fall and so it has been the holding space for tons of boxes and misc stuff.   So this project is not one to be taken lightly.  However, after much debate, I decided to go to Ikea and get a bookcase as a storage solution for my office closet and rods to hang my punches from for the walls.  While she was still here, I managed to finish building the bookcase, but didn’t have a chance to hang the rods or finish moving everything in to the craft room.  So, now, instead of creating projects (which I need to do), I’ve been obsessed with finishing the migration to my new craft space.  So, since I don’t have a card or craft project to share, I thought I would show you what has been taking up some of my evening time.  I even manned the power drill last night and drilled and hung the rods I’m using for my punches!  Ignore the surrounding mess in the pictures; hopefully I’ll have some clean awesome space pictures to show you next week! 


    Hope you all have a great weekend!

    punchesmessy_officecloset