
Oops! While I was away on my trip, apparently I got the last two display stamper blog posts ready but didn’t actually get them published! But some of my favorite samples were in these sets so I want to make sure to get them shared for you now. 🙂
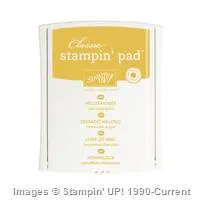
Today’s projects all highlight the Delightful Dijon color. This was not one of my favorite colors when I saw it by itself and I thought for sure it would be my hardest color to work with…. NOPE! Turns out it is a great color when mixed with neutrals and even some bright pops of color!
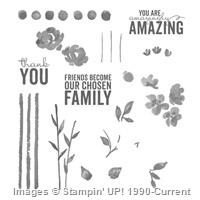
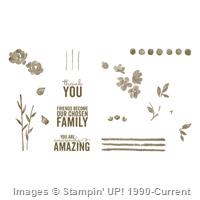
For example, my favorite card I made for the boards using the new Swirly Bird stamp set:

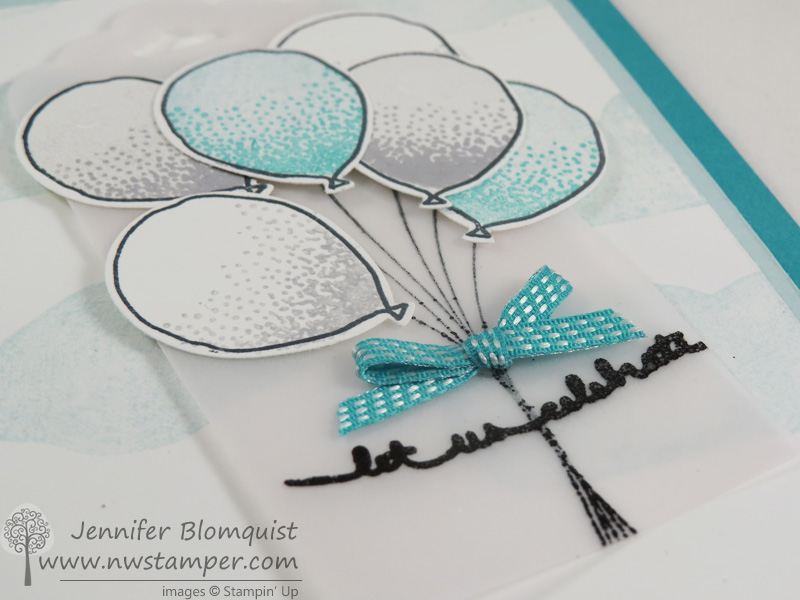
Or even as a base with Gold Foil and Mint Macaron. And yes, that splatter is from the Swirly Bird set too along with the boat! Great set, huh?

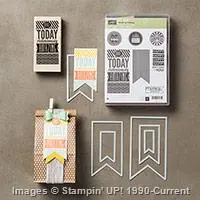
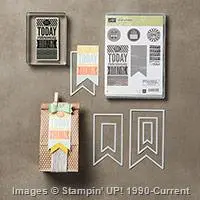
And I couldn’t stop playing with gold and Delightful Dijon. Check out how well they go together when paired with the Mini Treat Bag:

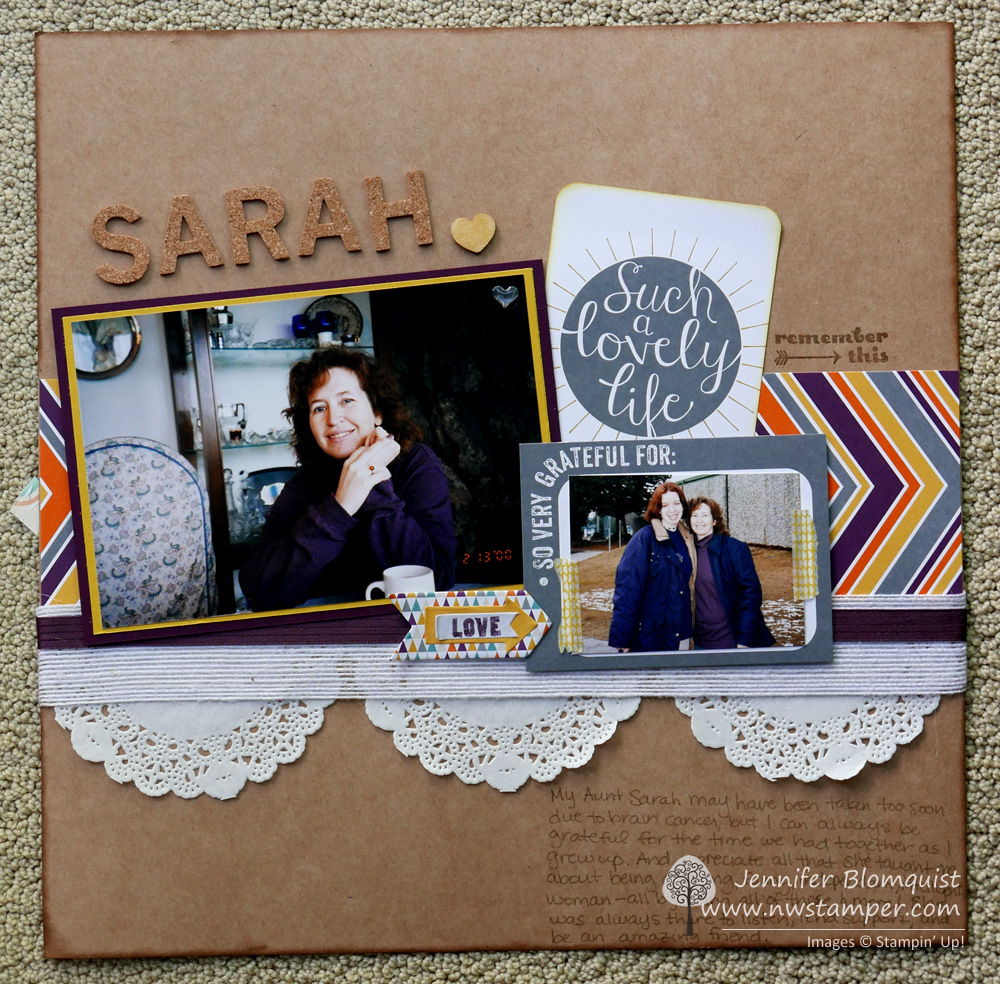
And finally, the scrapbook layout that I promised my mom I’d do. 🙂 I needed to finish up scrapbook layouts for the boards and I was with my mom at the Mt. Vernon Tulip Festival. I thought the tulips would make a great background for a photo and since she is a demonstrator and would be with me at OnStage in April, I had her pose with me in a photo and promised I’d scrap it as one of my display projects. I totally wish I had gotten a photo of it up on the boards with me and mom there. Such a fun little touch of personalization for an awesome trip to Salt Lake City!

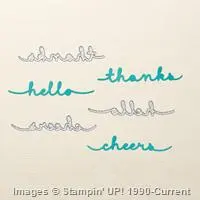
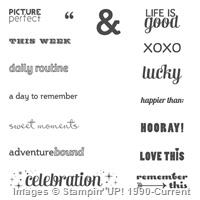
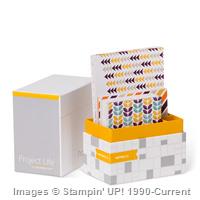
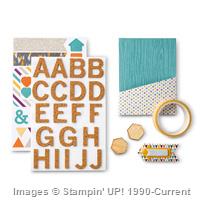
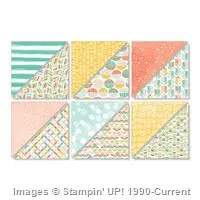
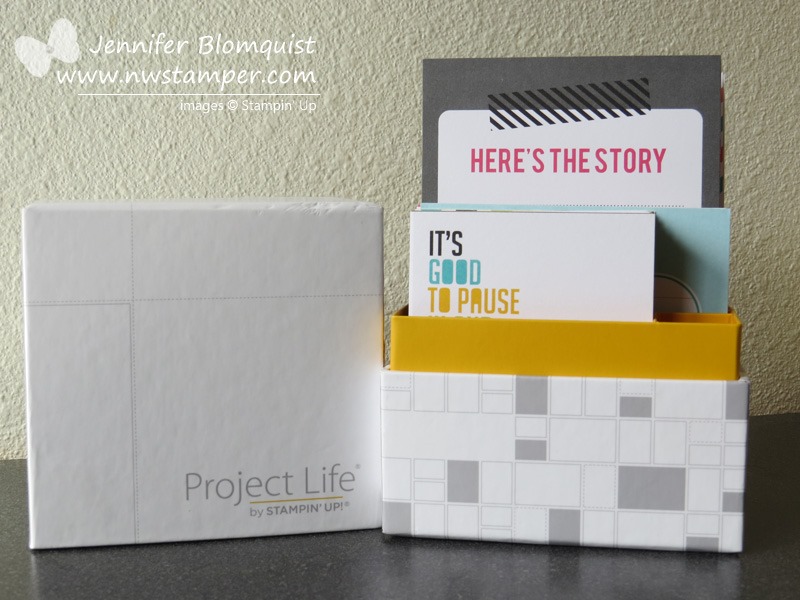
I used the Kinda Eclectic stamp set for my accents and some of the In Color designer paper stack. Keeping it simple, was a perfect way to highlight the photo and the compact size is great for combining with your Project Life layouts in one of the 6×8 albums!
So, see… even though colors that don’t seem as great on their own, often turn out awesome when you put them together with other colors. Stick with the color families (so like the Stampin’ Up Brights, Regals, Subtles, etc) and you can be sure that the color tones and coordination will be great!
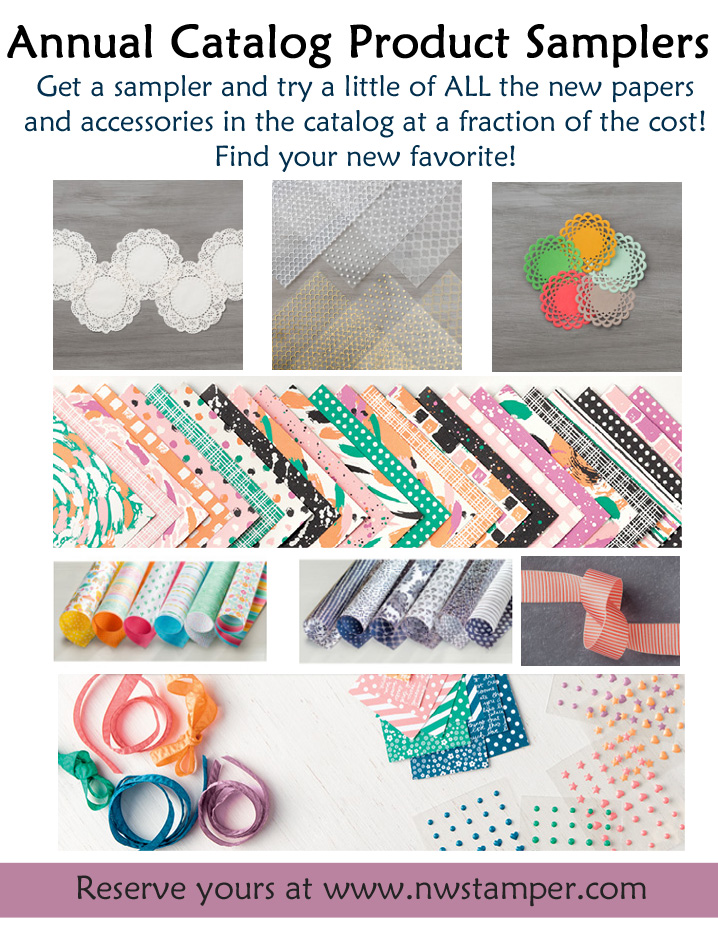
Have you reserved your Product Sampler?
With the new catalog officially here, make sure you have signed up for spot in my Product Shares! Get a chance to try a little bit of ALL the new papers and accessories in a more manageable quantity and at a fraction of the cost! It is a great way to find your new favorite and see what you love!

>>> Get all the details and save your spot here <<<
![NWstamper signature_thumb[9]](https://i0.wp.com/www.nwstamper.com/wp-content/uploads/ad87b4046c1e_C9F6/NWstamper-signature_thumb9_thumb.png?resize=322%2C118 "NWstamper signature_thumb[9]")
![]()


 T
T


![NWstamper signature_thumb[9]](https://i0.wp.com/www.nwstamper.com/wp-content/uploads/ad87b4046c1e_C9F6/NWstamper-signature_thumb9.png "NWstamper signature_thumb[9]")


