Scrapbooking Sunday: Using Project Life Cards on a Traditional Scrapbook Layout
I was honored to be asked to create some projects for the Stampin’ Up official blog. They were focusing on Project Life and so they asked me to put together some layouts using the Happiness Is card collection and accessory pack. I created a pocket page 2-page layout using the cards and share that idea…
Sharing Thanksgiving Memories with the Happiness Is Project Life Kit
Yesterday was National Scrapbooking Day and while I normally like to celebrate by actually trying to catch up on some scrapbooking pages, this year I opted for some family time as my husband and I had both returned from business trips on Friday. The kids had been with Grandma and so it was our turn…
Using Project Life Cards…for CARDS! Red & Gray Love Card
Happy Monday! Today I thought I would share a super fast and simple card that I created using the Everyday Adventure Accessory pack from Project Life by Stampin’ Up! As we were working on our projects for the convention display boards, we were sent a set of Project Life cards and accessories and invited to create some…
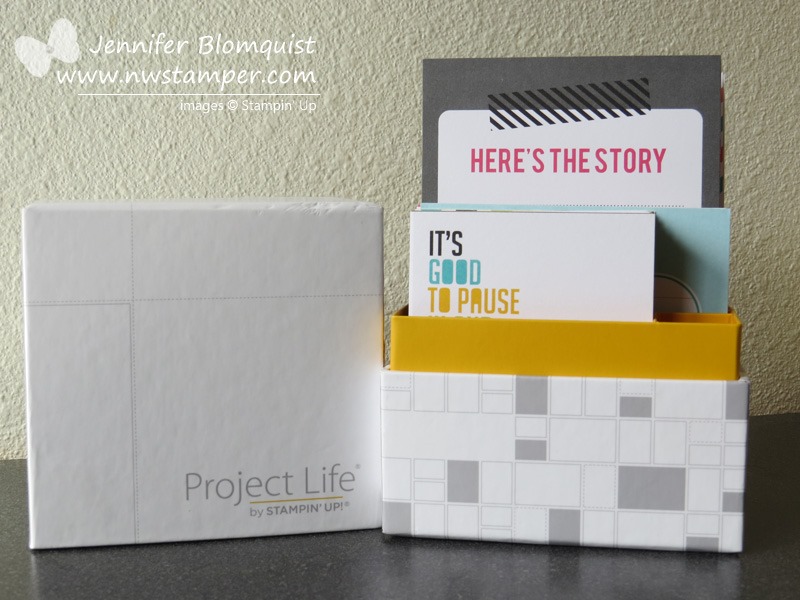
Project Life by Stampin’ Up & the Everyday Adventure kits
This blog post is a looong time coming! I actually recorded a video about the basics of Project Life, an intro into the differences between Project Life by Stampin’ Up (#plxsu), and about putting together your own project life layout. Then the video sat on my computer unedited for a long time. Oops! 🙂 So, today…
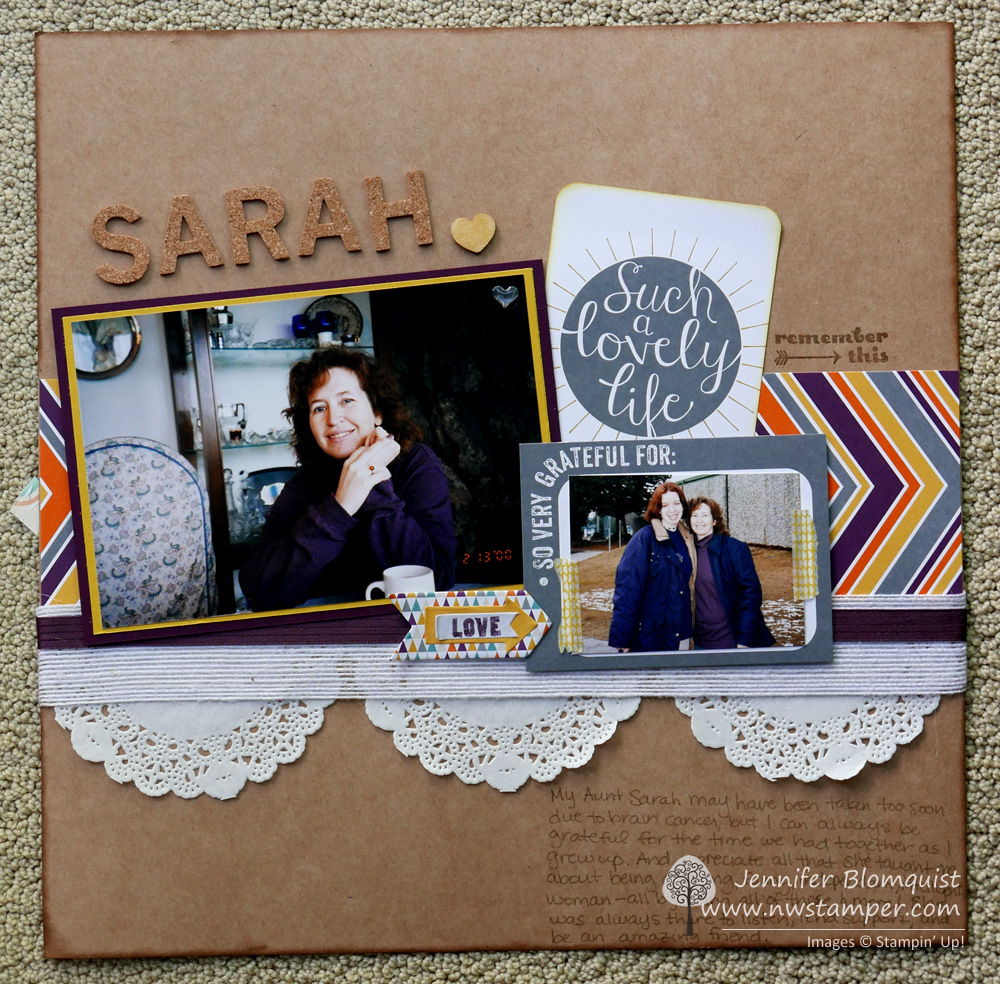
Trying out Project Life By Stampin’ Up – My First Layout
I know by now it is old news that Becky Higgins (creator of Project Life) has partnered with Stampin’ Up to create exclusive lines of Project Life cards, accessories, and even a corner punch. I had been just starting to get into Project Life when this announcement came out and I was stoked! Especially because…