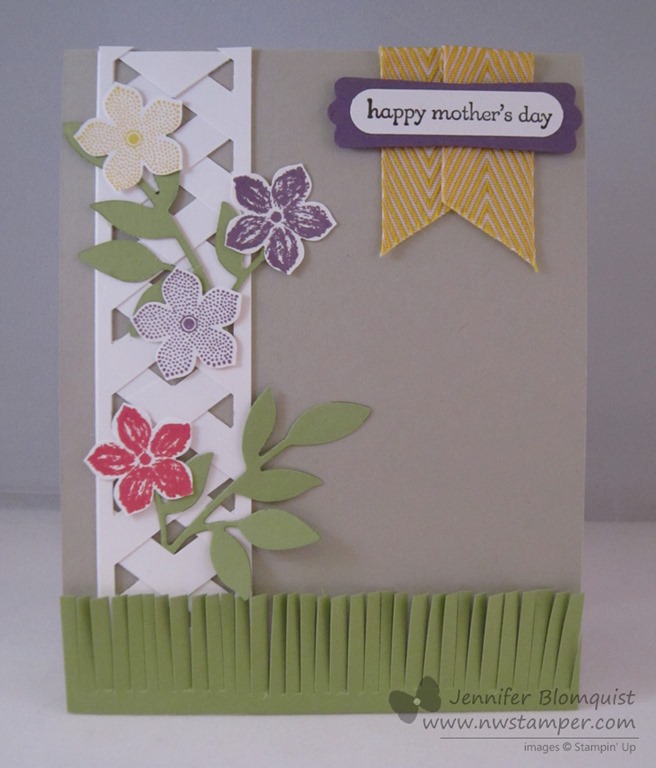
Today is my day to share some ideas over on the Stampin’ Stylin’ Inkspiration blog and I thought I would share with them and you a technique that has been around for a while but I only recently gave it a try myself – making lattices with the Chevron punch! If you haven’t tried it yet, this is an easy technique that has lots of possibilities.
To get started, here is the card that was my first attempt with this idea:
It was my chance to play with a few of the fun new tools from the Occasion catalog including:
So, when I would see that lattice or similar looks on other cards, I always thought it was really hard and complicated. I wasn’t sure that I could make it myself, but I finally figured that since I had the Chevron Punch I ought to at least give it a try.
Turns out it is easier than I thought! Wanna see how to do it yourself?
Start out with two 1.25″ x 5.5″ strips of cardstock. Punch the chevron pattern on each one. Here is where I lined up the first edge of my cardstock to get started punching so that I had the right amount of spacing.
Now, after you punch the first set of chevrons, slide the paper over and continue punching along the paper strip. Make sure you only see silver through the punched chevrons as you go! Otherwise your chevrons will be uneven and won’t braid together very well.
Once you are done, you should have two strips of cardstock that look about the same. Lay them next to each other on the table so the chevrons are pointed in the opposite directions.
Now, start “braiding” the paper. That is lay the two strips on top of each other in this orientation and start tucking the chevron tips so that the top layer chevron tips are *behind* the chevron tips of the back piece of paper. I know that is a little confusing to read in text, but if you look up close, this next picture might help!
Wha-bam! You have a handy dandy snazzy lattice to use in your projects. 🙂 Now, because you braided them together, your final piece is actually a little bit longer than 5-1/2″. So you can position it how you’d like on the front of your card and trim off the extra – so, no worries if your ends look a little strange.
Tuck in some flowers… add some butterflies… stamp your background with the Hardwood stamp set and you have a really fun card!
I hope you enjoyed this little tutorial! I highly recommend giving it a shot. There are so many fun things you can do with this technique. For example, check out another idea for something you can do if you make this lattice with two different colored strips of cardstock!
In this case, I used Melon Mambo and Whisper White, then I glued it over a piece of Pear Pizzazz cardstock for bright look on white. What do you think? Pretty right? ![]() So give it a shot and get creative and you may just love what comes out!
So give it a shot and get creative and you may just love what comes out!

April Online Stamp Club Hostess Code – G4VQJ7VB
Use this code to get free exclusive tutorials & project kit! Learn more


