Bear Hugs Birthday Card with the Collar Fold Technique
I’ve recently seen this idea of the Collar Fold card and I just had to give the technique a try! And what more fun way than to have a little bear popping in to say hello and Happy Birthday to you! A Few Fun Card Details This card was a fun way to play around…
A Hodge-Podge Birthday Card with Amazing Birthday
While working on cards for the Convention Display boards last summer, I had an idea for using the Amazing Birthday stamp set. It made total sense in my mind… then I started trying to put it to paper. In the end, it didn’t turn out exactly like I was dreaming, but I figured I’d share…
Another Catalog CASE with Too Kind and Hello Honey
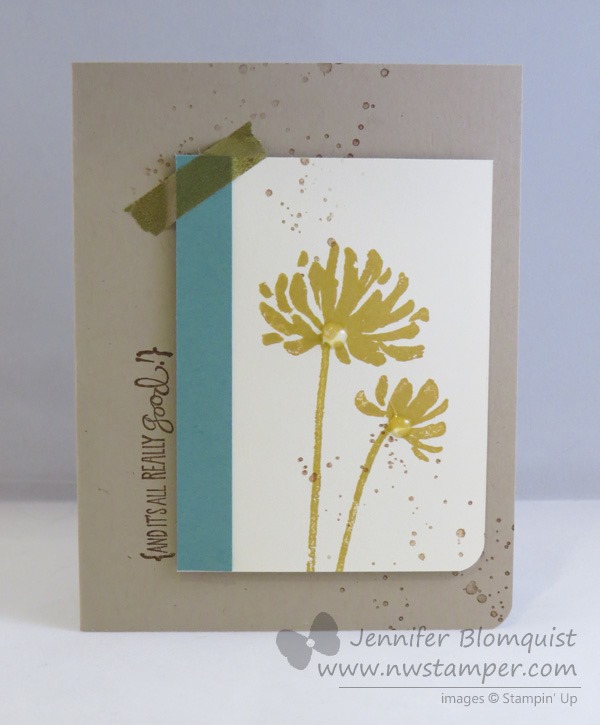
Last week, I participated in a Blog Hop with other gals from my Fun n’ Crafty team of demonstrators (which you should totally join, by the way, with the $50 limited time starter kit deal. 😉 ) We all picked a project in the 2014-2015 Stampin’ Up catalog and made our own version. This was…
Smashed Bottle Cap/Soda Pop Top Spring Card
Ever since I went to Leadership in January, I have been dying to try out the technique of smashing the soda pop tops with your Big Shot to create these super cute embellishments. For some reason I thought it was going to be super hard or complicated… or something that made me a little bit…
In Color Fun Flower Thank You Card
I needed a hostess thank you gift for a recent private class and while deciding what to do, I stumbled upon these cute 2011-2013 In Color Pizza Boxes by Kymberli (those are the Lucky Limeade, Pool Party, Calypso Coral, Wisteria Wonder, and Island Indigo colors for those of you – almost everyone – who doesn’t…
The Cool Effect of Embossing Vellum
Have you tried embossing vellum before? I’ve done it a few times and never fail to forget how cool it looks until I get a great swap like this card to remind me what a great technique it is! card designed by Jill Nolan I received this card at an event last year and was…
Christmas Card with the Stained Glass Technique
I’m getting ready for my Crystal Effects technique class tomorrow and I always love running this class because it reminds me to use one of my favorite techniques – the “Stained Glass” technique. This technique uses Crystal Effects, reinker, and some glitter to let you color in any image on a Window Sheet giving you…