I wanted to put up a quick post before I had to run into work. This week has gone by so fast and has seemed so busy, but the rest of the week should be more relaxing. On Tuesday, I was hosting a Technique Night focused on using the BigShot. Unfortunately, that night I had some folks cancel because of illness, unexpected time conflicts, delays, and getting lost, so it ended up not happening. One the upside, my friend Jennifer recently decided she wanted to make a baby book for her daughter but had been overwhelmed by where to get started. So, since she had come over, I helped her figure out what she needed. She ended up deciding to get the Stampin Up! Baby Girl simply scrappin kit, and after looking at it more closely, I can’t wait for her to get it because I think it is going to be so stinking cute. Then last night we went to Michaels and picked out an album to go with it. So, I’m feeling good that we got something productive done.
So, since the Technique Night didn’t happen this week, I rescheduled it for next Tuesday. I’m trying something different this time. I created a meetup group called Portland Card Makers recently and since some of those folks were going to come, I thought I would try out a public location that most people could easily get to and find parking. So, I ended up finding a Round Table pizza that had side sections with long tables that you could reserve for free. It may seem odd crafting in a pizza place, but I’ve been to an event at a Fuddrucker’s so, hopefully this will work out. I guess we’ll see!
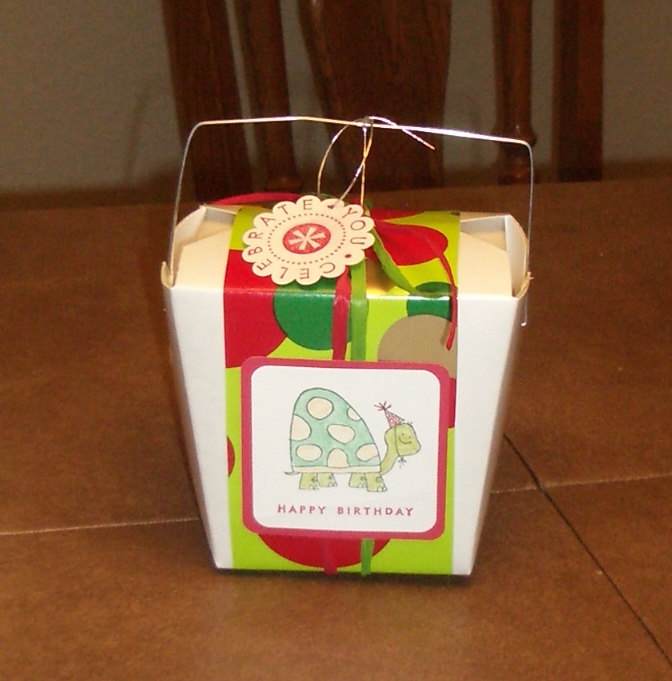
Here are some samples I was playing with for the BigShot. The first is a card using the Top Note die. It was an interesting and different way to create a card since the inside of the card is the inside of the Top Note die. Then, I was going to do a box/basket using the Scallop Envelope die and some ribbon. The last thing we were going to do at the technique night was a card using texture plates and an embosslit but I’m reworking that card right now. And then finally I thought I would share a box I made with the new Matchbox die. It was sooo easy to make since everything is cut and scored for you. You only need to use one piece of sticky strip or snail and its together! Plus the die punches out the label that I stamped and put on top. Easy peasy.


 So Sunday afternoon, we were planning on having a Holiday Gift boxes, bags, and tags workshop. However, due to some illnesses during the week we ended up doing some open craft time and rescheduling the actual class.
  The first box I designed to be exactly the right size for a DVD or video game (its 8″x5.5″x1.5″). The sides reach all the way to the bottom of the box. Since I was playing with the dimensions, I grabbed a sheet of Ghostly Greetings designer paper thinking the green would be passable as a holiday print. The one thing I forgot – when someone pull off the lid, they get to see the underside of the designer paper, which in this case is black and white skulls!! Oops 🙂
 Recipe:
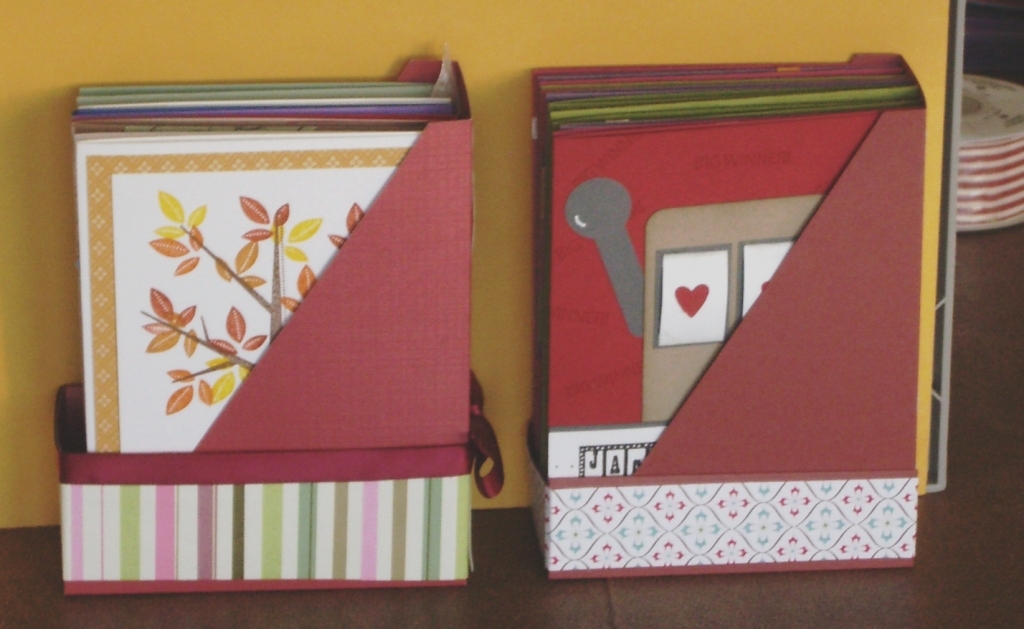
 First up, I wanted to finish the greeting card holder my mom showed me. I’m sure there is a proper name for it but I’m totally blanking. Anyway, with one 12×12 sheet of cardstock you can cut and fold your way into a totally cute holder for the cards you have bought/made. I’ve now decided that I have to make one for each type of card I make (get well, thank you, birthday, christmas, etc) so I can quickly and easily organize my cards. The only problem is that I didn’t write down the dimensions, so I’ll figure them out and then post them later. Anyway, here is version 1 that I made and labeled for Birthday cards. It holds 20ish cards depending on how much you embellish your cards.
