
A combination of heat embossing and watercoloring came together to make a pretty and delicate looking flower. I can’t wait to try it with other colors and images… can’t you just imagine?
Tips for making this card:
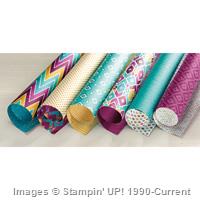
- Got bold patterns of paper, or just paper that you aren’t sure what to do with it? I had that with a couple patterns from the Bohemian designer paper pack (which has grown on me a TON, since I started using it!) and so I decided to make them background pieces. They stand up great as a backdrop for the main element of your card.
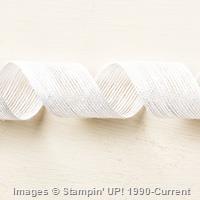
- Layer in some ribbon for another way to break up your background. This Jute Ribbon is somewhat stiff, so it makes a great layer to peek out from behind your central image. Plus the horizontal lines go great with the crosshatch stamped image too!

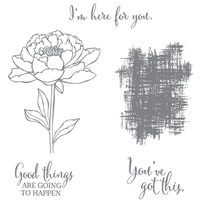
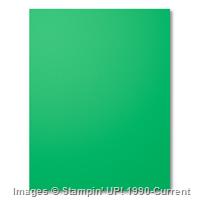
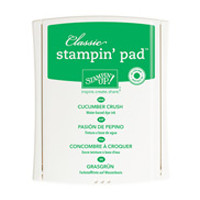
- Don’t be afraid to mix your greens – I used Cucumber Crush for my card base and the stem of the flower, but then used Old Olive for the stamped background using the crosshatch stamp that is part of the You’ve Got This stamp set.
- For the flower, you can get a really delicate look by mixing heat embossing and watercoloring. Here is how:
1. Stamp your flower image onto watercolor paper using versamark ink
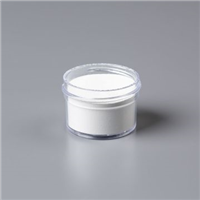
2. Cover with white embossing powder and heat set with a heat tool
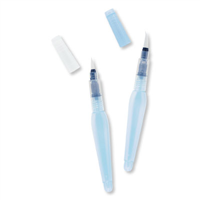
3. Use an aqua painter brush to pick up ink from the inside of the lid of your ink pad, and then paint onto your embossed image
4. Wipe off any excess ink that got onto the embossed lines of the flower NOTE – the ink won’t stick to the embossed lines so you can just brush over them when coloring your image and not have to worry about being super precise! Yay!
 - Let your flower really stand on it’s own by cutting it out by hand and then adhering to your card front using Stampin’ Dimensional foam dots.


This is an easy technique and so beautiful when you are done so I encourage you to give it a try!
Have questions? Let me know at jennifer@nwstamper.com or in the comments below.
Need some supplies? Check out the supply list below and click any image to get everything you need online now! ![]()
![NWstamper signature_thumb[9]](http://www.nwstamper.com/wp-content/uploads/ad87b4046c1e_C9F6/NWstamper-signature_thumb9.png "NWstamper signature_thumb[9]")
Project Supplies Used:


Built for Free Using: My Stampin Blog