Fun Fall Cards with the Rock n’ Roll Technique
Sometimes you have to go back to those techniques have been been around forever… in this case, I created a card to share with my Stamp Club folks using the Rock n’ Roll technique. I combined a few of my favorite fall items – like the Autumn Wood Elements and the Fall Fest stamp and…
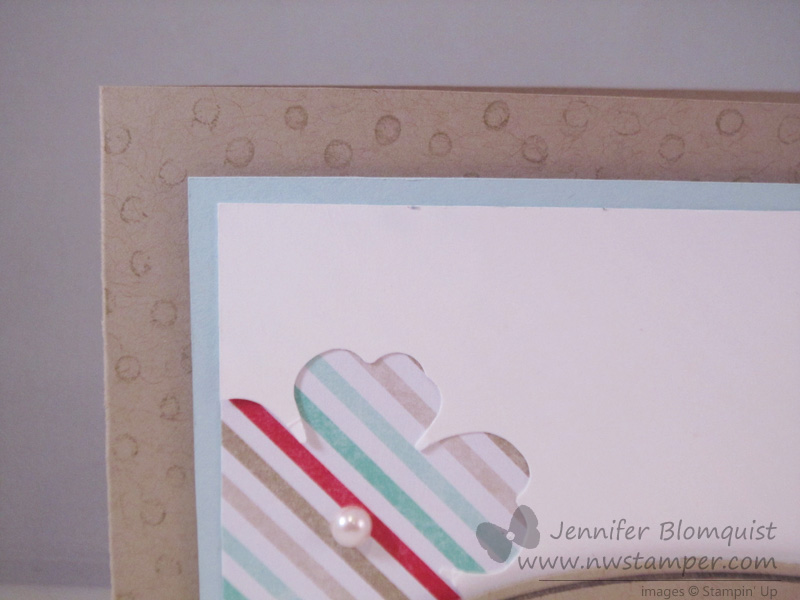
Lots of Ideas for Rainbow Cards with Happy Watercolor

Ok, as promised, I’m FINALLY posting those pictures from Stamp Club with all the variations of my Rainbow Happy Watercolor card (over on the right of this post). I have to admit, one of the things I love about stamping with other people in my classes is that I get to see some awesome ideas…
Word Bubbles Valentine or Spring Card–you choose!
I was working on finishing out the last card for Stamp Club tonight and I wanted to do something Valentines-y. So I was looking at my new stamps and just HAD to pull out my Just Sayin’ word bubbles stamp set and put something together. This is what I came up with for the first…
Faux Tiling Card for Club
Each month I have a group of ladies who get together for a Stamp Club. We make a couple projects each month and this month I thought Pilar (the hostess) would enjoy learning about the Faux Tiling technique. So, I promised her to have one of the cards use this technique, and this is what…