Northwest Stamper

Tag: st patrick’s day

  • Make Your Own Rainbows and Pot’s Of Gold for Teacher’s Gifts

    Have you ever gotten an idea for a project and you just HAVE TO make it… even if you don’t have much time or really know exactly how it is all going to come together?  Well, that was the project I am sharing with you today.  You see, for all that I do crafting and cards a lot… I’m not always good about making a project on-time for a specific event.  So, I’m chronically late or completely miss the event like teacher appreciation day or getting Christmas gifts to the teacher before winter break.  — I’m working on some systems to get better about this and will be sharing those as I get them up and running! –-

    So, when I got the idea the day before St. Patrick’s day to make the gold Oreos I had seen on Pinterest lately, I just had to try them out for a fun gift for my kids teachers! So I ran to Michaels and picked up some of the Gold Color Mist by Wilton and a pack of Oreos from the grocery store.  I will say, you can probably use less Color Mist if you get the Golden Oreos to start with, but if I was going to have extra cookies around the house, I wanted them to be the yummy traditional Oreos!  Or the mint Oreos, those are totally the best, but I wasn’t sure if the teachers would like mint, so I went with the original style. Smilegold oreos for st patricks day

    But once I had the cookies, they needed to be in something cute, so as I was lying in bed that night, I started thinking about making paper Pots of Gold.  I brainstormed all the ways I could do it, but in the end, I realized I had about 45 minutes in the morning to make 4 of these bags, so I had to go with what was quick and easy!

    Caitlin got up and helped me in the morning and we decided to use the Gift Bag Punch Board to make our base containers.  I decided easy was better than most correct shape. ha ha… besides the cookies is what really mattered, right?!

    caitlin making gift bag with punch board

    I was in such a rush to finish them up, so I forgot to take a picture of what the bags… but they looked like this only without the holes in the top and in black:

    image

    Stampin’ Up Gift Bag Punch Board

    I raced through making the base bags and then with a small amount of decorating, they were ready for their cookies!  Each one fit a ziploc bag with 2 Oreos perfectly!

    pot of gold st patricks day gift bag with rainbow

    Project Tips for making these Gift Bags

    These came together really quickly, but I wanted to share how I did a couple parts since I’ve been asked based on the pictures I’ve shared on my Facebook page – which you should totally join me on, by the way!

    • To make the little bags, I used 4” x 10” strips of Basic Black cardstock.  So you get two bags per 8 1/2” x 11” piece of paper.
    • Follow the instructions on the Gift Bag punch board for your scoring and then use the Fast Fuse adhesive to hold it together!  You need the strong adhesive to make sure it doesn’t come open as they are getting their goodies out!
    • To make the rainbows, I did it for all four teachers in one fell swoop!  Grab the Circle thinlits and start cutting out your colors.  I started with the largest circle for the red and then just used each smaller circle die for the next color in the rainbow.  My color choices were
        – Real Red
        – Pumpkin Pie
        – Daffodil Delight
        – Cucumber Crush
        – Tempting Turquoise
        – Perfect Plum
      Adhere the circles to each other and cut into quarters to attach to each bag!

    rainbows with circle thinlits

    • On the front, I wanted to add a lucky Four Leaf Clover and so I used my Pansy Punch Shamrock Tutorial to create a super easy shamrock.

    • Then I just added a tag using the Notetag punch and the sentiment from the Teeny Tiny Wishes stamp set.  On the back of the tag I wrote the note “We are so lucky to have YOU for a teacher!”  You do have to punch the hole for the twine in the bag and the tag – I was originally going to tie this onto the cookie bag, but this just ended up seeming easier to me. Smile

    st patricks day notetag punch

    So, if you are looking for a quick gift or gift bag idea, I highly recommend the Gift Bag Punch Board!  It makes things super quick and easy.

    Switch it up and make a bunny on the front for Easter, or a flower for Mother’s Day!  Or even put a photograph of someone special like kids to give to a parent for a birthday or Father’s Day!  The possibilities are endless.

    Have questions or need help?  Feel free to drop me a line at jennifer@nwstamper.com or leave me a comment below and I’ll be sure to get back to you!

    NWstamper signature_thumb[9]

    order online button for sig 3_thumb[4]

    Use Hostess Code MZ2REKD7 at check out to get a special thank you from me!

    What I Used to Make This project 

  • St Patrick’s Day Special (17% off!) and a Green Card Challenge for YOU!

    St Patrick’s Day Special (17% off!) and a Green Card Challenge for YOU!

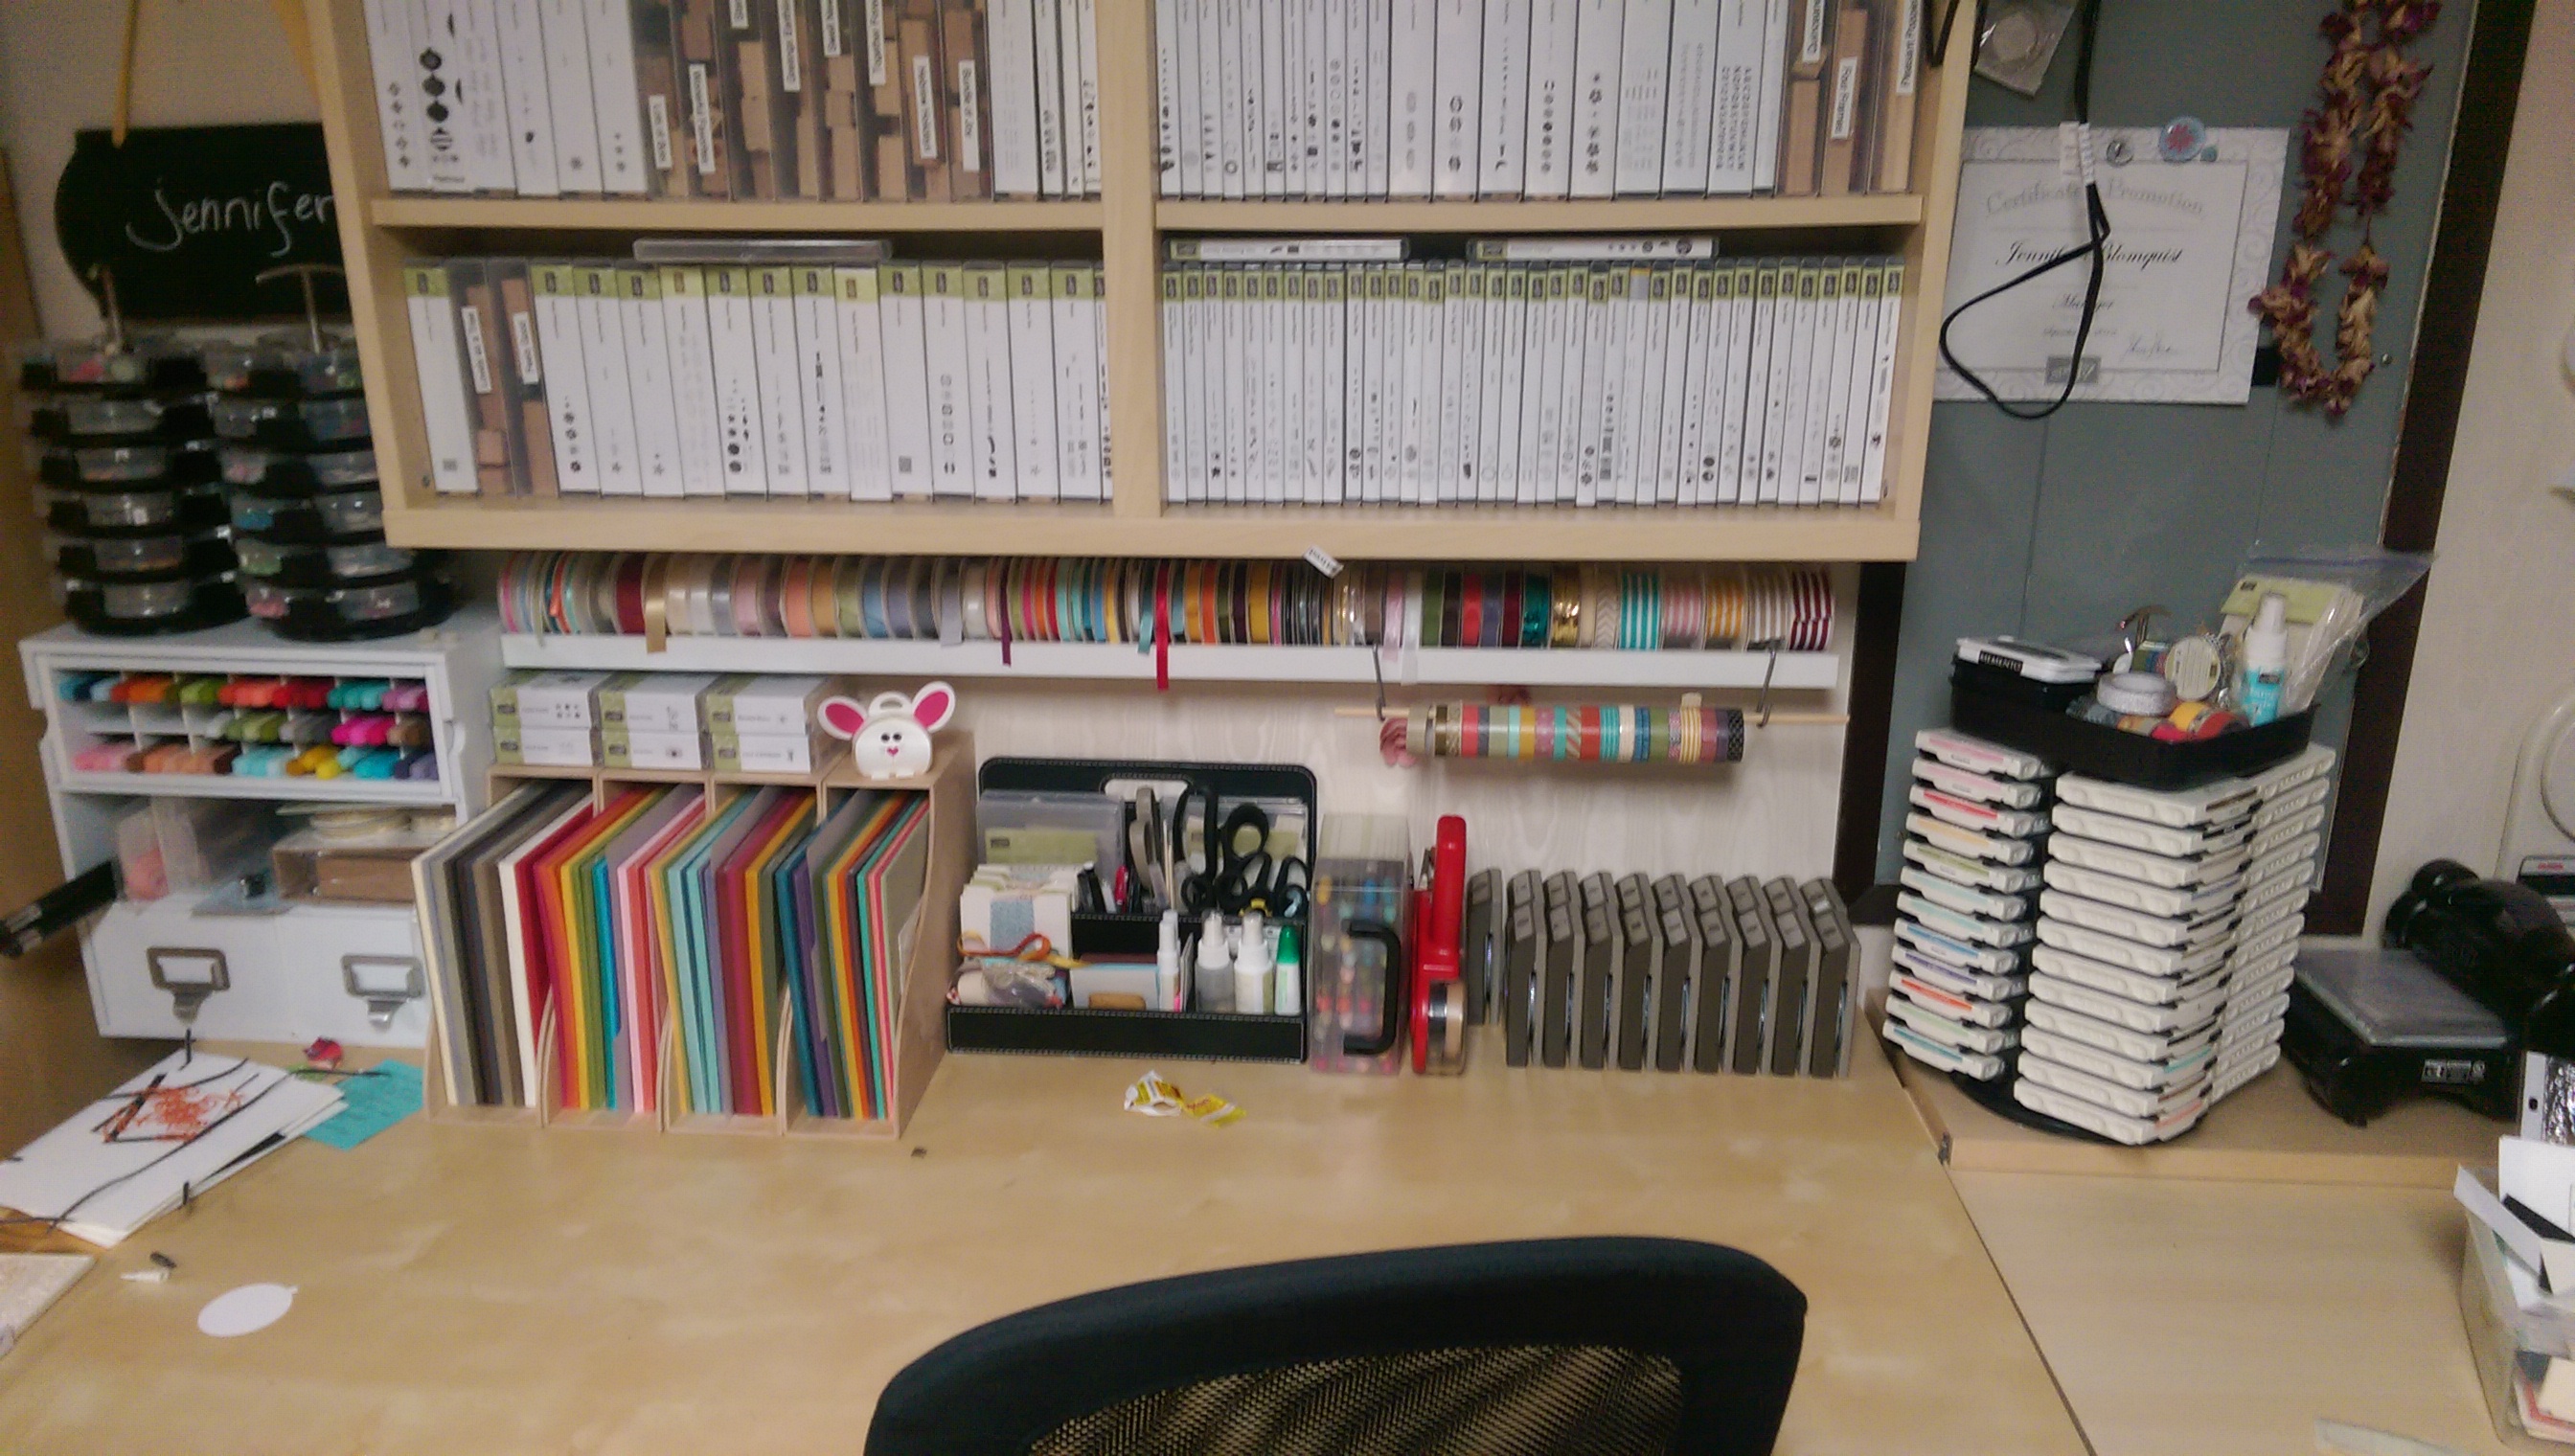
    Ok, so I got super distracted last night with organizing my crafting space (I was cleaning and noticed that my now overly large collection of just the larger sized punches were getting too heavy and bowing the bottom of my drawer!) and so it was time for them to move.  Though I wasn’t quite sure where I was going to move them TO because I wanted them close at hand but liked everything else I had close at hand.  In the end, they pushed my Big Shot out of the way and took a prime spot on the back of my craft table.  So we will see how this goes!

    2015-03-17 14.31.59

    So the card I planned to make and share got pushed off to today, but thankfully I have some backups for you and a special St. Patrick’s Day sale!


    St. Patrick’s Day Special – Get 17% off your entire Stampin’ Up order! 

    This special is for today only… but shhh… if you email me by 9am PST tomorrow (3/18) I’ll honor the special since this post was so late in going up!

    All you have to do is either

    • email me your order at jennifer@nwstamper.com
      or
    • shop online and please enter hostess code 9CYWBHVC

    If your wishlist is over $100, don’t forget, your best bet is to consider the Stampin’ Up Starter Kit! You get $125 of product for $99 plus free shipping.  So already a big savings.
    Then get discounts on all your future purchases and fun things like participating in my groups swaps, challenges, a free magazine full of ideas every other month, online forums and gallaries for demonstrators and more!  Learn more here.


    Green Card Challenge!

    I also wanted to do something fun for everyone to play along – so I decided to have a Green Card challenge.

    How it works:

    1. Create a card that is made up entirely of greens and neutrals.  So you can use multiple colors of green, only one green, and your browns/whites/black/grey/etc.  And use whatever supplies you have at home.
    2. Post a link to your creation using the linky tool below!
    3. You have until 3/22 to post up your creations
    4. WIN!  On 3/23, I’ll draw a random winner to get a little something from my crafty stash and I’ll share some of my favorite cards here on the blog.

    OrFor example:

    Or this:

    image

    Or, if you are on my Newsletter Mailing List, you got the instructions today for making this:

    Not on my newsletter list?  You can sign up here!

    So, add you link or upload your picture below by Monday 3/23 to show off your stuff and maybe even win a little goodie from me!

    [inlinkz_linkup id=507103 mode=1]

    I can’t wait to see what you create!

    NWstamper signature_thumb[9]

    order online button for sig 3_thumb[4]

  • Happy St. Patricks Day with a Pansy Punch Shamrock

    Happy St. Patricks Day with a Pansy Punch Shamrock

    shamrock tagHappy St. Patrick’s Day!  It snuck up on me, but thanks to my hubby, I remembered to wear green this morning. 🙂

    Well, last week for my stamp club, I shared this cute little tag as a bonus project to show another great way to use that Pansy Punch.  Turn it into a fun shamrock for St. Patrick’s Day!

    Now, how do you make it?

    1. First, punch out a flower in your favorite shade of green (in this case, I used Gumball Green).
    2. Then, pick a petal to start trimming and cut off the sides of your selected petal.  (I’ve shaded in the part to cut off in the picture below)
      how to make a shamrock from flower punch
    3. Cut away the petals….punch art shamrock

    And you have a cute shamrock!

    Add it to cards or die cuts to make a fun tag for a card, gift, scrapbook page, whatever you need.

    I punched out a 2-1/2″ circle in Very Vanila and added the stamped sentiment from the Teeny Tiny Wishes stamp set and then mounted the whole thing on a Gumball Green starburst (using the Starburst framelits).  Add a green button, just for fun, and Ta Da!

    shamrock punch art

    So, I hope you have a great – and lucky – day!

    spaced shop now sig bar

    March Online Stamp Club Hostess CodeXEWP4DFD
    Use this code to get free exclusive tutorials & project kit!
    Learn more

    Supplies Used