Northwest Stamper

Tag: pretty petals

  • More Fun and Cute Gifts from the Northwest Crafty Escape Weekend!

    More Fun and Cute Gifts from the Northwest Crafty Escape Weekend!

    I’m back today to share the little table gift for the last day of the Northwest Crafty Escape Weekend.

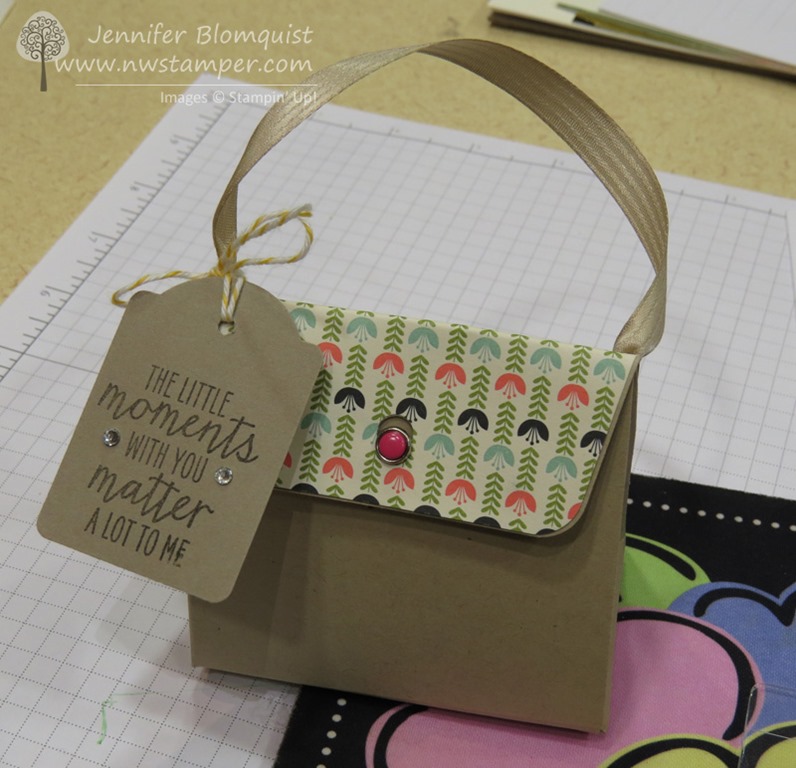
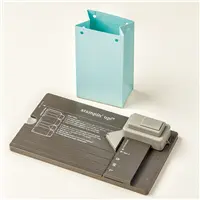
    These are super fun purses made with the Gift Bag Punch Board following a great design by Brenda Quintana aka QBee

    Tips for making this purse:

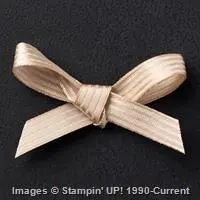
    • I picked the ribbons for the handles and then chose my cardstock for the base of the purse to match!  Love that Stampin’ Up makes it so easy to match!
    • Use your Fast Fuse to hold your purse together and make sure it won’t pop open with goodies inside.
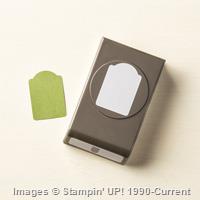
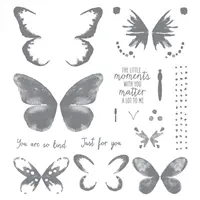
    • Make a cutie tag to go with using the sentiment from the Watercolor Wings stamp set and it punches out perfectly with the Note Tag punch!
    • Cut your paper to cover the back of your purse and front flap by cutting it at 3 1/8 x 4 1/8″.
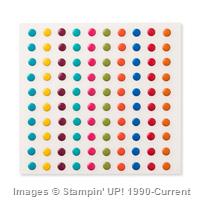
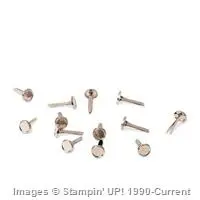
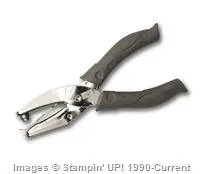
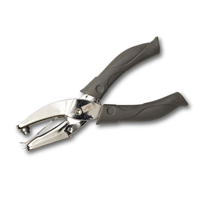
    • I used candy dot brad bases and the 1/4″ punch to make the closure.  It is a tight fit but it totally works!

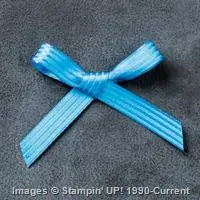
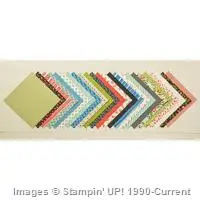
    The purses I made use the new Stitched Satin ribbons in the pretty new colors (I followed Brenda’s ideas and used Melon Mambo, Pacific Point, and Crumb Cake).  And of course the patterns from the lovely Pretty Petals designer paper.  Front and back even!

    And have to have some fun treats inside!

    It was another fun day at the Northwest Crafty Escape Weekend yesterday too!  We made lots and lots of messes, and the tables were piled to overflowing so you know it was a good day!

    And in the afternoon, some folks had signed up to do my Sprinkles of Life Class…

    So everyone got their kit and we had a table with all the supplies for folks to share.

    IMG_0217

    I’ll have the dates up for the next one in October posted tomorrow!  I hope you can join us!

    NWstamper signature_thumb[9]

    order online button for sig 3_thumb[4]

    Project Supplies Used:

  • Birthday Butterflies and a Get Well Card

    Alright, so last time I shared with you the Love card we made at my card night.  So, today I wanted to share the other two cards we made that night.  Both are inspired by cards I found in an old Stampin’ Up! Idea Book & Catalog.  Of course they turned out pretty different, and I wish it wasn’t against Stampin’ Up! copyright rules or I would show you a picture of the originals next to the version below.  Oh well, you just get to enjoy the version I made then. Smile 

    First was a clean and simple get well card.  I love this stamp from the Wellness Wishes set.  It just makes me want to hug the puppy and say,” Awwwww”.  So, we used watercolor pencils to color him in (and I’ll admit the girls that night did a much more artistic and cool version of watercoloring than I did).  We wrapped around some Black satin ribbon and then added a Circle brad.  The So Saffron cardstock was popped up using dimensionals and its as simple as that!

    Tip:  If you are going to use watercolor pencils on Whisper White paper, I recommend using a blender pen to moisten the pencil coloring.  You can use a water pen, but I find that it is too easy for there to be extra water, which causes your paper to wrinkle up a bit.

    Finally, we did a birthday card.  Well, really it was a neutral card and I put out the entire Sincere Salutations set so some people did birthday, some did thank you, while others did Thinking of You.  Got to love a sentiment set that has it all in interchangeable sizes.  We used a background stamp (Pretty Petals) to add a pattern to the base Crumb Cake layer.  Then, stamped the butterflies from the Dreams Du Jour set and sentiment on a Very Vanilla piece.  Tear off a corner of your Vanilla paper and add a Designer Button and you are ready to go.

    Tip:  Crumb Cake ink makes a great subtle color on your neutral papers like in this case.  You can get a great shadow effect by stamping your image on the paper in Crumb Cake and then stamping your image with a darker ink (in this case Concord Crush) on a piece of scrap paper and layering it over one of the Crumb Cake images.  Slightly offset your cutout and the base image will show enough to look like a shadow!

    Interested in making cards like these?

    If you like these cards and are in the San Francisco area, I’d love to have you join me at one of my upcoming events.  Check out my calendar or contact me to set up your own private event for free with you and your friends!  I’d love to show you how to make more fun cards and scrapbook layouts!

    Thanks for visiting!

  • 30 card swaps in 3 hrs

    This weekend has been awesome!  The weather has been perfect – in the high 70’s and sunny all weekend – and I got to go to the Stampin’ Up! regional seminar on Saturday up in Seattle.  Oh my gosh was it tons of fun, super inspiring, and a chance to reconnect with the folks in my Stampin’ Up family.  I’ll posting more this week sharing the swaps and idea boards with you but for today I had to tell you about the feat of craziness I embarked on on Friday night. 🙂


    Since I live in Portland, the drive to Seattle is about 2.5 – 3 hrs which means I would have had to get up at 4 in the morning on Saturday to head up to Seattle in time for regionals.  Well, anyone that knows me knows I’m not a morning person, so I decided to head up on Friday night and share a hotel room with my mom (who was coming down from Bellingham) so we could get some sleep and be up early, but not too early on Saturday.  So 10pm on friday, I arrived at our hotel room.


    Now, the silly thing is, I decided at the last minute that I wanted to participate in the card swapping that happens at every Stampin’ Up event.  So instead of getting them done early like a sane person, I only had time to plan in my head and grab supplies before heading north to meet my mom. 

    hotel_stampingstationhotel_bedSo once I got in the hotel room, I set to stamping and cutting and glueing everything I needed for my 30 swap cards.  From 10:30pm to 1:30 am, I power crafted with moral support (and then gluing support :)) from my mom.  In the end, I was so glad I made my swaps because I got to trade for some amazing cards.  Plus, I guess it was a good way to warm up for an all day stamping fest on Saturday.   But until I get those photographed and up, here is the swap I came up with:

    foryou_petals_wm

  • Getting Punchy

    Last night I started playing with my word window punch some more and one of the ideas I had was to create a flower using punches.  This quickly turned into a card challenge to myself to see if I could make an interesting card that was almost entirely based on punches instead of stamps. It was a fun experiment and helped me brainstorm a ton of new ways to use punches (though most of those uses didn’t look so good when all smooshed together on one card).  In the end, I used two stamps though if I had thought to use rub-ons for the sentiment and designer paper for the background, I think I could have gotten away with none. 🙂

     To make this card, I used 5 different punches.  The card is actually very quick to put together because most of it is just punching and glueing paper.  

    Recipe
    Stamps:
    Pretty Petals background stamp, Sock Monkey
    Inks: Pink Pirouette, Pixie Pink, Garden Green
    Paper: Pink Pirouette cardstock, Garden Green cardstock, Whisper White cardstock
    Accessories: word window punch, small oval punch, five petal punch, trio flower punch, ticket punch, gold brad

    Read the steps to make this card!