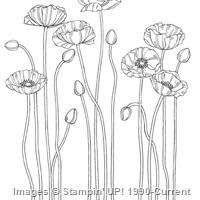
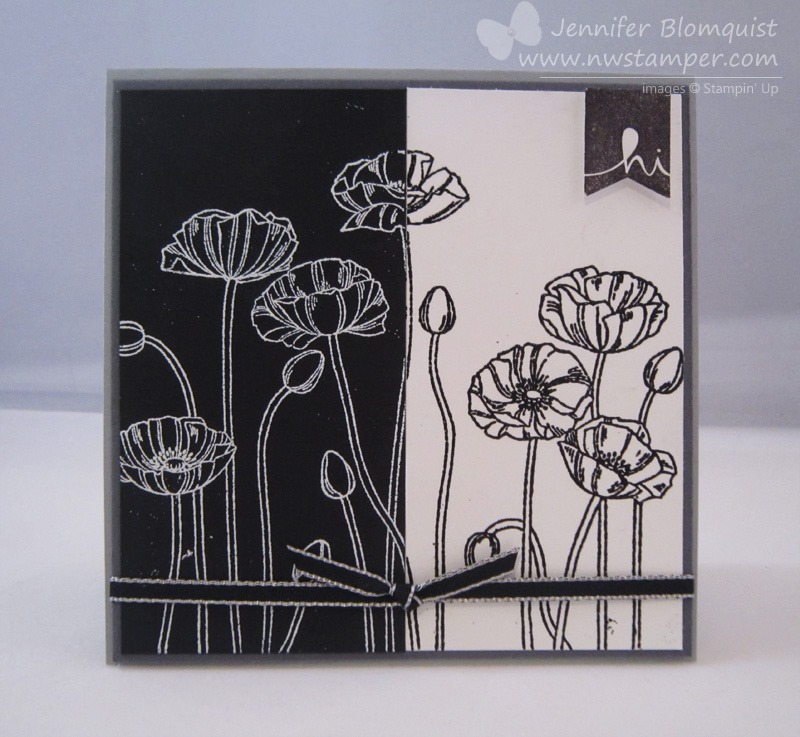
Remember how I told you that stamp sets on the retiring list were now while supplies last? Well, on a whim as I was getting this blog post ready, I thought I would check out how the stamps were doing and discovered that the Pleasant Poppies stamp that I used for this focal point on this card is sold out. *total sad face* ![]() !
!
But if you do have it, awesome! And if you don’t, well you can still use this great idea with the flower stamps you do have, right? Right!
Featured Retiring Products:
- Pleasant Poppies (sold out)
- Hey You stamp set (wood | clear – 25% off!)
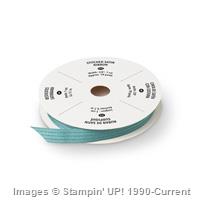
- Lost Lagoon Stitched Satin Ribbon (50% off!)
Get them before they are gone by the end of the month!
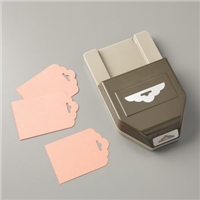
Sometimes you don’t need a lot on a card to make an impact. Which is what we did with this card when we made it at Stamping Bingo earlier this month. Have a bookmark sized piece as your focal point and then just punch out a sentiment like one of the many from the Hey You stamp set using the Wide Oval punch and then help it stand out by sponging the edges.

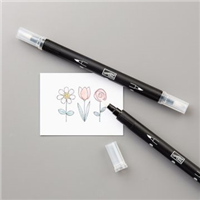
TIp – I recommend sponging the edges of your paper with Sponge Daubers. I have some people share how they sponge by running the paper across the surface of the ink pad (you get a really dark line only on the very edge of the paper) or they will use the yellow sponges (which gives you a very diffuse sponging area and it can be harder to control where you want the color). I love Sponge Daubers because they give you finer control of where and how much ink you are coloring with and BONUS your fingers don’t get inky! Yay!
Because you know you are going to get ink all over from something… might as well spare some ink where you can. ![]()

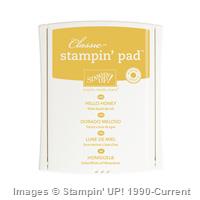
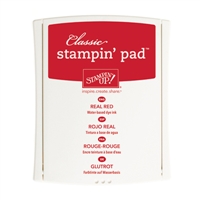
To do the poppies, I cut a 2” strip of cardstock and stamped the flowers from my background stamp in Memento Black ink. Color the flowers using your markers or Blender Pen until they are just right. Then color the white space in between using those handy dandy sponge daubers! I didn’t sponge over the flower heads but just went around them. In this case it is Lost Lagoon on top and Hello Honey on the bottom.
Leave the rest of your card base plain white and your colored image will jump off the page!

Join me in celebrating the new catalog launch!
I’m getting excited for the release of the new catalog in only a few days.
Did you know? The retiring catalog AND the Occasions catalog AND the new catalog will all overlap for ONE DAY! Yup, it is true! For ONE DAY ONLY you will be able to order out of all 3 catalogs and take advantage of the current hostess benefit levels. So get those wishlists ready!
In Seattle? Join me for my New Catalog Kick Off Party!
In with the new! New Catalog Kick off Party!
Monday June 1 – drop in anytime from 6:30 to 8:30pm
Jennifer’s House (Bellevue, WA)
Cost – FREE!
RSVP to jennifer@nwstamper.com
We’ll have samples on display, new products for you to check out, make & take projects using the newest supplies, shopping specials, games, and lots of great crafty people to hang out with. ![]()
Not nearby? Join me online on June 2nd! I’ll be posting a new catalog walkthrough video! I’ll walk you through all the cool new stuff and some great things that are easy to miss! I’ll even have a little shopping incentive for those of you who come check it out!
![NWstamper signature_thumb[9]](https://i0.wp.com/www.nwstamper.com/wp-content/uploads/ad87b4046c1e_C9F6/NWstamper-signature_thumb9.png "NWstamper signature_thumb[9]")
![]()
Project Supplies Used:


Built for Free Using: My Stampin Blog


