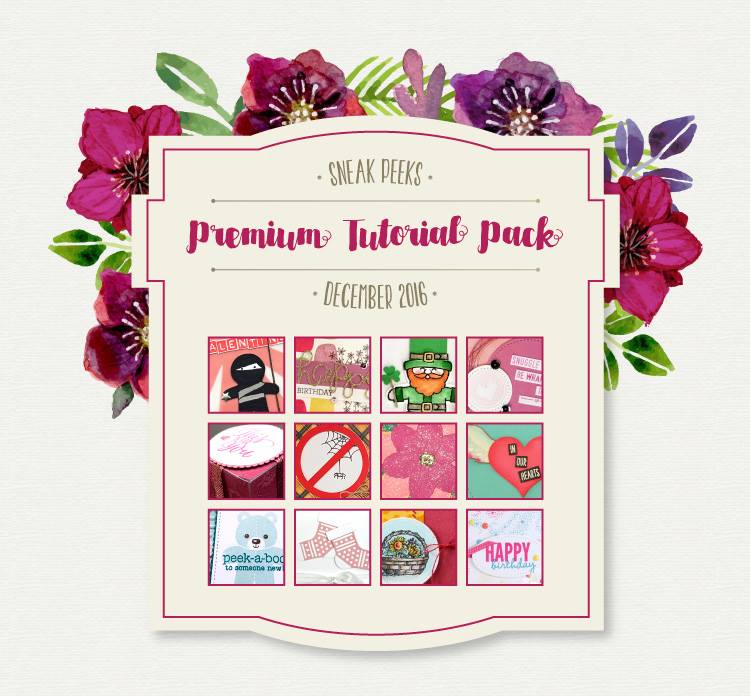
All About Carols of Christmas – a blog hop

I’m back and sharing today another fun idea using the fabulous Carols of Christmas sneak peek bundle! If you have stopped by my blog recently, you saw my totally different Carols of Christmas card, and that is why I love this bundle – you can make such a wide variety of cards and styles of…
SNEAK PEEK! Carol of Christmas and a Blog Hop! [VIDEO TUTORIAL]
![SNEAK PEEK! Carol of Christmas and a Blog Hop! [VIDEO TUTORIAL]](https://www.nwstamper.com/wp-content/uploads/2017/07/Deck-the-Halls-Carols-of-Christmas-card-sneak-peek-featured-100x76.jpg)
Woo hoo! I’m back from the Stampin’ Up Incentive trip to Thailand – feeling refreshed (once the jet lag wore off! 😉 ) and excited for the upcoming Holiday catalog! Winter is my favorite season, filled with twinkly lights, beautiful scenes, and an extra bit of kindness to go around. Before I left for Thailand,…
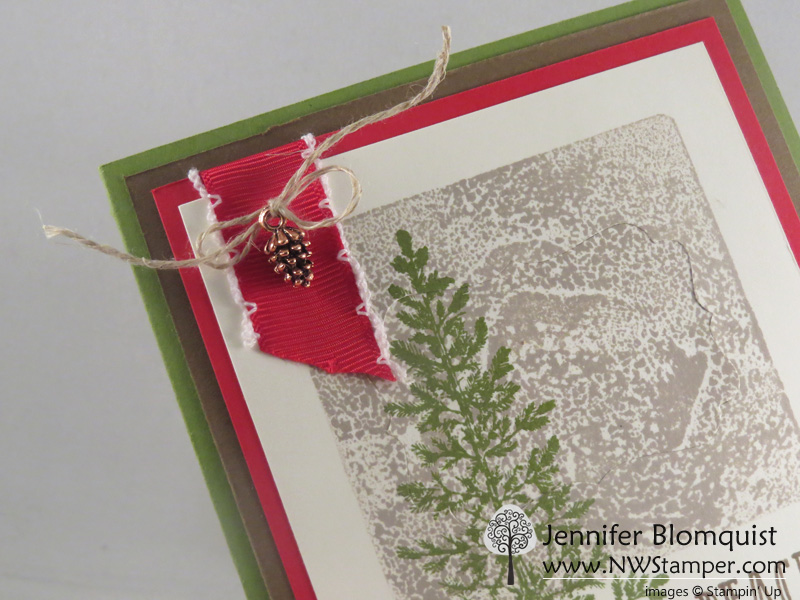
Paper Piecing with the Detailed Santa Thinlit for Christmas
Oh my goodness people! We are officially less than 10 days until Christmas!!! I was thinking I had all my shopping done and was totally on track for the holiday and the kids to be out of school for 2 1/2 weeks….. NOPE! I remembered some gifts I still need to get, my Christmas cards…
Three types of Sparkle- One Card! Merriest Wishes Silver Sparkle Card
Welcome! Today is another blog hop and I am hoping with my team… yay! The Fun n’ Crafty stampers have pulled together some projects to share that is all about sparkle and shine. So we are posting ideas for using those glimmer papers, glitter ribbons, foils, etc. In fact, today I have 3 different sparkly products…
ICS Blog Hop – White Woodland Embossed Christmas Card
Hello! Welcome to this month’s Inspire Create Share blog hop. 🙂 This month our theme is I am Dreaming of a White Christmas and we’re showcasing ideas using a white on white! We hope you enjoy this beautiful hop and will become inspired to give the white on white look a try! Now, first up,…
Reindeer Merry Christmas Card with Foxy Friends
Just popping in for a quick share today! If you didn’t see yesterday, quick reminder to check out the Year-End Closeout List and Sale. Many items are while supplies last and I’ve seen a couple updated clearance rack items sell out already. So, you want to make sure you check it out sooner rather than…
Vintage Christmas Card with Clear Block Stamping
I have totally had a crafting-crush on these Mini Pinecones embellishments since I first got a chance to play with them. They are so little, but oh so details and super cute! My biggest challenge was actually getting them out of the container and onto my projects. Between the “don’t want to use them up”…
Beautifully Simple Christmas with Ton of Texture–on sale too!
I have a fun Christmas card idea for you today… and I realized that a bunch of the items I used for it are 25-30% off with this week’s sale to boot! Sweet! This was a card I created for my Fun n’ Crafty Team swap. We always do a card swap when a new…
Sweet Christmas Card with Suite Seasons for the Fun n’ Crafty Blog Hop!
Today is a fun post for me because not only am I going to share the swap card that I created for OnStage Local in Vancouver, BC last weekend – but it is also the Fun n’ Crafty Blog Hop! That is right! Some of the stampers from my group have gotten the band back…
Stampin’ Up OnStage Local Recap–November 2016
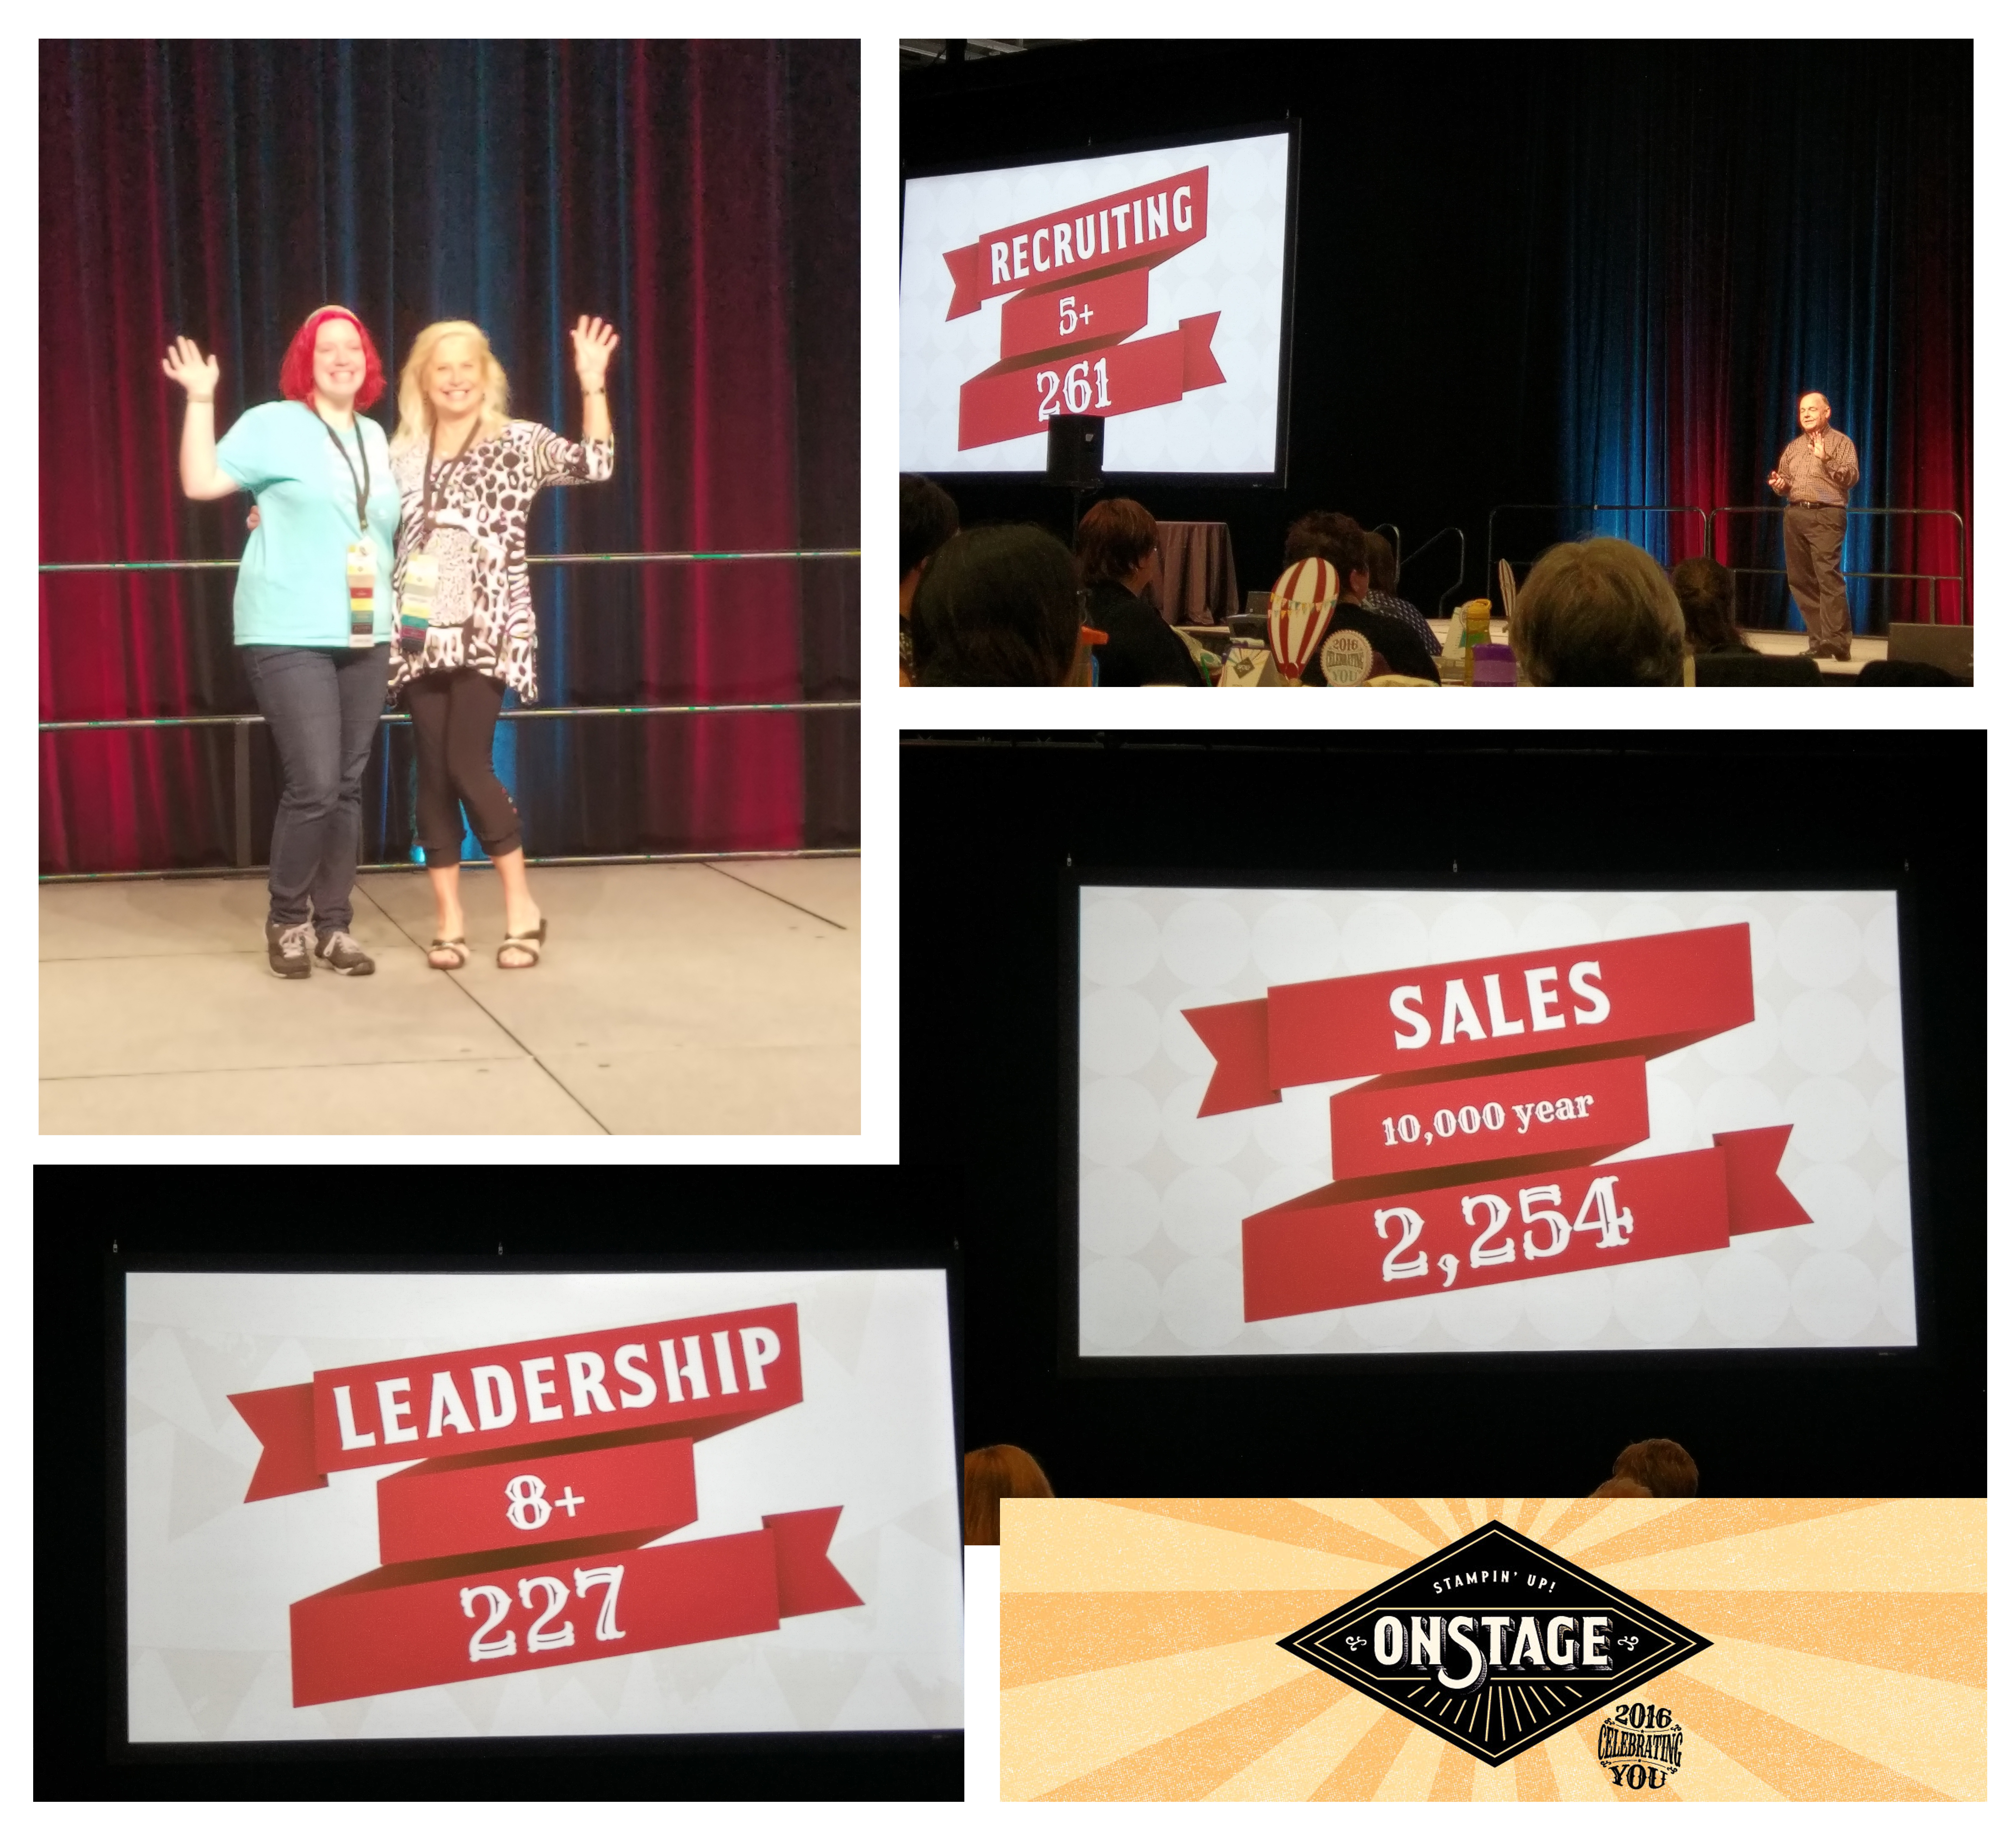
I’m back after an amazingly inspiring and refreshing weekend up to Vancouver, BC Canada for the November OnStage Local event by Stampin’ Up! This is the new event that replaces the traditional convention and happens every 6 months around the world. This time, the closest location was up in Canada for the one day regional…