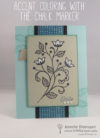
Back when Stampin’ Up had Chalkboard Paper, we also got the White Chalk marker. And I knew what to do with it… duh, you use a chalk marker on chalkboard paper! 🙂 But then, the chalkboard paper went away and the chalk marker remained, which made me think there had to be other great uses for this marker. Since then, I found that it is great for all kinds of soft accents and touches on your cards. My favorite version is Accent Coloring with the chalk marker on light brown paper, like I did in this card!
I stamped the flourish image from the Flourishing Phrases stamp set using Archival Basic Black ink. The archival black is a GREAT black ink and much deeper and richer than the Memento Black or even past Basic Black classic ink pads. However, it does tend to stain your stamps, similar to stazon, so I tend to only use it with my rubber stamps. Thankfully though, this set is rubber so I can happily stamp away with my happy black.
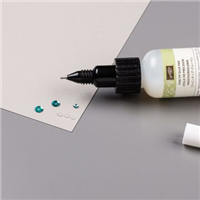
Once you’ve stamped your main image, then you can go over areas you want to highlight and color them in with your White Chalk Marker. The chalk ink doesn’t saturate into the paper and so it makes a nice soft white highlight on top of the colored cardstock, providing a great contrast.
I wanted my flourish stamp to be the main focus of my card, so I kept the rest of the elements on the card muted and simple.
Pool Party ink for the leaves in the background (also from the Flourishing Phrases stamp set) on a Pool Party card base
An understated pattern from the Blooms & Bliss designer paper down the middle of the card matted by Basic Black cardstock.
Sponging the edges of my Crumb Cake main piece with Pool Party ink to soften the edges up and help them blend into the background card base.
A small scrap of Burlap ribbon to add some texture and a natural feel.. but only a hint!
Pearls under the sentiment to make it feel finished and with a touch of elegance.
But this technique of doing Accent Coloring with the chalk marker is great on different colors of cardstock as well as different types of sets. It works best with line-art images, but also is good for highlighting (see this example with a snow scene). Here is another example of coloring in an image with the chalk marker.
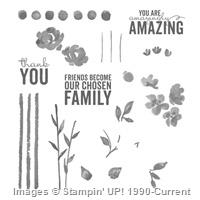
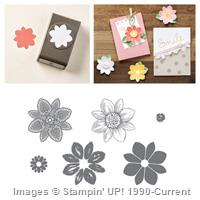
Want to make this card at home? Here are the project supplies: April Rewards Hostess Code is PPXVZ4NN
The Christmas countdown has begun! Use this Curvy Keepsake Christmas light treat bag for a fun little giftable or table setting for all those last minute gifts for co-workers, family, and friends. I love how fast it comes together so it is perfect for whipping up when you need something quick.
Tips for making this project:
The Curvy Keepsake die makes the perfect bulb shape! Use the Curvy Keepsake die, not for a little round box but for the perfect shape of the Christmas light bulbs. Cut two of the box dies shapes only cut off the shorter/fatter side of the die and keep the long pointed die.
Make it look curved with sponging and a White Chalk Marker – Sponging the edges of the green bulb (I used Cucumber Crush cardstock and ink) helps give it some dimension. Then add a bit of “shine” or reflection by coloring with the White Chalk Marker to one side of the bulb.
Create a whole strand with different colors – I made this in green, but pick your own favorite colors or create a complete strand by alternating Real Red, Cucumber Crush, Pacific Point, and Daffodil Delight. Hang them on a piece of ribbon for a holiday banner to use every year!
Complete the look by scoring the “screw” end – Grab your favorite scalloped edge punch (I used the Scallop Square punch) and tuck in your cardstock to create the screw end. (See the video below for how to do this) Then use your score board or Stampin’ Trimmer to create scored lines to make it look even closer to the real thing!
Finish it off with festive ribbon – Keep it together by tying a bow using some festive ribbon. Plus, this Garden Green striped ribbon (in a bundle with the Real Red striped ribbon) is also on sale in the Year-End sale! So you can save money at the same time.
Check out this video so you can try it yourself!
(reading this in email? click here to view the video)
Last minute gifts available! Grab a gift certificate today!
This last weekend I held the first of my Holiday Card Series – this is something new I’m doing this year where I’m running 4 Holiday Card classes between now and the end of November and each one will give you a stack of cards that will get you well on your way to getting your holiday cards done this year. PLUS – everyone who participates in 3 of the card series classes will receive a $15 shopping spree from me at the end of the series. Participate in all 4 and you get a $20 shopping spree! How stinkin sweet is that? And yes! This even goes for those of you participating in my class by mail program. You can get more details about this at the bottom of this post!
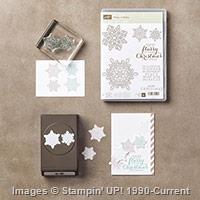
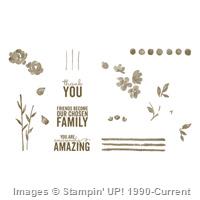
But back to the card I wanted to share today – this oh so pretty vintage & elegant Christmas card using the Flurry of Wishes!
LOVE! If I do say so myself. ha ha ha! Like I mentioned, it was part of the first Holiday Card class that was all about the Flurry of Wishes stamp set – here is everything we made:
But we are talking about this card today… and I wanted to share with you a few of my favorite touches with it.
Tips for making this card:
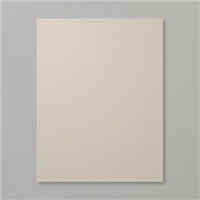
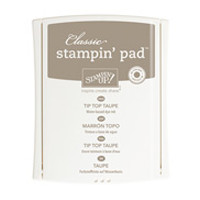
Stamp your main image in a slightly darker ink color than the cardstock – in this case, we stamped with Tip Top Taupe ink on to Sahara Sand cardstock.
Fill in a few of the outlined shapes using the white Chalk Pen. It gives a soft look and highlights some of the detailing of the image.
Take it up a notch by adding a few small pearls as well! They are subtle but really add to the elegance factor.
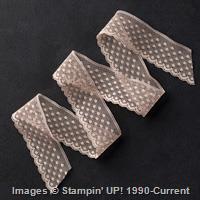
For the sentiment, layer your cardstock over some of the A-MA-ZING In Color lace trim – again we were using the Tip Top Taupe trim. It is wide enough to be a great layering ribbon.
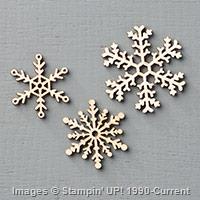
I am in love with the wooden Snowflake embellishments so one had to come out for this card and again, a few more little pearls!
It all comes together for a great card that doesn’t actually take that many supplies and can be quick to mass produce as well. Always a perk, right?
Flurry of Wishes – Class By Mail is Here!
Everyone loved this class this weekend and raved about the cards and the value; and I wanted to share it with those of you who aren’t able to attend my classes in person! So, I am offering this (and the rest of the Holiday Card Series) as a class by mail.
In this class you’ll get:
Precut supplies & accessories for 10 cards – 2 of each of the 5 designs
Pre-punched elements for the cards
PDF instructions walking you step-by-step through how to complete each of the cards
Priority shipping of your kit to you
(optional) the Flurry of Wishes photopolymer stamp set and Snowflake punch! <— BEST VALUE ADD-ON — SAVE over $10 off the class kit when you include the stamp set & punch in your kit
Live outside the US or don’t need the kit – PDF instructions ONLY option is also available
NOTE – I am finishing up the pdf instructions now, so they will start being emailed out to everyone Friday, Oct 2nd. Class kits will be mailed starting next week.
If you have any questions, don’t hesitate to let me know at jennifer@nwstamper.com . So, give this idea a try and have fun playing as we head into the fall and holiday season!
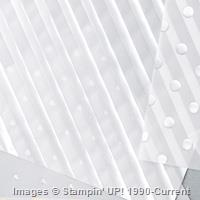
Have you seen the chalk inks and been curious about them but haven’t tried them yet? I was feeling that ways and so I decided to start playing when I created this card for my Stamp Club recently. We played with some of the fun stuff from the Occasions Catalog including Chalkboard paper and the Chalk inks – 2 of which are on sale as part of the weekly deals this week!
It is a great card to play with all those specialty items that you may not have tried out before including the foil vellum, chalk ink, chalkboard paper, chalk pen, scalloped tag topper, and those pretty Something Borrowed embellishments!
Get them before they are gone by the end of the month!
Tips for making this card:
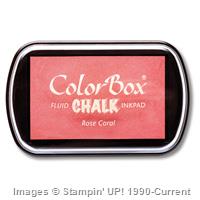
One of my favorite things to share about this card is that the ink on the pink punched out flower and the “for you” sentiment are THE SAME! Can you believe it? Both are the Rose Coral chalk ink.
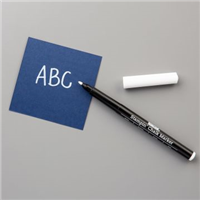
When you stamp on Chalkboard paper – you want to stamp on the velvety side! This is the coated side and it will help inks sit on the surface.
That said, you want to use Chalk or Craft/thick pigment inks when stamping on Chalkboard paper. The dye inks (all the classic Stampin’ Up inks) will just fade into the background because they do not have enough pigment to sit on top of the paper and form a contrast.
Use the Chalk Marker to create some accent lines or to draw on your Chalkboard paper… they turn out bright white and great!
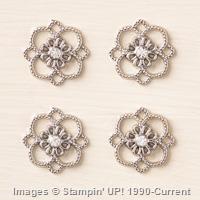
Adhere a Something Borrowed embellishment to the middle of your flower with a glue dot for a cute accent!
When adhering your Silver Foiled Vellum to your paper, I recommend a 2-way glue pen! Liquid glue tends to mail the foil wrinkle up and glue dots will show bumps through the foil.
Sadly, though the Flower Medallion punch is carrying over, the matching Petal Potpourri stamp is not! I love this stamp set and all its options. For the next week, it is available as a bundle at a 15% discount! I know I’m not getting rid of mine so I recommend you grab yours now.
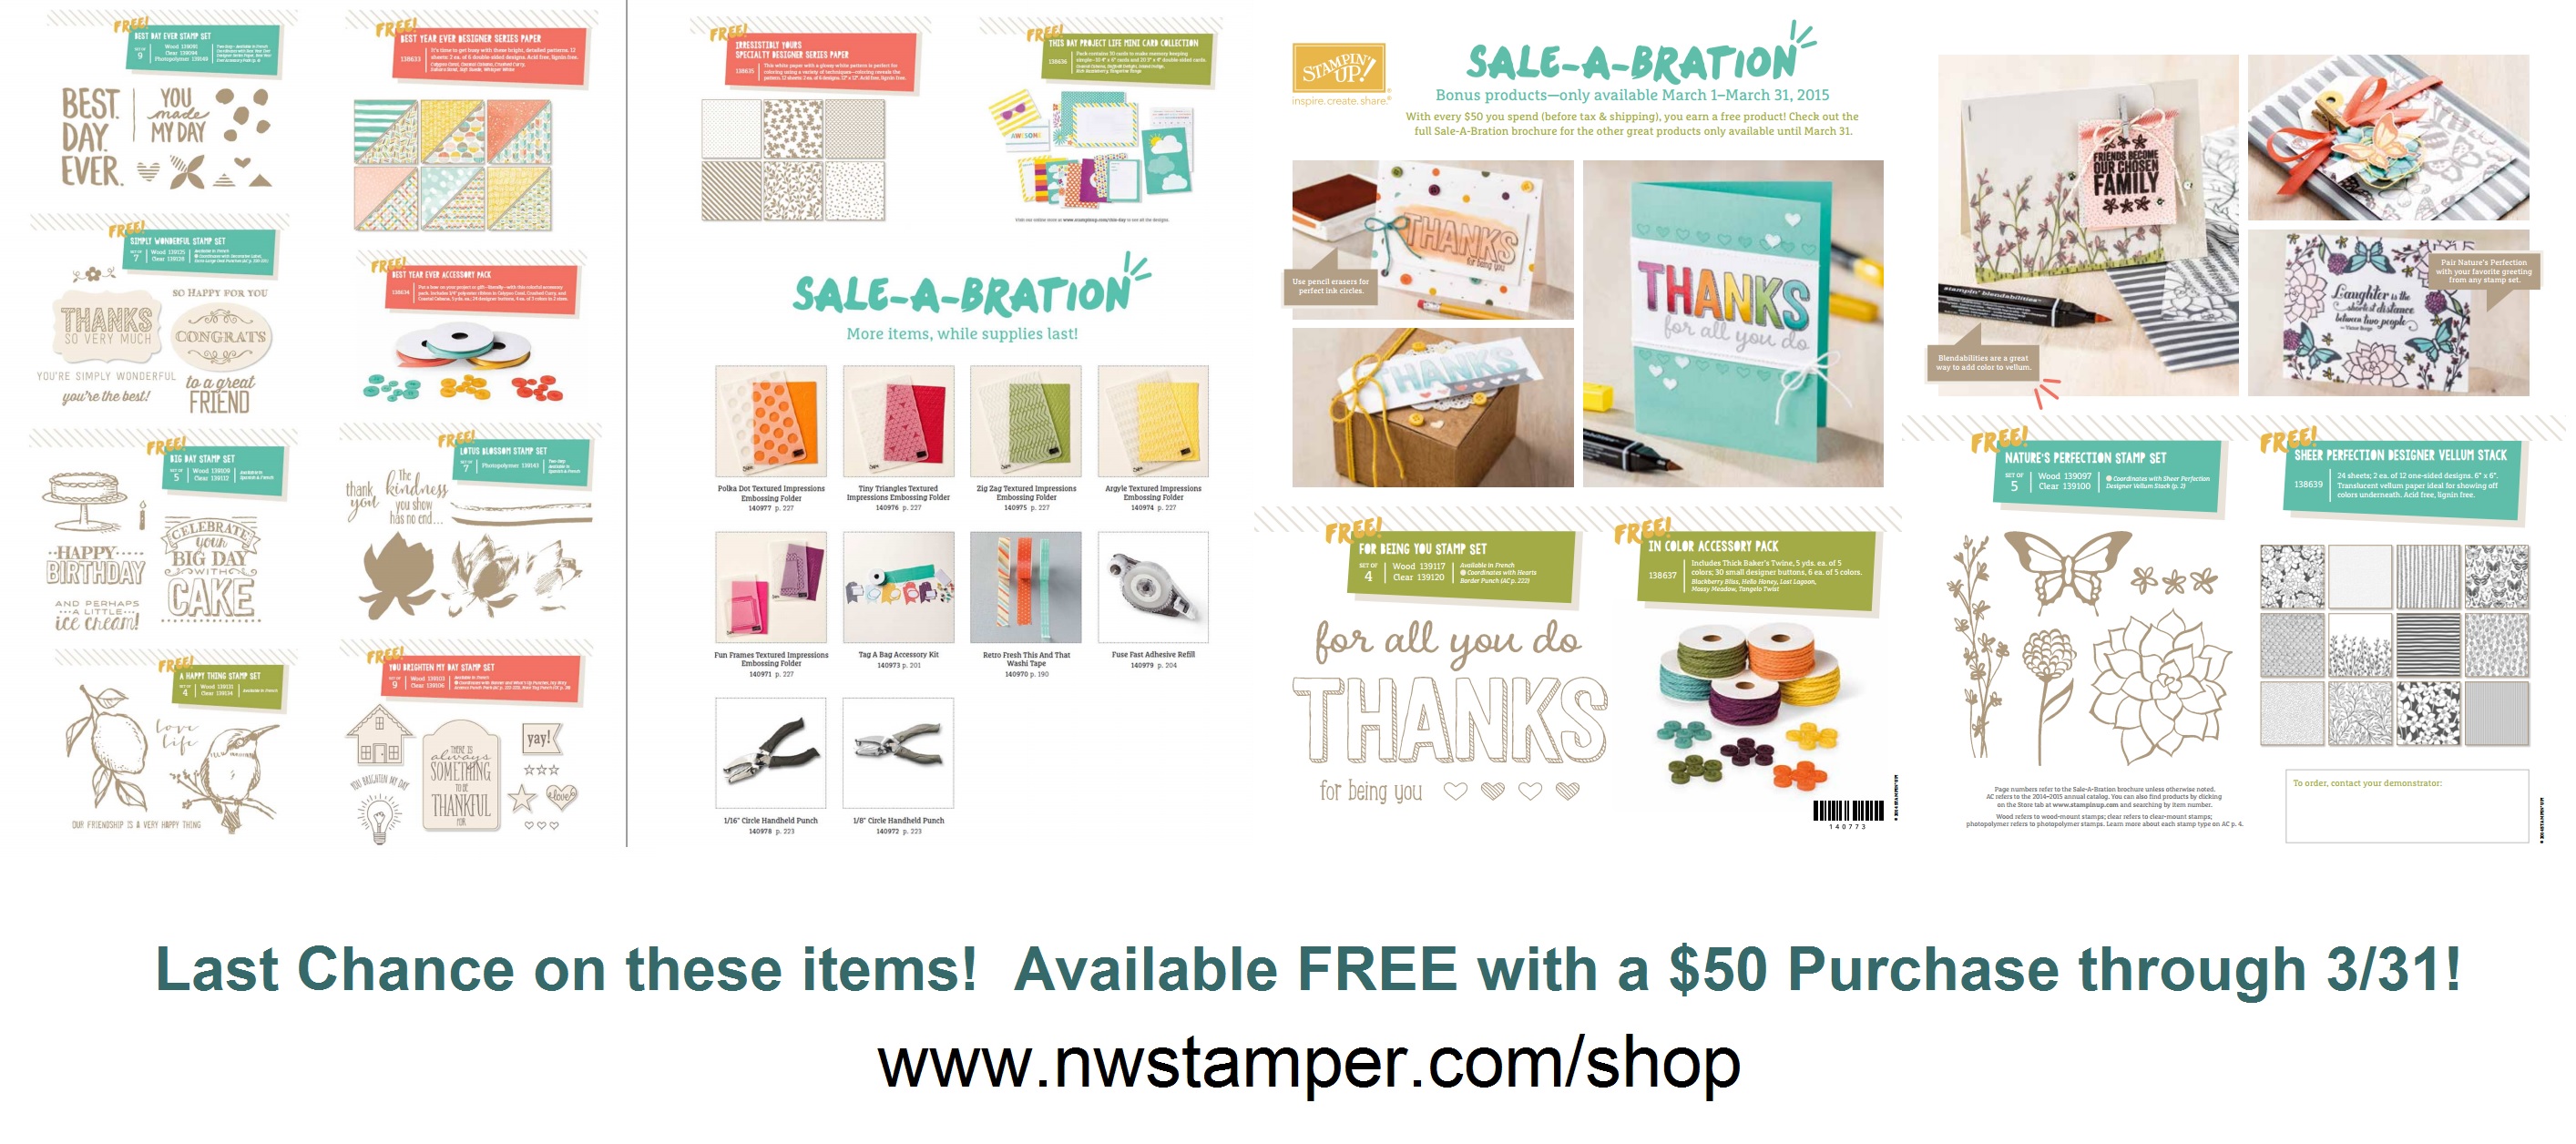
New Weekly Deals are Here! Last chance to score some of these Occasions Catalog items at 25% off!
Here are a few of my favorite projects using some of the items on sale this week:
Ok, so I have A LOT to catch up on… so, big breath in, and get ready to dive in to some project ideas for you!
First up, this fun birthday card idea using the Sale-a-Bration stamp set – Big Day!
Tips for making this card:
This was my first time using the new Chalk inks… and with it my first time playing with the new Chalkboard paper! This paper has the COOLEST texture and is so fun to play with. You want to stamp on the SMOOTH side with the chalk inks so that the ink will sit on the surface and give you that pretty chalkboard look. (this is the Coral Rose color)
Add your own extra touches with the Chalk Pen! The white dots under the cake and the white lines along the side of the chalkboard paper are made with the Chalk Pen. As you can see, it is really vibrant on the Chalkboard paper, but more “chalky” when drawing on regular cardstock.
Make a fun embellishment piece by using the new Ornate Tag Topper punch… only don’t just stick to one side, do both! I had a 2” strip of Whisper White cardstock that I punched both ends. Then run some ribbon through the holes (and tie together on the inside of the card) to hold it in place.
Jazz up your Ornate tag by grabbing a Stampin’ Write marker and drawing a border about 1/16” in from the edge of the tag. Really helps you see the design, huh?
And don’t hesitate to stamp your image and then stamp & color a second version to pop-up on top! It keeps it interesting to look at when viewed at different angles, but you only have to color one.
Lots of fun… and if you need another idea, here is a reminder of one of the official cards shared in the Sale-a-Bration catalog. I love the colors and the little pop of dimension with the “Celebrate”
Now, if you are like me and LOVE the black, white, and yellow combination, I really hope you are a Paper Pumpkin subscriber because check out March’s kit and a fun alternate idea.
You have THROUGH TODAY (3/31/2015) to pick up a 3-month Prepaid subscription to the super fun kits by mail each month and not only SAVE $$ but also get a free Sale-a-Bration item to boot! I know, awesome right? I already picked up mine!
We never know what we are going to get until it ships out to us around the 15th of the month, but over the last year they have been working hard to improve the projects and how much you get in your box and so they have turned out to be really fun projects and you end up with lots of supplies. You know you will always get:
an exclusive stamp set
precut papers and supplies to make usually 6-9 copies of the project, though this varies by month and the project
all the accessories you need for the project and sometimes variations
envelopes (if they are cards)
instructions with video walkthroughs online
ink spots
Basically all you need is scissors and adhesive! (See, now you get why I said they make great gifts!)
Here is what we got for March:
And check out what my downline, Angela McCormack made with it!!!
If you aren’t in love, then you are a tough crowd!
Here is the video that went with it showing how to make the project:
You can cancel at any time or skip a month whenever you want…. so why not give it a try? You know you’ll be excited to see that awesome orange box in your mailbox next month.
Ok, so don’t wait! You only have until midnight MOUNTAINTime to get your order in and pick up your favorites. And then the will be gone and possibly not to be seen again (unless you earned your way to my Sale-a-Bration Celebration, in which case you make be lucky and have one last chance )
And if you’ve been thinking of making the plunge into the awesome world of being a Stampin’ Up Demonstrator (or just have a wishlist that is over $100), I would LOVE to have you join my growing group of Fun n’ Crafty stampers from across the US! We are an active and supportive group that create, share, and cheer each other on and we would love to welcome you in.
Plus you get 2 free Sale-a-bration items or a Project kit as a bonus for signing up in addition to the $125 in product for $99 and free shipping. But who is counting?
New Weekly Deals!
And if that isn’t enough, new weekly deals were released this morning too… so double or triple dip your savings and take advantage while you can.
Ok, that was long enough, thanks for sticking with me and have a great day!
Project Supplies Used: Easy shopping anytime! Click the images below to see the item in the online store.
Alright, are you ready for the last card in my Christmas card series? I LOVE this card! Seriously one of my favorites this year. It was a mix and match of a few different cards using the White Christmas stamp set (which I’m SO SAD is not carrying over at this point). But I really liked the vintage-y feel.
Tips for making this card:
Start out with a Sahara Sand card base and base for your stamped image. Then stamp the snow scene from White Christmas in black ink before you start covering it with snow.
Create the snow by sponging the ground with Whisper White craft ink (and YES! You can still get it from Stampin’ Up!) and stamp your falling snow with the same ink.
Add highlights and coloring in your snowman using the Chalk Pen. It creates a bolder white, and while its not the best for coloring in large areas, the smaller space of the snowman is just the right size.
Punch out a star shape after you’ve stamped your trees so you can get it just where you’d like and then glue a piece of Gold glimmer paper behind it for just the right amount of sparkle. And by gluing the paper behind the hole, it makes it a bit more subtle than when you punch out a gold star and glue it on top.
Add some sponging and emboss your card base to finish out the look!
Need a last minute gift?
There are 2 great last minute gift ideas that you can buy now and print out today!
Give a Gift Certificate! Email me at jennifer@nwstamper.com and I can email you a gift certificate to print out today! You can get it in any increment you choose and they can use it whenever they’d like for whatever they’d like!
Give the gift of Monthly craft projects with Paper Pumpkin! Shop online for Prepaid Paper Pumpkin subscriptions and you will also receive a gift card you can print out to give the recipient with the code for them to redeem their monthly subscription. You can get 1, 3, 6, or 12 month subscriptions and they get everything they need for fun projects each month!
Project Supplies Used: (if you are reading this in email, click here to see the list of supplies)
As I was working on Thank You cards recently, I decided to take a break from all the flowers and pinks that I seemed to be using lately and try to come up with a card that could be useful for a guy or a girl. I wanted to use my new Starburst Sayings stamp set and framelits and so I grabbed a few stamps and ink colors and started mixing and matching.
Turns out, I really liked the combination of Elegant Eggplant, Garden Green, So Saffron, and Island Indigo…. what do you think?
I stamped and cut out two of the images and then cut out an extra piece of cardstock with a bigger starburst shape. And just to add a bit of something to the cardstock piece, I decided to grab my Chalk pen to add a some faux stitching.
Oh and my favorite accessory for more masculine cards – Burlap Ribbon! I love the rugged texture it provides. So glad it got carried over from the holiday catalog!
Are you part of the club? Did you hear that I’ve started an online stamping club?
I’ve been running my stamp clubs locally each month and I decided to expand it to my stamping friends who are not able to attend in person. How does it work, you ask?
Place an order in my Online Store that is at least $25 by the 25th of the month.
Make sure you use the Virtual Club hostess code when you check out (I’ll post the code each month at the bottom of my blog posts)
Within 48hrs, I will send you the password for an exclusive club page with links for PDF tutorials for the 2-3 projects we are making in Stamp club that month with full supply lists for all of the projects.
If your order is $40 or more, then I will mail you a free class kit packet for the club projects so you can make them at home! Class kits will start going out by the 2nd Thursday of the month.
There is no commitment and you can participate one month and skip the next!
And if you’ve been in the club at any time in the prior 4 months when a new catalog comes out, you will be sure to get one in the mail from me for free!


 Burlap Ribbon")


![NWstamper signature_thumb[9]](https://i0.wp.com/www.nwstamper.com/wp-content/uploads/ad87b4046c1e_C9F6/NWstamper-signature_thumb9_thumb.png?resize=322%2C118 "NWstamper signature_thumb[9]")


![NWstamper signature_thumb[9]](https://i0.wp.com/www.nwstamper.com/wp-content/uploads/ad87b4046c1e_C9F6/NWstamper-signature_thumb9.png "NWstamper signature_thumb[9]")


