Northwest Stamper

Tag: celebrate today

  • Sharing a Few of my Favorite Swaps

    After coming back from the Stampin’ Up convention, I had a TON of swap cards… ok, more like 120, but still, that feels like a ton!  I spent time over the last few days photographing the cards and finally have pictures of all of them.  I posted them all of my team facebook group (so if you are one of my Fun n’ Crafty Stampers, make sure you’ve checked out the album on our page!) But I want to share some of my favorites with you here on the blog too!

    I’ve hand picked a few that I’m going to go into detail on later this week, but for now I thought I’d get the party started with 6 cards that I loved and I hope at least one catches your eye too!

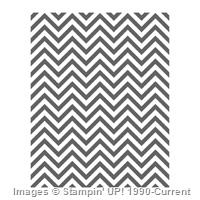
    I love how simple yet bold this card is.  Plus it also shows a great way to use that vegetable paper from the Farmer’s Market designer paper in a way that is cute!  I love this paper pack, but will admit to not having a clue on how to use some of the patterns.  So when I saw this card I had to swap for it!

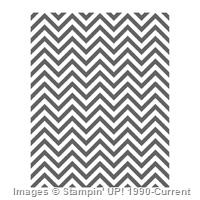
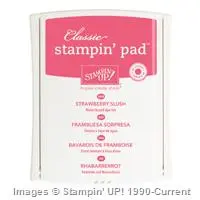
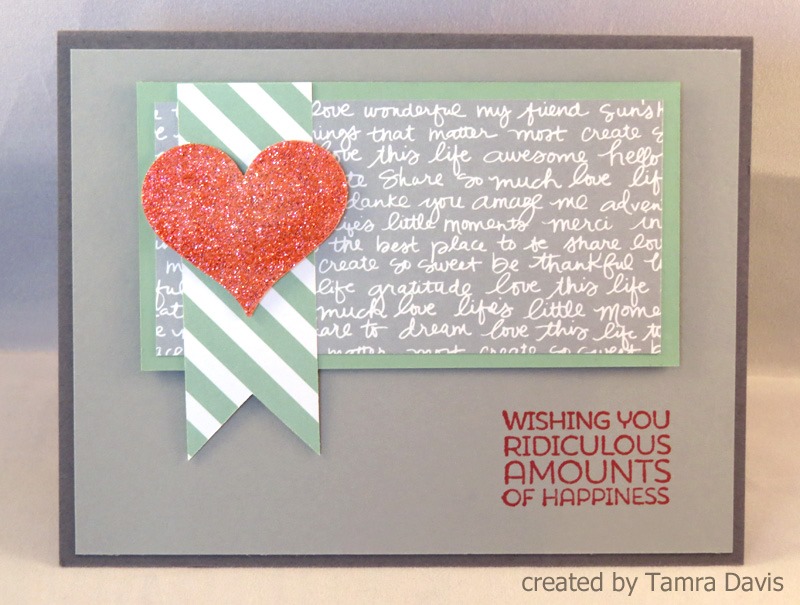
    This is another simple yet super cute cards!  The heart is the Dazzling Diamond designer paper that she spritzed with Watermelon Wonder ink to create the matching heart.   If you haven’t tried this at home, here is how it works:

    To make custom color glitter paper:

    1. Start with Dazzling Diamond glimmer paper and cut down to near the size you need for your project
    2. Take a Spritzer and fill with rubbing alcohol
    3. Add 20-60 drops of your preferred color ink refill (like this Watermelon Wonder ink refill)
      the amount of drops varies how dark your color will turn out
    4. Place your paper in a cardboard box, standing upright
    5. Press on the top of the spritz bottle while holding the bottle UPRIGHT
    6. Keep spraying until you get the color you want and then set aside to dry

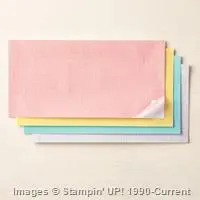
    It is also hard to tell, but the paper with the words on it is actually silvery so that it has a subtle shine to it.  That is from the Stampin’ Up Neutrals Background designer series paper stack.  Isn’t it cute!!

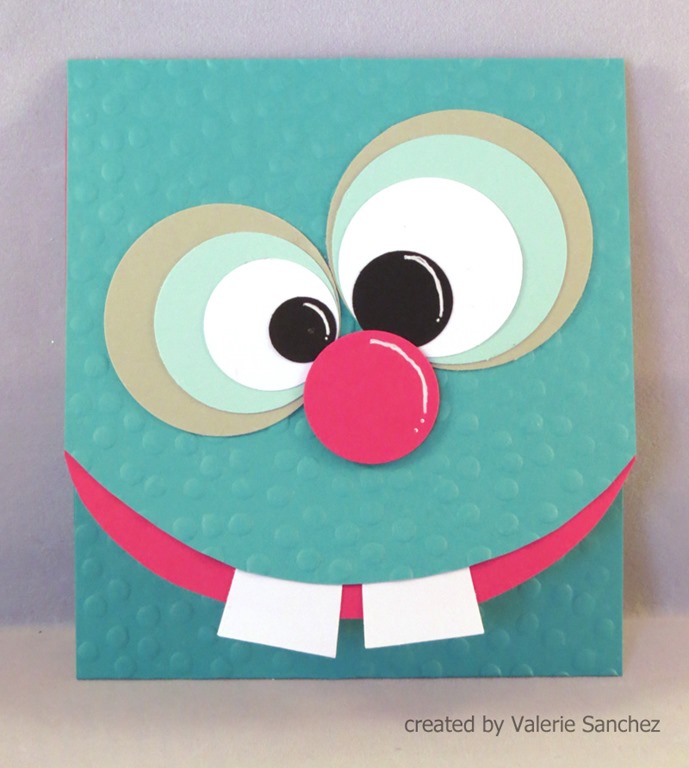
    I also had to swap for this gift card holder as soon as I saw it!  I love punch art and just thought he was totally adorable!  I haven’t measured the circles yet to recreate him but I can share once I do.

    It wasn’t until I went to photograph the card that I realized it was a gift card holder.  How clever is that? 

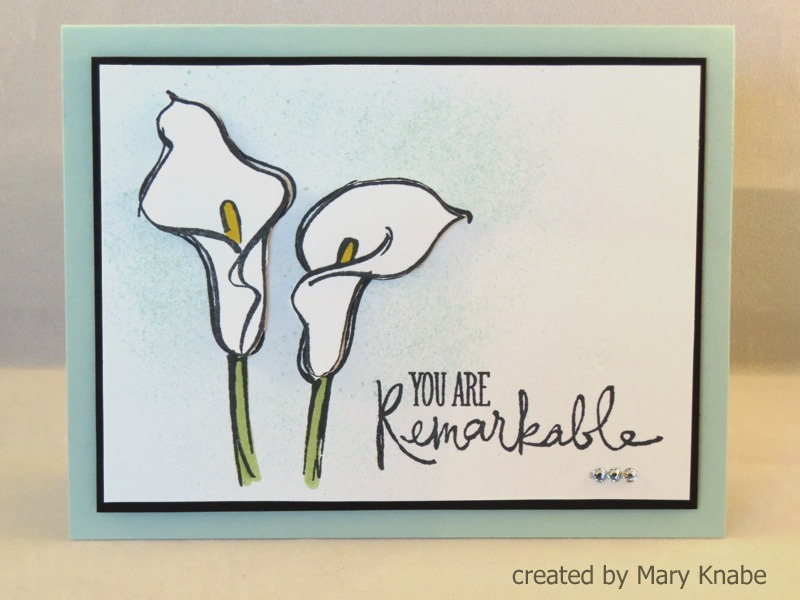
    This was one of the cards that made me realize that I needed the Remarkable You stamp set.  In fact, it is now arriving at my house tomorrow!  Yay!  It is so simple yet oh so pretty!  I’m thinking this may need to turn into one of my customer thank you cards soon. Smile

    I loved the added touch of the flowers being popped up for more dimension without distracting from the rest of the card.  Awesome, right?

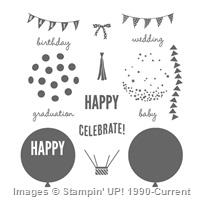
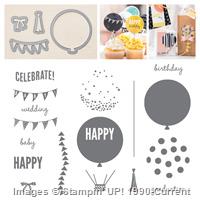
    I thought this was such a clever use of the Celebrate Today bundle!  I love the balloon die cut, but thought making the cloud background and then adding the sun from the Kinda Eclectic stamp set and adding two circles for Mickey Mouse ears were great added touches.

    I saw my friend Michelle Suit working on swaps in the weeks leading up to convention and then she and her family went to Disney World.  It looked like such a fun time and she had the brilliant idea to take some of her Disney Themed swaps and get them signed by the characters in the park.  I even lucked in to one signed by Snow White!

    Finally, I have one more for you today.  This was a great card created by Angela McCormack – one of our Fun n’ Crafty Stampers!

    She always comes up with great card ideas and I loved how easy this is to make.  All the words are part of the single background stamp – A World of Thanks.  The trendy sketched words look great all together and then with some added punched hearts, stars, and some rhinestones, it just really comes together, don’t you think?

    I hope you enjoyed these ideas and will stop back by as I share even more this week!  Plus, I’ll be getting my first back of New Holiday Catalog Preorder Items and will be sharing them with you too!

    If you want to get your own swap cards, consider giving my Fun n’ Crafty Stampers group a try!  We have a Holiday Catalog group swap coming up, monthly swaps, AND you will be eligible to join us and hundreds of other demos by attending the On Stage Local events around the country in November where there is sure to be lots more swapping going on!  Get your starter kit and give it a test run here, we’d love to have you join us!


    NWstamper signature_thumb[9]

    order online button for sig 3_thumb[4]

  • Wednesday Walkthrough: Birthday Card with the Hello You Thinlits

    In an effort to help encourage myself to stick to the plan to do at least one video a week, and since folks seem to be liking the tutorial videos I’ve posted lately, I’ve decided to start a new feature on my blog – Wednesday Walkthroughs!

    The idea is that each Wednesday, I’ll walk you though a card…start to finish…in a video giving you tips and technique tricks along the way.  So this is the card I’m kicking things off with:

    It is a bright and cheery birthday card that you can make in any color that fits your recipient, especially when you use the retiring Chevron Background stamp!

    Featured Retiring Products:

    Get them before they are gone by the end of the month!

    Tips for making this card:

    • First off, I have to say, this stamp uses a Background stamp, which I love… but I’ve discovered that I don’t love these big stamps in Clearmount Rubber.  They are a pain to put the stickers on the back, if you are like me and have to do a sticker that is perfectly lined up, and I like the comfort of knowing that the rubber won’t move around as I’m doing different techniques with the stamp.  Now, the clear mount stamps work totally fine… I just wanted to share that I *always* recommend getting my background stamps in wood mount.  They make take up a little more room, but I think it is worth it in this case.
    • When stamping along the edge of the paper like I did here, turn your stamp upside down on the table so the rubber is facing up and then ink it up.  Press your paper onto the upright stamp and burnish with a bone folder to make sure you get a solid image.

    • I wrapped my taffeta ribbon around the entire card and glued it down on the FRONT of the card.  I know it sounds strange, but since you will be covering up a large portion of the front with the sentiment, hide your ribbon ends under that paper for a clean look on the rest of the card!
    • Check out the video below if you haven’t used wax paper with your thinlit dies.  It makes getting your die cut out so easy and everything looking perfect!
    • Don’t forget some extra accents, I LOVE my candy dots and they are just the perfect touch for this card, don’t you think?  Use your paper piercer to make sure they are aligned exactly how you want them with ease!  (also shown in the video below)


    Wednesday Walkthrough Video

    Want to make this card with me?  Check out this video and you can do just that!

    (ps – if you are reading this in email, click here to view the video)

    Quick Links:

    So, if you like this idea for a new video feature on my blog, let me know!  Leave a comment here or on the video!  Or shoot me a note over on Facebook.  I love hearing from you and hope to keep bringing you more fun projects soon!

    NWstamper signature_thumb[9]

    order online button for sig 3_thumb[4]

    Project Supplies Used:


  • Fun with Washi Sheets–a birthday card and NEW CLASS by MAIL!

    I will admit, I saw the washi sheets when they came out in the Occasions Catalog and I didn’t give them too much thought.  Sure, washi was fun, but did I really need sheets of them?  Well, I finally decided to get a pack and start playing and turns out that having bigger pieces of washi is actually a lot of fun and great for all kinds of projects!  In fact, I created my April Class by Mail around Washi Sheets and the Celebrate Today stamp set bundle because I was having such a great time.

    See, totally fun, right?  And some of the cards use big pieces of washi sheets for backgrounds, die cuts, or punch outs that you need the bigger sheets to get these looks.  I have all the details of this class by mail below (or join me in person next week on the 15th in either the morning or evening class session).

    But first I thought I would share one of the cards from the class that was actually the very first one I created:

    You could recreate this card with regular washi tape, but the thing that is cool about the washi sheets is that you get to pick the width of the strips you want.  So, say you loved yellow and wanted a wide yellow strip in addition to the skinnier yellow strip shown above – you can totally do that!

    I cut my strips of washi sheets to slightly different widths and then placed them on the background paper.  Then stamped with the coordinating Celebrate Today stamp set for my central sentiment. 

    Turned out totally cute!  Don’t you agree?

    Want to make this and the 7 other cards?

    You can join me in person if you are in the Seattle area

    Card Celebrations! Fun with Washi Tape
    April 15th – 10am-12n at my house in Bellevue, WA or 7pm-9pm at Panera in Redmond
    RSVP here – morningevening  or email me at jennifer@nwstamper.com

    Or sign up for my class by mail!  Included in the class kits are:

    • 20 notecards & envelopes (so you have spares as you are working & can come up with your own creations!)
    • a pack of washi tape sheets
    • all extra papers and embellishments precut, including washi sheet pieces
    • all die cut elements cut
    • pdf instructions for all 8 cards
    • Celebrate Today bundle (optional add-on) – SAVE 15% when you order with the class!

    Class Kit Option


    Have the supplies but just want the instructions?  I’ll be emailing those out starting Monday so get your name on the list today!

    Class instructions PDF – $4.95


    NWstamper signature_thumb[9]

    order online button for sig 3_thumb[4]

    Project Supplies Used:
    Easy shopping anytime!  Click the images below to see the item in the online store.

  • A Cheery Birthday Card with Celebrate Today and Balloon Framelits

    Happy Monday!  I figured we could all use a bit of sunshine and cheer to kick off our week, so I thought I would share one of the cards from my recent Birthday Card Bash Class.  A little while back my friend Breelin posted on instagram a pile of cards she had received and I was inspired by one to create this card.

    It is always a nice reminder to see that sometimes the simplest cards are some of the cutest, don’t you agree!?

    Tips for making this card:

    1. Have fun with the round patterns that come in the Celebrate Today stamp set!

      image

      When you layer them over the solid balloon stamp image, you can get all kinds of fun designs.  Keep it to the same color like in this example, or pick a contrasting color to really punch things up.
    2. Use your Stampin’ Write markers (the dye-ink markers; not Blendabilities or alcohol ink markers) to color your banner image to match the colors in the rest of the card.
    3. If you find you are having a hard time getting a solid image with markers and your photopolymer stamps, prime your stamps first by inking them up with an ink pad and stamping off onto scrap paper, clean the stamp, and then try it with the marker.  Usually you will get a better result!
    4. Draw on your strings including a line across the bottom of the balloon tab for a “floating away” feel to your card.

    PSST!! – EARLY BIRD St. Patrick’s Day Special!

    I couldn’t let St. Patrick’s Day go by without some fun, so I decided to offer a card challenge tomorrow (more on that tomorrow!) but I’ll also be offering a 17% off discount on all Stampin’ Up orders with me through tomorrow night!  So, if you are seeing this now, you can get in on the savings early by either
    1.  Shop online and use hostess code 9CYWBHVC on the shopping cart page
    (if your order is over $150, don’t use the code and I’ll still make sure you get the discount)
    OR
    2.  Email me at jennifer@nwstamper.com or call me with your order with the code StPattys17

    NWstamper signature_thumb[9]

    order online button for sig 3_thumb[4]

    Project Supplies Used:
    Easy shopping anytime!  Click the images below to see the item in the online store.