Northwest Stamper

Tag: boo to you framelits

  • Just Saying Hello with the Howl-o-ween Owl

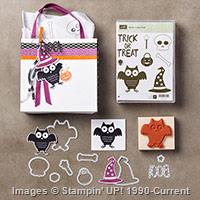
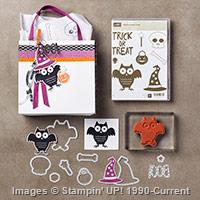
    When I splurged on this Howl-o-ween stamp set, I did it because I was just loving this super cutie pie owl.  Something about him made me smile and so I had to splurge and get the set.  Since then, I’ve done some Halloween themed projects, but when I was getting ready for a card class recently, I decided to give him a go in a NOT Halloween fashion.  I think it turned out pretty cute, don’t you?

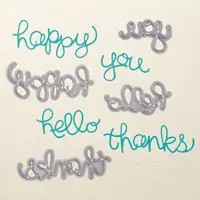
    Use different colors and keep to your basic sentiments and this owl is happy to deliver any message you could want!

    Tips for making this card:

    • If you are going to get the Howl-o-ween stamp set, you really ought to upgrade to the bundle.  Not only do you save that 15% off both the stamp set and framelits, but there are framelits for ALL the shapes in the stamp set.  So you can cut out everything you would want quick and easy (and I KNOW some of you are not a fan of fussy cutting, so that is a total win for you!)image
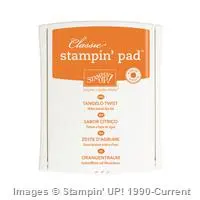
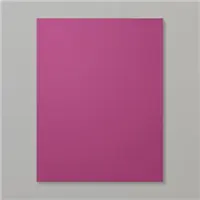
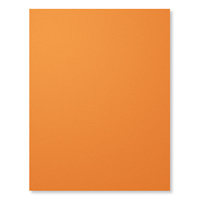
    • I kept this card in fall colors, but you could easily shake things up and do a spring, summer, brights, pastels, whatever color scheme you want.  Like this one?  I used Tangelo Twist, Rich Razzleberry, Soft Suede, and Crumb Cake.
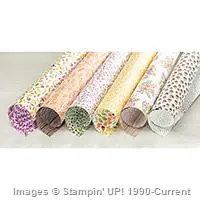
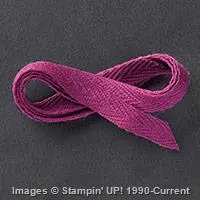
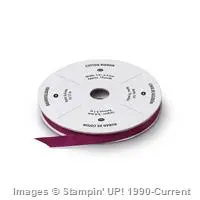
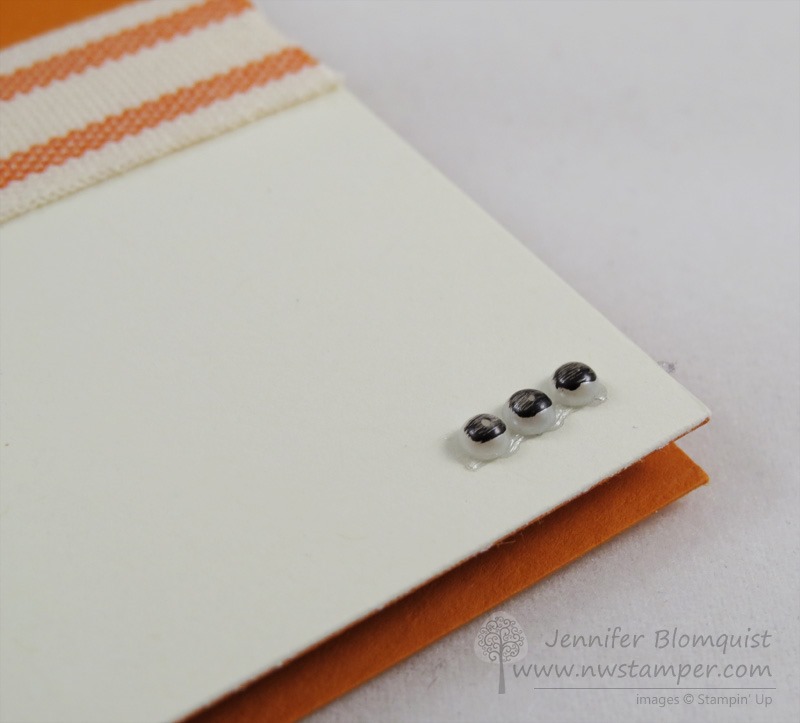
    • Mix your ribbons!  It may be a little hard to see, but I combined TWO Razzleberry ribbons.  I started by adhering a long strip of the NEW Into the Woods cotton ribbon – being sure to not have adhesive in an area over my circle.  Then I tucked a small piece of the 1/4” Rich Razzleberry cotton ribbon under where I had not used adhesive and used that spot to tie the smaller ribbon into a knot.  The color is the same but the ribbon size and textures are subtly different.
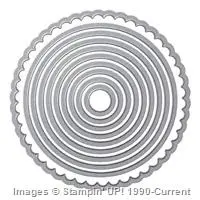
    • I used my Circles framelits to cut out a pattern from the Into the Woods designer paper (sensing a theme here?) and then used the next size up circle to cut out a Soft Suede cardstock circle.
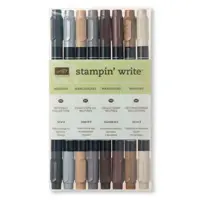
    • When your matted circle looks a little too plain, grab your Stampin’ Write marker and use the same color ink to faux stitch around the circle (ie – draw little lines so it looks stitched)
    • The owl is cute, and had tiny dots for eyes, but brighten him up by using the Owl Builder Punch and layer on some slightly bigger eyes, like these with Rich Razzleberry cardstock

    So, super cute, and fun to make.  And has lots of little details without being over the top.

    What do you think?  Good enough for a non-Halloween use?  Smile

    NWstamper signature_thumb[9]

    order online button for sig 3_thumb[4]

    Project Supplies Used:
    use Hostess Code FHRCKER7 to get a special thank you from me!

    Supply List

    Built for Free Using:  My Stampin Blog

  • Get your Halloween on with this CUTE Halloween Owl from Howl-o-Ween Treat

    We all have one… that secret indulgence item that you see, and love… but aren’t quite sure how much you’ll use it.  So most of the time you talk yourself out of it, opting to save for something you are sure you will use for.  And that is totally the grown up and mature thing to do.  Smile  But every now and then, we need to splurge on ourselves.  Give ourselves a treat!  I know I often think about doing something special for my kiddos – whether it is a surprise family movie night, going out for ice cream, or letting them pick out a new outfit for the first day of school!  Which they looked so cute in by the way, don’t you think?!

    11921678_10206315210171639_383446972359552641_n

    So, what I’m saying is that it is so much easier to think of splurging on SOMEONE ELSE that we love.  But sometimes it should be your turn!  Today I’m sharing one of the first cards I made with my personal splurge from the new Stampin’ Up Holiday Catalogthe Howl-o-Ween Treats stamp set & die bundle

    I loved this sweet owl and even though I don’t make many Halloween cards, it made me happy every time I looked at the page in the catalog featuring this bundle, so I knew I should get it.  And I’m so glad I did!  We all can use a little extra happy in our lives, right?

    Tips for making this card:

    • When getting the stamp set, save yourself time AND money by picking up the bundle and getting the framelits to match!  You save 15% off both the stamp set and the diesimage
    • Ok, now that you know you don’t actually have to cut anything out by hand, now you can focus on the fun of picking what you want to mix and match!  In this case, I wanted the owl (I always want the owl!) and the cute pumpkin trick-or-treat bucket.  I kept it simple by stamping the owl in the new Archival Basic Grey ink and the pumpkin in Tangelo Twist.  Then just cut them out using the framelits so you can pop them up on your card using Stampin’ Dimensional foam dots.

    • I was keeping it simple, so I just stamped the “Trick or Treat” sentiment from the stamp set repeatedly down the left side of the card.  Keep it to the left edge of your card, so you have space to adhere some Very Vanilla cardstock on the right side of the card front.
    • Break things up by adding some of the Tangelo Twist striped cotton ribbon from the Annual Catalog down the center of the card to cover the edge of the Vanilla cardstock.
    • Finally, I had to add my favorite touch, the “eyeballs” in the corner!  I wanted to add something and couldn’t decide what, so I grabbed my Pearls and a black Sharpie and thought about coloring the pearls black.  However, after running the sharpie along the top of the pearls, I loved how it ended up looking like little eyeballs… doesn’t it? Smile So I didn’t bother trying to color too much and just let them add to the Halloween ambiance!

    Besides, I figure I still have Halloween treats and scrapbook pages coming up and these stamp images are big enough to be perfect for those projects as well!  Here is to a fun kick off to fall!

    Don’t forget, 1 week left to try out Paper Pumpkin project kits by mail & SAVE 50%!

    Get a fun project kit in your mail each month with Paper Pumpkin and have everything ready for you to get started creating!  You get:

    • a project kit with all papers and embellishments precut and ready for you to create with
    • an exclusive stamp set
    • 1-2 ink pad squares (different colors each month!)
    • a clear block to use with your stamps your first month

    It is a surprise each month what you are going to get, but when it is on sale for only $10/mo INCLUDING SHIPPING for your first 2 months, it is totally worth giving a try!  Right?  You can skip a month or cancel at anytime.  So why not?

    September’s kit I’ve seen and it is a fun fall treat bag project – so if you are only into cards, might I suggest signing up NOW so you can get the savings and then you can just skip September (sign up and then go back to your account page and say “skip this month”) and be ready for the fun in November and December.  If you love little 3D projects and fun treat ideas, then you don’t want to miss out on September. 

    Get the deal and sign up here

    NWstamper signature_thumb[9]

    order online button for sig 3_thumb[4]

    Project Supplies Used:
    use Hostess Code 3XHDACAV to get a special thank you from me!