
Do you remember the Bokeh technique? The big trend for making your cards look like they had the out of focus light spots? Well, I shared how to make your own in this blog post, but sometimes I want to go the quick route and just use pretty paper like this Falling in Love designer paper! It has a bunch of cute patterns including multiple bokeh photo-realistic designs! (You can see all the prints in my Occasions Catalog walkthrough video starting at 26 mins HERE)
Tag: bokeh
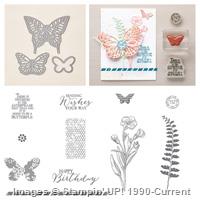
Butterfly Basics Bokeh CASE–a Pretty Purple Card!
I’m back with another Bokeh card for you. I’ll keep it quick since I shared how to do the Bokeh technique with you a couple times already. But I do love how this card came together.

This card was a CASE of a card by Monica Davis that I loved and had to play with for my Bokeh technique class.
Tips for making this card:
- Rely on bundles to make the supply needs for a card quick and easy to pull together!
- I stuck with just using the Butterfly Basics Bundle (the Butterfly Basics stamp set and the Butterfly Thinlits) and then a few purples for my inks. Seriously, you cannot go wrong with this stamp set! It is one of those, “any way you layer it” and “any combinations of stamps” they always seem to come out looking great!

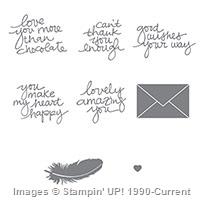
- I also had fun expirimenting with stamping first before you do the white circles (like with the Rich Razzleberry leaf) and stamping after you do the white circles (like the Memento Black Sending Wishes Your Way sentiment). Pick if you want it soft (under) or strong (over) and go from there.
- Sometimes plain white paper is exactly what you need! With the darker colors of the background, the Whisper White butterfly needs no embellishment to stand out just enough!
- Layer a piece of Vellum just to add a subtle contrast under your butterfly without being distracting.
- In this card I just used my 2-Way glue pen to only adhere the butterfly in the center so the wings pop up and float free. Similarly I only adhered my vellum to the card underneath the center of the butterfly. I know it means the vellum doesn’t sit quite flat at the ends, but it looked nicer than seeing the adhesive show through on the ends of the paper!

- Want a reminder for how to do the Bokeh Technique, you can check it out

If you want a reminder how to do the Bokeh Technique, you can check out my first Bokeh blog post or watch my Walkthrough Wednesday card with Watercolor Wash and Bokeh technique video!
Did you sign up for the Sprinkles of Life class by mail yet?
I realized that when I sent out my email about this class to my newsletter list (along with my June Customer Coupon – missed it? Get on my mailing list here) that the link to sign up wasn’t working. Oops! So if you wanted to get a kit for this class, I’m ordering supplies for everyone who signed up so far TONIGHT and would love to get some sent your way too.
Sign up using the paypal buttons on the registration page here


![NWstamper signature_thumb[9]](https://i0.wp.com/www.nwstamper.com/wp-content/uploads/ad87b4046c1e_C9F6/NWstamper-signature_thumb9_thumb.png?resize=322%2C118 "NWstamper signature_thumb[9]")
![order online button for sig 3_thumb[4]](https://i0.wp.com/www.nwstamper.com/wp-content/uploads/ad87b4046c1e_C9F6/order-online-button-for-sig-3_thumb4_thumb.png?resize=307%2C45 "order online button for sig 3_thumb[4]")
Project Supplies Used:
Built for Free Using: My Stampin Blog
Wednesday Walkthrough: Watercolor Wash meets Beautiful Bokeh Techniques with this Lovely Amazing You Card
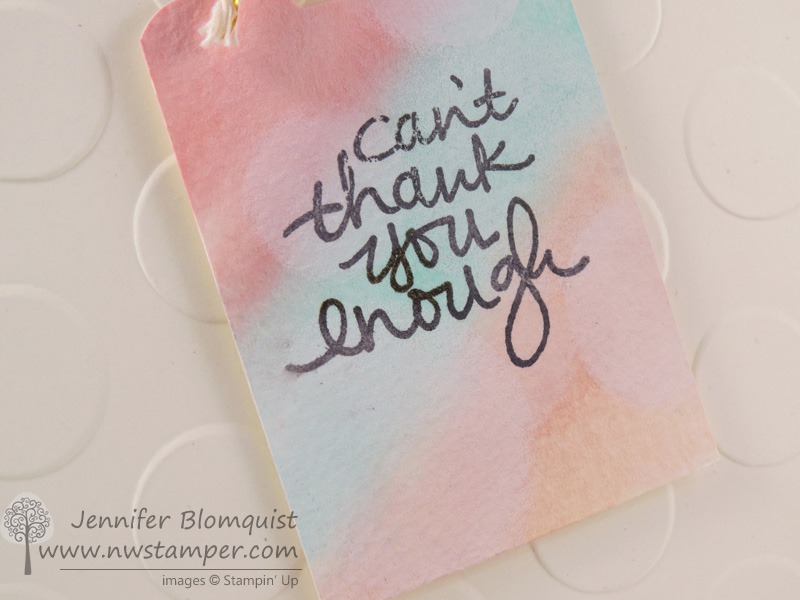
I just love, love, love the font in the Lovely Amazing You photopolymer stamp set, and I thought it just went perfectly with this pretty way to get a background with the Watercolor Wash technique! So today I just had to share this card with you, and I’ll have the video for the Wednesday Walkthrough posted too below! But for now, check out this cutie –


Featured Retiring Products:
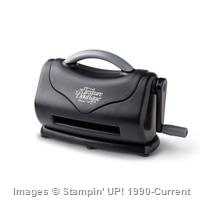
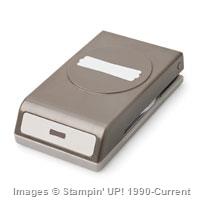
- Texture Boutique Embossing Machine (30% off – only $20.97!)
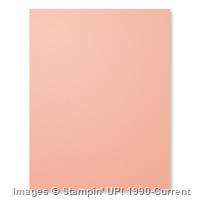
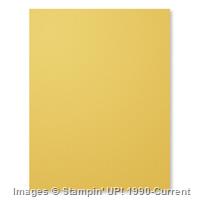
- Crisp Cantaloupe cardstock (sold out)
- Crisp Cantaloupe ink (50% off!)
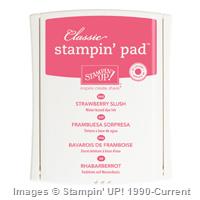
- Strawberry Slush ink
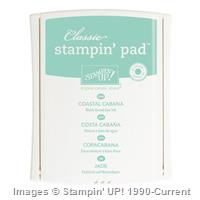
- Coastal Cabana ink (sold out)
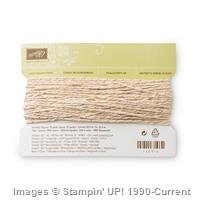
- Crisp Cantaloupe thick baker’s twine (50% off!)
Get them before they are gone by the end of the month!
Tips for making this card:
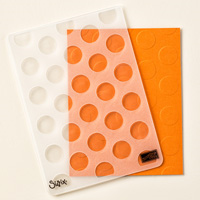
- Emboss your background piece of Very Vanilla cardstock using the Big Polka Dot embossing folder to complement the Bokeh circles you create on top of the tag.

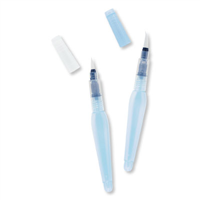
- Watercolor Wash makes an awesome background for your bokeh cards. You will want to make sure you use an Aqua Painter NOT a Blender Pen, and you want to be using Watercolor Paper NOT your basic cardstock because you’ll be using lots of water to help let your colors spread on the background.
- Stamp your sentiment on AFTER you have done your bokeh circles.
HEADS UP! This stamp set is one of the monthly photopolymer releases and so is NOT in a catalog. It is guaranteed available from Feb 2015 to July 2015, so don’t wait too long to pick yours up!
- Punch the top with the Scalloped Tag Topper and then wrap some of the thick baker’s twine through to make a tassel top.
- Get that extra tassel-y top by untwisting the baker’s twine so all the individual threads are fluffed out!

Want to see how to make it? Check out the Walkthrough Wednesday video:
(reading this in email, click here to watch the video)
New Product Samplers/Shares are Coming! Save your spot today!

I’ve posted the details for my Annual Catalog product shares. I’ll be ordering to fill the first round of people on June 2nd, so make sure your name is on the list if you want your samplers of a little bit of all the ribbons and papers the first week of the new catalog!
Project Supplies Used:
Built for Free Using: My Stampin Blog
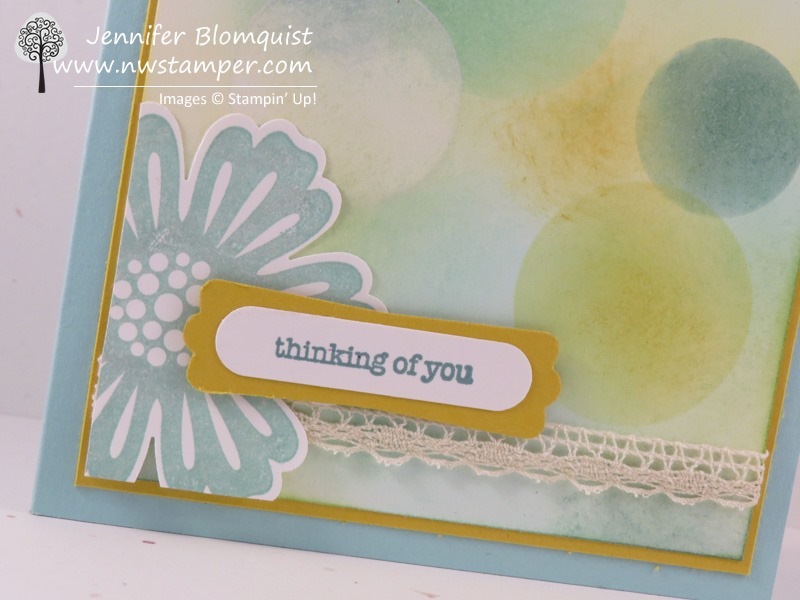
Sending off Mixed Bunch and the Modern Label Punch with a Blue Bokeh Card
Every year I have one item on the Stampin’ Up retiring list that I can’t believe is going away. This year, I can’t believe the Modern Label punch is retiring! Especially since it goes so awesomely with the Word Window punch! I guess that just means I have to enjoy it now (and hang on to mine and keep loving it after they stop making it too.
 )
)Today I wanted to share another Bokeh card we did in my technique class. I think I’ve decided I love mixing in colored circles with my white circles when doing the Bokeh technique. What do you think?

Featured Retiring Products:
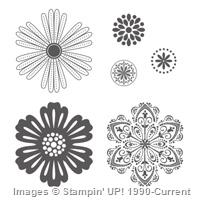
- Mixed Bunch stamp set (wood | clearmount rubber)
- Blossom Punch (sold out)
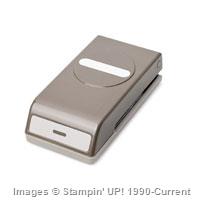
- Modern Label Punch
Get them before they are gone by the end of the month!
Tips for making this card:
- Start with a piece of vellum and some circle punches – I used the 1”, 1-1/4”, and 1-3/8” circles and punch out a template to use for layering.
- Randomly sponge the background with your favorite color combination
(this was Lost Lagoon, Pool Party, Pear Pizzazz, and Hello Honey) - Use your circle template to layer colored and WHITE craft ink circles on top of your background. It looks best if you overlap your circles.

- Keep it interesting by adding a punched flower, but trim some of the edges so it fits to colored layer (kind of makes it look like it is behind a window or something, huh?)
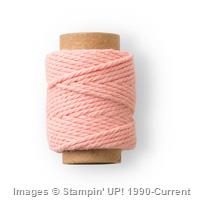
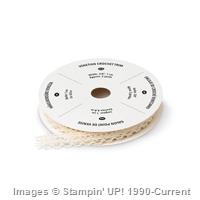
- The Venetian Crochet trim is a nice, soft addition to cards without being too girly because of it’s thin size.

Get them before they are gone! The retiring accessory list is while supplies last and as you saw with the Blossom Punch, things are selling out. Make sure you have ordered your favorites and when you shop with me, you will be on the list to get a new catalog sent to you! Shop now
Project Supplies Used:
Built for Free Using: My Stampin Blog
Water Drop Bokeh Technique Card with Everything Eleanor (VIDEO TUTORIAL)
Did you see? Did you see?? Today is another video this week!
 I’m planning on getting back into videos and tutorials again and aim to have a new video project for you each Wednesday. Sweet, right?!
Today I wanted to share with you this cool technique I’m calling Water Drop Bokeh! Check it out:

See that colored blobby area? It is just masked and sponged area of the Whisper White cardbase! So it is easy and perfectly customizable to any project you want!
Tips for making this card:
- Use your Grid Paper to help make sure you are masking off straight and even lines across your white card base (in this case they are at 1” from the top and 2 1/4” from the top)
- Sponge Daubers will give you rich color which helps make the technique turn out better because concentration of ink on your paper is key!
- Swirl on your favorite colors of dye-based ink (all Stampin’ Up Classic Ink pads are dye based) on Whisper White cardstock
- Use an Aqua Painter to drop bits of water onto your sponged area – from just the tip of the Aqua Painter for small circles to squeezing out full drops for bigger circles

- Let it start to air dry and then you can stamp over the top almost immediately to create cool, layered effects.
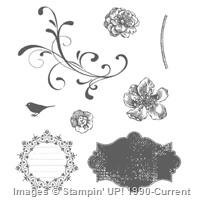
- Mix and match your stamp sets, like in this case Everything Eleanor for the bird and swirl, and A Dozen Thoughts for the sentiments
- Each card you make will be different, but that is what makes it fun!

Want to see how it is done? Check out this Video Tutorial as I walk you through making the full card step by step. Then, let me know what you think and if you like this style of video so I know what to do more of.
(If you are viewing this in email, check out the video here)
Quick Links:
- NEW Weekly Deals! Check them out here
- Retiring Stamps (many 25% off)
- Check out 50% off retiring papers, tools, and accessories!
- Up to 80% off clearance rack finds!
Project Supplies Used:
Built for Free Using: My Stampin Blog


![NWstamper signature_thumb[9]](https://i0.wp.com/www.nwstamper.com/wp-content/uploads/ad87b4046c1e_C9F6/NWstamper-signature_thumb9.png "NWstamper signature_thumb[9]")


