Pretty Project Accents with Stacked Die Cuts
I’m back today with a card to share with you that I’m going to admit, I’m a bit undecided about – I love the stacked die cuts trick I used but for the rest of the design… well I don’t know what I think about it. But that is more of the reason why I…
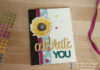
Congratulations or Birthday Card – You Decide!
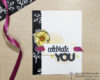
I recently held my first Creative Cards class of the year with my local stampers. And, since it was right after the Stampin’ Up Occasions catalog launched, I HAD to play with all the new stuff I had gotten from that catalog! I am so glad I had this class on the books because I…
LAST DAY for Great Sale-a-Bration Specials!
So, today I have to put out the LAST CALL for taking advantage of the Sale-a-Bration promotions. Stampin’ Up always runs this incentive during the first 3 months of the year, giving you a chance to get free stamps and papers, including exclusive items that are made only for this promotion. Plus, if you are thinking…
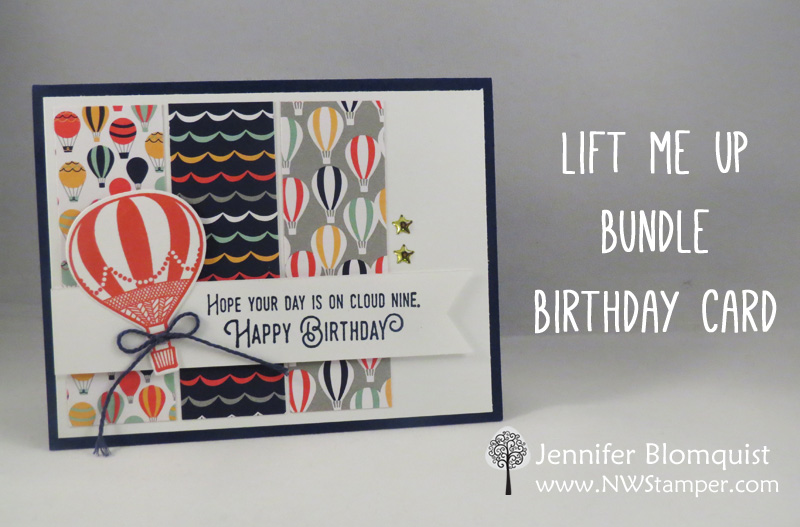
Masculine Birthday Card Idea with Balloon Adventures
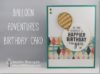
With so many great flowers and lace stamps and dies, sometimes I have a hard time finding a Masculine birthday card in my stash. So, when I was designing a card for my recent Stamping Bingo event, I decided to fix that problem! I love this Balloon Adventures stamp set and especially that it fits…
Party Animal Suite Festive Birthday Pop-Up Card
Ready for something new? How about a fun pop-up birthday card?! The new Stampin’ Up Occasions Catalog has a lot of fun Suites, and if you like bright colors and birthday supplies that are great for kids or masculine cards, then the Party Animal suite is your place to be. I got to play…
Stampin’ Up OnStage Local Recap–November 2016
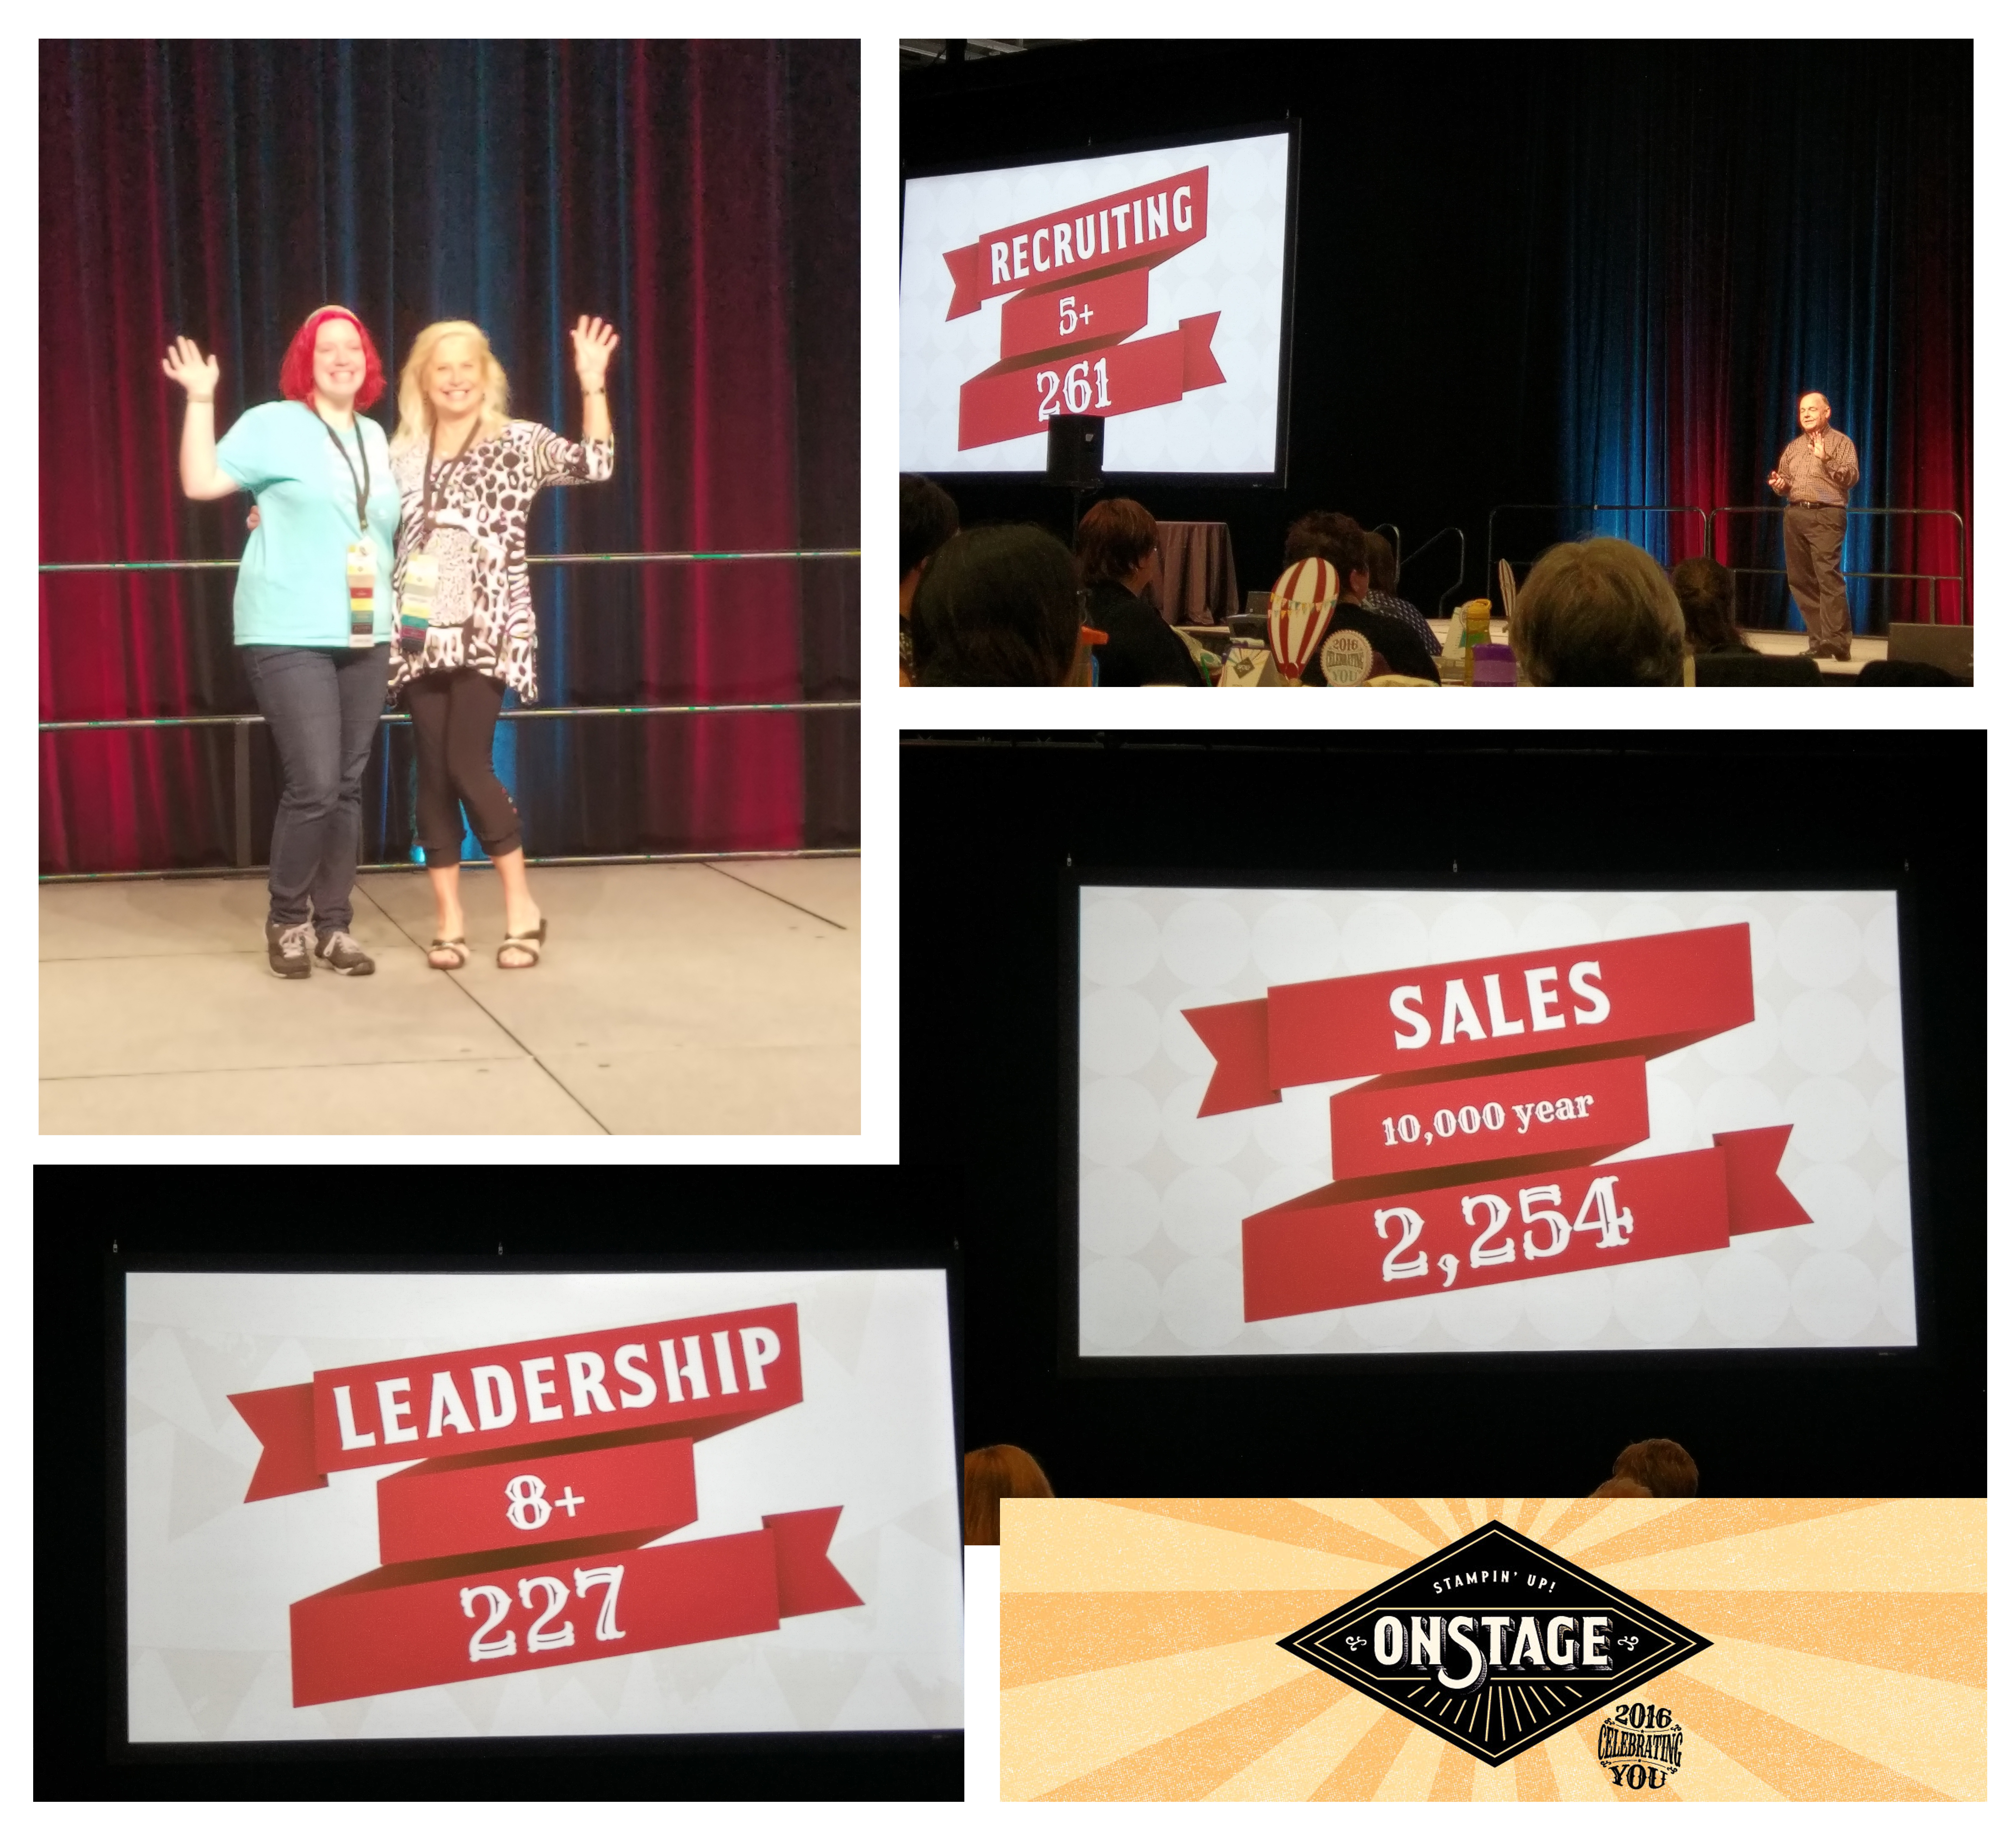
I’m back after an amazingly inspiring and refreshing weekend up to Vancouver, BC Canada for the November OnStage Local event by Stampin’ Up! This is the new event that replaces the traditional convention and happens every 6 months around the world. This time, the closest location was up in Canada for the one day regional…
Bright Birthday Card with a Swirly Scribbles Thinlits Bouquet
When I start working on a project, sometimes I have a plan in mind, but often I turn to pinterest or google image search to give me a starting point for my project. Most of the time, I end up mixing and matching my favorite ideas from multiple cards into one card. But sometimes I…
Fun Birthday Card with Big Designer Candles!

So, I hope you’ve been enjoying all the blog posts recently, full of technique and project ideas! As I headed off on my big European adventure on the Stampin’ Up incentive trip, I knew I had so many project that I’ve loved lately and wanted to share. Plus I’ve been meaning to get back on…
Fun with Balloons Birthday Card using Balloon Celebrations
One of the things I love to do with my team is participate in a card swap each time a new catalog comes out. With this awesome Occasions catalog that Stampin’ Up released in January, I was especially excited to see what everyone would create. For my card, I was inspired to use the Balloon…
More Party Wishes! A Pop of Punches Birthday Card
Remember how yesterday I shared a card that used the little candles punch and stamp from Party Wishes? Well, today I have another birthday card idea using the OTHER punches in that party punch pack… the cupcake and balloon! This was all started from an “element” we made as a make & take at the…