I was honored to be asked to create some projects for the Stampin’ Up official blog. They were focusing on Project Life and so they asked me to put together some layouts using the Happiness Is card collection and accessory pack. I created a pocket page 2-page layout using the cards and share that idea on this blog post. But I also used my project life cards to show how easy it is to use them for your traditional layouts as well. This is what I came up with:

Featured Retiring Products:
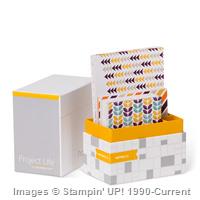
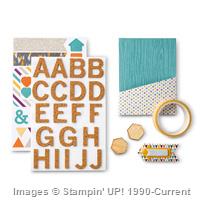
- Happiness Is Project Life card kit (50% off!)
- Happiness Is Accessory Kit (50% off!)
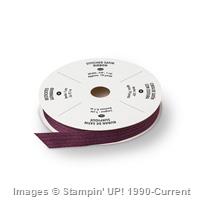
- Blackberry Bliss Stitched Satin Ribbon (50% off!)
Get them before they are gone in 2 DAYS!
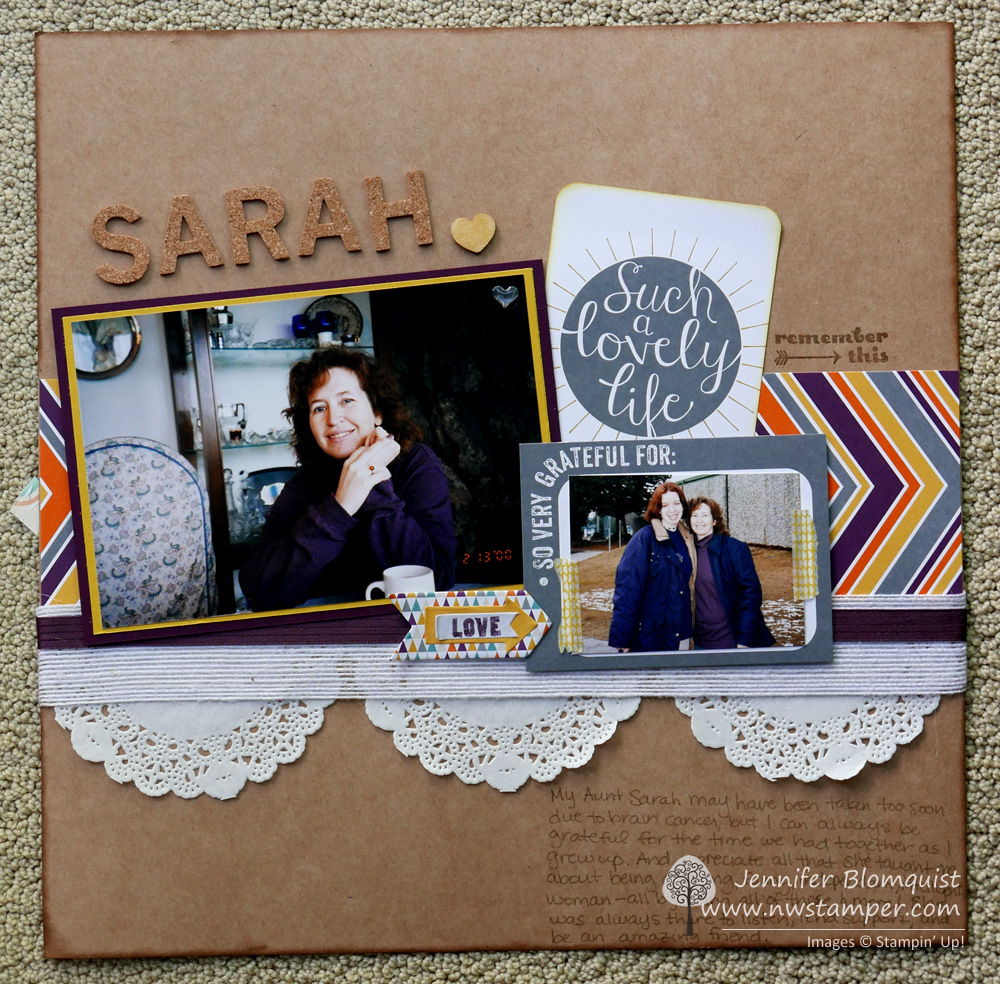
This layout is special to me because it is for my Aunt Sarah who was one of my best friends growing up and that adult in your life that you can always turn to when you are struggling, or hurt, or confused, or just need someone to talk to who is an adult but isn’t your parents. Sadly, about 10 years ago she finished her struggle with Brain Cancer and so now I have scrapbook pages and pictures to help me remember and cherish her amazing life.

Now, on to more of the fun stuff! How about some insight into how I put this layout together!
Tips for making this layout:
- I love getting the Project Life by Stampin’ Up card kits and I ALWAYS get their matching Accessory Packs! It makes it so so so easy to start creating because I have flair from the Accessory pack which I know will coordinate perfectly so I can just dump it out on my table, grab a card, and go!
- Use your cards to create photo backgrounds and layering elements on your traditional layouts. I used the following:
– a card for a photo mat of the picture of Sarah and myself
– a card for the title of the layout “such a lovely life”
– a card for the strip of pattern that runs across the page… check it out:
 Take one of your cards and trim a 1/2″ – 1″ strip off one side, then glue that strip along one edge of your base paper. Use a ruler or other straight edge to form a level line across your paper and then adhere the OTHER piece of your card to the opposite edge to make it look like you have one long piece of patterned paper on your layout!
 - Combine and layer your accent pieces for a cute collage effect. The “love” arrows, actually came from the fact that I thought they were a single dimensional element at first because in the kit the sticker flags (like shaped post-it notes) were all stacked together. It was only when I looked closely did I discover it was a WHOLE BUNCH of elements!

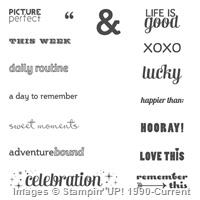
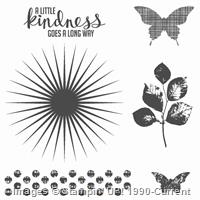
- Don’t hesitate to spruce up the cards from your kits either. I used my Kinda Eclectic stamp set to add a sunburst to my title!

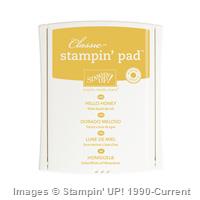
- You can also spruce up your wooden elements too! I used a sponge dauber and my Hello Honey ink to create a yellow heart for my layout. I’ve shown it here on an uncolored wooden banner.

 T
T


and just a reminder, that if you like this kit (or some of the other retiring kits) you can get them for 50% off through June 2nd before they are discontinued. ![]() Just saying… and ALWAYS get that accessory kit when you get the card kit! You won’t be sorry!
Just saying… and ALWAYS get that accessory kit when you get the card kit! You won’t be sorry!

So snag them while you can in the online store!
![NWstamper signature_thumb[9]](https://i0.wp.com/www.nwstamper.com/wp-content/uploads/ad87b4046c1e_C9F6/NWstamper-signature_thumb9.png "NWstamper signature_thumb[9]")
![]()
Project Supplies Used:


Built for Free Using: My Stampin Blog
2 responses to “Scrapbooking Sunday: Using Project Life Cards on a Traditional Scrapbook Layout”
Saw you on FB was wondering where you are located and if possible to join classes ?
Hi Susan! Thanks for stopping by and checking me out! 🙂 I’m located in the Seattle area and if you are around here or visiting around here, I’d love to have you join us! If you are too far away from that, I have a Youtube channel (www.youtube.com/northweststamper) and I do monthly classes by mail too. 🙂 So I can connect you in with those if you are interested. 🙂
All the best!